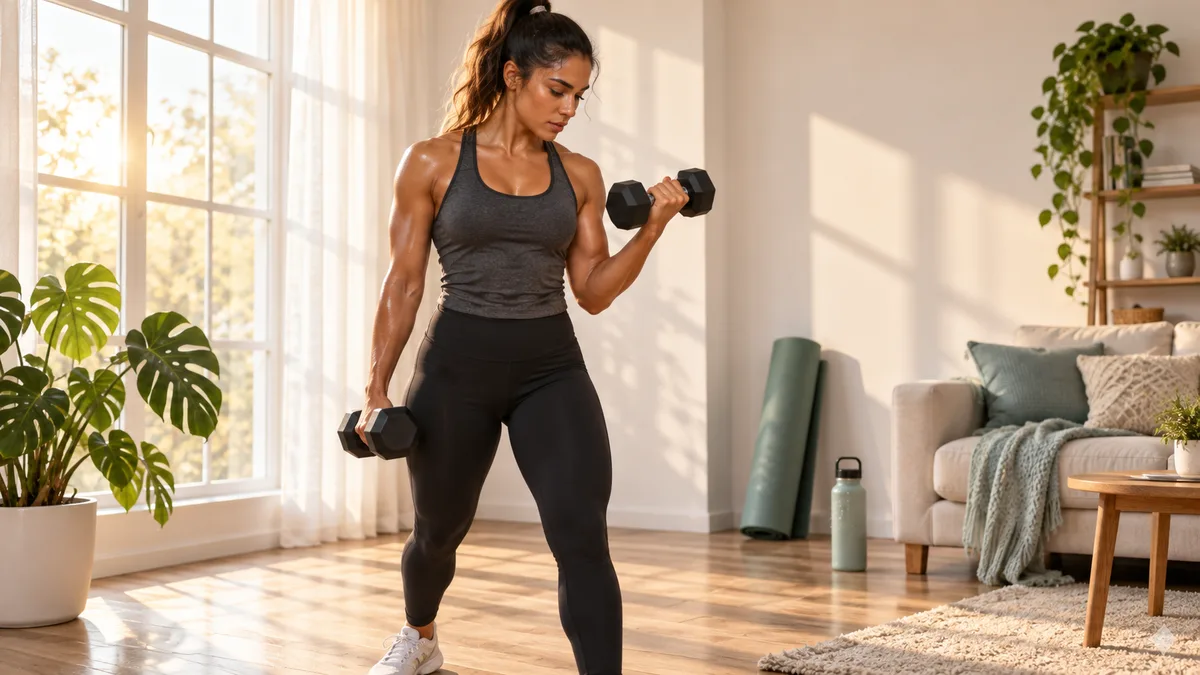
You don’t need a fancy cable machine, a pulley system, or a $60/month gym membership to build arms you’re genuinely proud of. A pair of dumbbells and maybe 25 minutes of your time? That’s the whole setup. Seriously, that’s it.
I spent my first year of training convinced that machines held some secret magic for arm definition. Spoiler: they don’t. Free weights force your muscles to work harder because they recruit stabilizer muscles that machines completely ignore. You get more bang for your buck, and you can do the whole thing from your living room while binge-watching something questionable on Netflix.
Whether you’ve never picked up a dumbbell or you’ve been casually curling for a few weeks and want a proper plan, this guide gives you 8 beginner-friendly free weight arm exercises that build real, visible definition without machines.
Why free weights beat machines for arm definition
Machines guide your movement along a fixed path. That sounds helpful, right? And it is, if you’re rehabilitating an injury or isolating one very specific muscle. But for building functional, defined arms, free weights win every time.
Here’s why that matters for you as a beginner:
- Greater muscle activation: A study published in the Journal of Strength and Conditioning Research found that free weight exercises activate more muscle fibers than their machine equivalents.
- Better balance and coordination: Your body learns to stabilize weight in three-dimensional space, which translates to real-world strength.
- Affordable and portable: A set of adjustable dumbbells costs less than two months of most gym memberships.
- Scalable: You can progress at your own pace by adding small weight increments over time.
Ever wondered why people who train primarily with free weights tend to look more athletically defined rather than just “big”? Free weights develop the entire arm, not just the primary mover but all those smaller supporting muscles that create that sculpted, three-dimensional look.
What you’ll need before you start
The equipment list is embarrassingly simple:
- Two dumbbells — Start with 5-10 lbs if you’re brand new. If you’ve been training a bit, 10-15 lbs works. Don’t ego lift; you’ll thank me later.
- A flat surface — Your floor. A bench if you have one. Even the edge of a sturdy couch works in a pinch (I’ve been there).
- A timer or phone — To track rest periods. This matters more than most beginners realize.
That’s the full shopping list. No resistance bands, no pull-up bar, no excuses. If you’re also working on lower body, check out this beginner routine for legs and glutes to pair with your arm days.
The 8 best free weight arm exercises for beginners
I’ve organized these into biceps, triceps, and shoulders because your “arms” aren’t just one muscle group. Real definition comes from developing all three areas proportionally. Neglect your triceps and your arms look flat from the side. Skip shoulders and you lose that capped, athletic shape on top.
Move #1: Standing dumbbell bicep curl
The classic. The one everybody knows. And yet, 90% of beginners do it wrong by swinging their body like a pendulum to heave the weight up. Don’t be that person.
How to do it right:
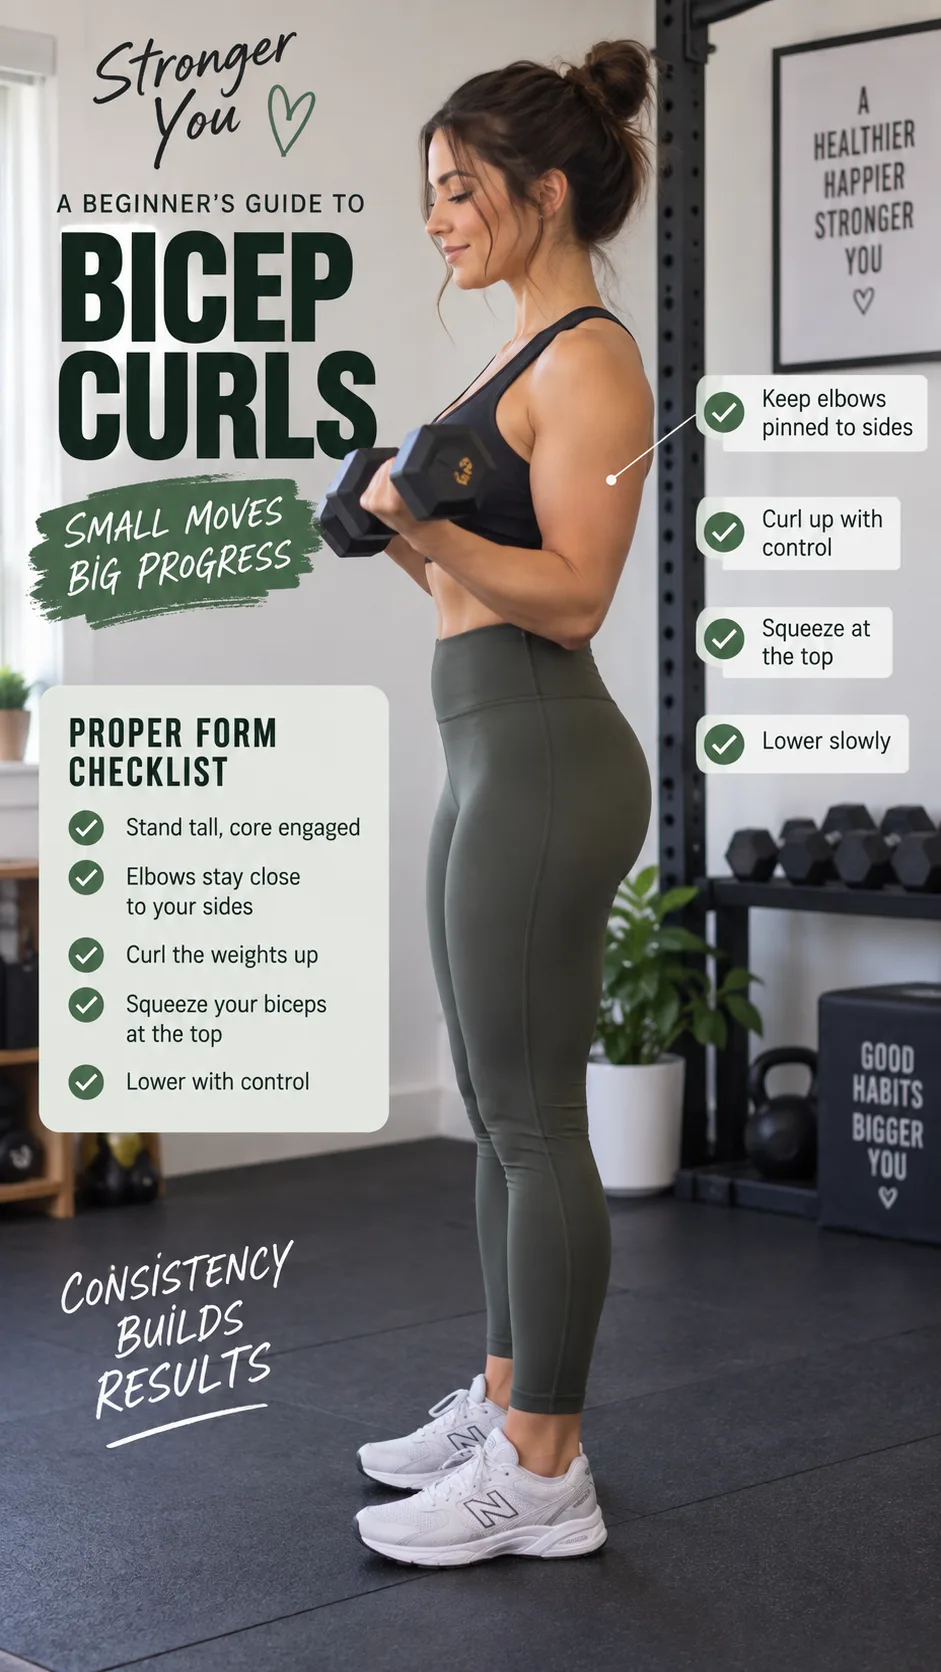
- Stand with feet hip-width apart, holding a dumbbell in each hand, palms facing forward.
- Pin your elbows to your sides. They stay there the ENTIRE time.
- Curl the weights up toward your shoulders by squeezing your biceps. Control the movement.
- Lower slowly (2-3 seconds down). This eccentric phase builds more muscle than the lift itself.
Sets/Reps: 3 sets of 10-12 reps. Rest 60 seconds between sets.
Pro tip: If your elbows drift forward or your back arches, the weight is too heavy. Drop it down. Nobody’s watching, and your biceps will grow faster with proper form anyway.
Move #2: Hammer curl
Hammer curls target the brachialis, that muscle between your bicep and tricep that makes your arms look thicker from the front. Most beginners completely ignore this muscle, and their arms look weirdly flat as a result.
- Stand tall, dumbbells at your sides with palms facing each other (neutral grip).
- Curl both dumbbells up simultaneously without rotating your wrists.
- Squeeze at the top for a one-second pause.
- Lower with control.
Sets/Reps: 3 sets of 10-12 reps.
The neutral grip also hammers your forearms (pun very much intended), which contributes to that complete, balanced arm look you’re after.
Move #3: Concentration curl
This one removes ALL momentum from the equation. You can’t cheat a concentration curl, which makes it perfect for beginners who are still developing their mind-muscle connection.
- Sit on a bench or chair. Spread your knees wide.
- Hold one dumbbell and brace the back of that arm against your inner thigh.
- Curl the weight up, squeezing your bicep hard at the top.
- Lower slowly. Switch arms after completing all reps on one side.
Sets/Reps: 3 sets of 10 reps per arm.
Arnold Schwarzenegger famously credited concentration curls for building his bicep peak. You’re in good company. If you enjoy this isolation approach, you might also like these dumbbell arm exercises that sculpt stronger arms.
Move #4: Overhead tricep extension
Here’s something most beginners don’t realize: your triceps make up roughly two-thirds of your upper arm mass. If you want arms that look defined, you cannot skip tricep work. The overhead extension stretches the long head of the tricep under load, which drives serious growth.
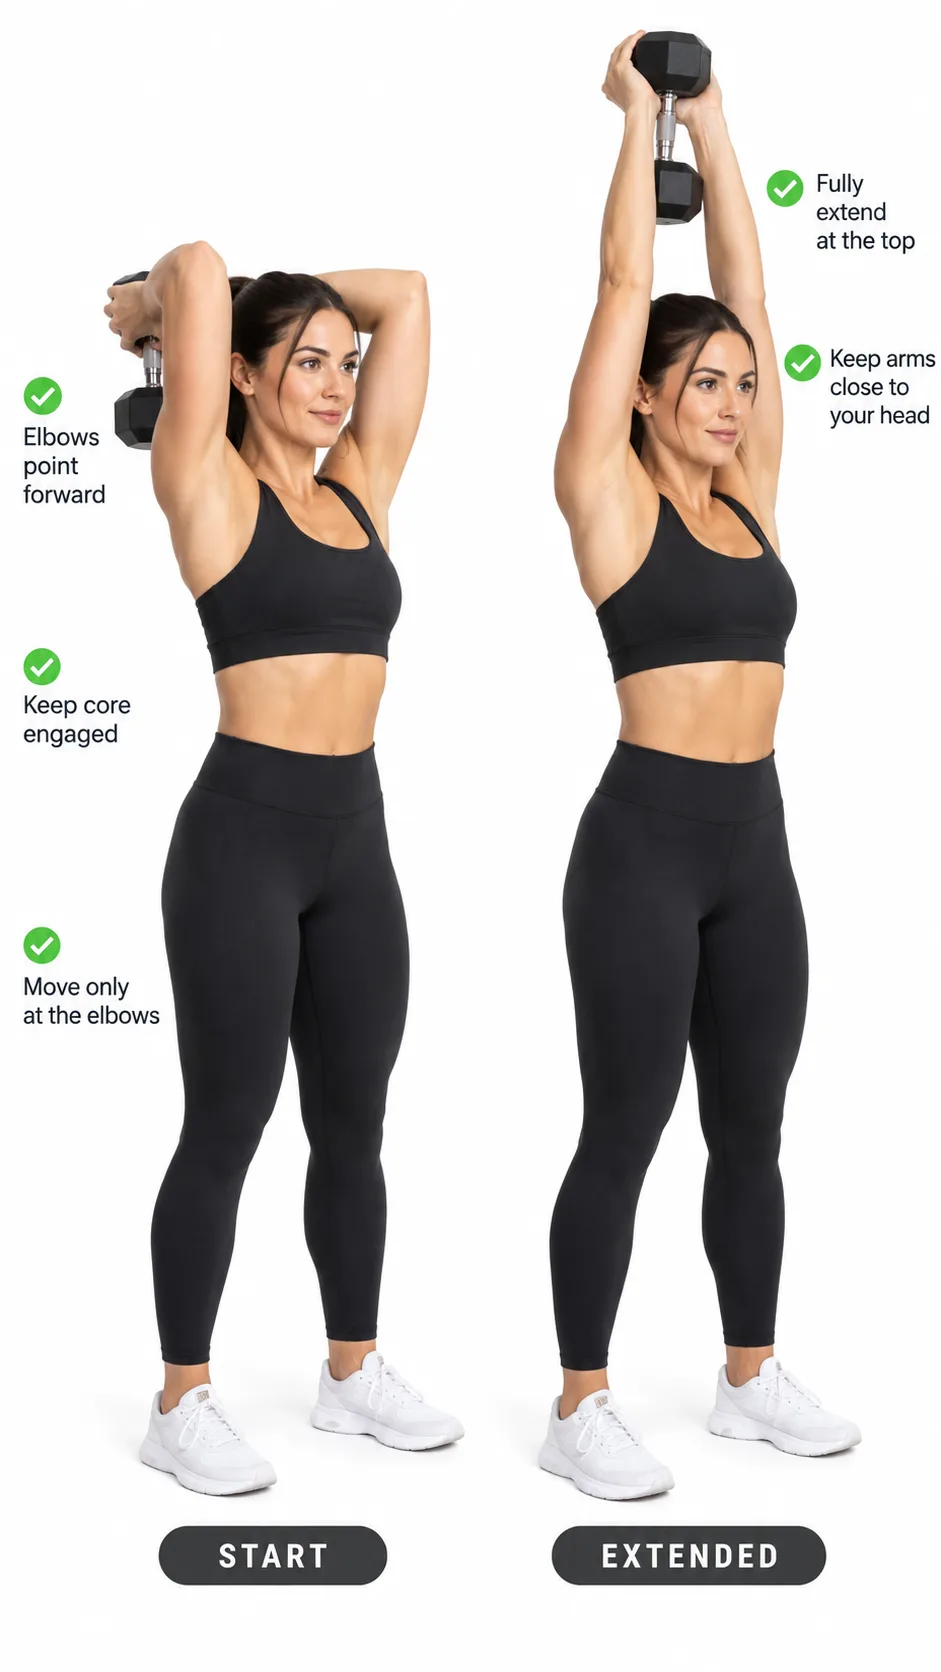
- Stand or sit. Hold one dumbbell with both hands, gripping the top end.
- Press the weight overhead until your arms are fully extended.
- Keeping your elbows close to your ears, lower the dumbbell behind your head by bending at the elbows.
- Extend back up by squeezing your triceps. That’s one rep.
Sets/Reps: 3 sets of 10-12 reps.
Watch your elbows here. They love to flare outward. Fight that urge. Keeping them tight and pointed forward maximizes tricep engagement and protects your shoulders.
Move #5: Tricep kickback
Kickbacks get a bad reputation online from people who use way too much weight and turn it into some bizarre shoulder exercise. Done correctly with a lighter weight, they create an incredible peak contraction in your triceps that few other exercises match.
- Hinge forward at your hips (about 45 degrees), keeping your back flat.
- Hold a dumbbell in each hand. Pull your elbows up so your upper arms are parallel to the floor.
- Extend your forearms straight back by squeezing your triceps. Lock out completely.
- Hold the top position for one second, then slowly return.
Sets/Reps: 3 sets of 12-15 reps. Use a lighter weight than you think you need. IMO, this exercise rewards control far more than heavy loading.
Move #6: Close-grip dumbbell press (floor press variation)
No bench? No problem. The floor press actually helps beginners because the floor limits your range of motion and prevents you from going too deep and stressing your shoulders. It’s a compound movement, meaning it hits your triceps AND your chest at the same time.
- Lie on your back on the floor, knees bent, feet flat.
- Hold a dumbbell in each hand with a neutral grip (palms facing each other), arms extended above your chest.
- Keep your elbows tucked close to your body as you lower the weights until your upper arms touch the floor.
- Press back up explosively, squeezing your triceps at the top.
Sets/Reps: 3 sets of 10-12 reps.
This exercise builds serious pressing strength that transfers to everything from push-ups to carrying groceries (the real functional fitness test, if we’re being honest).
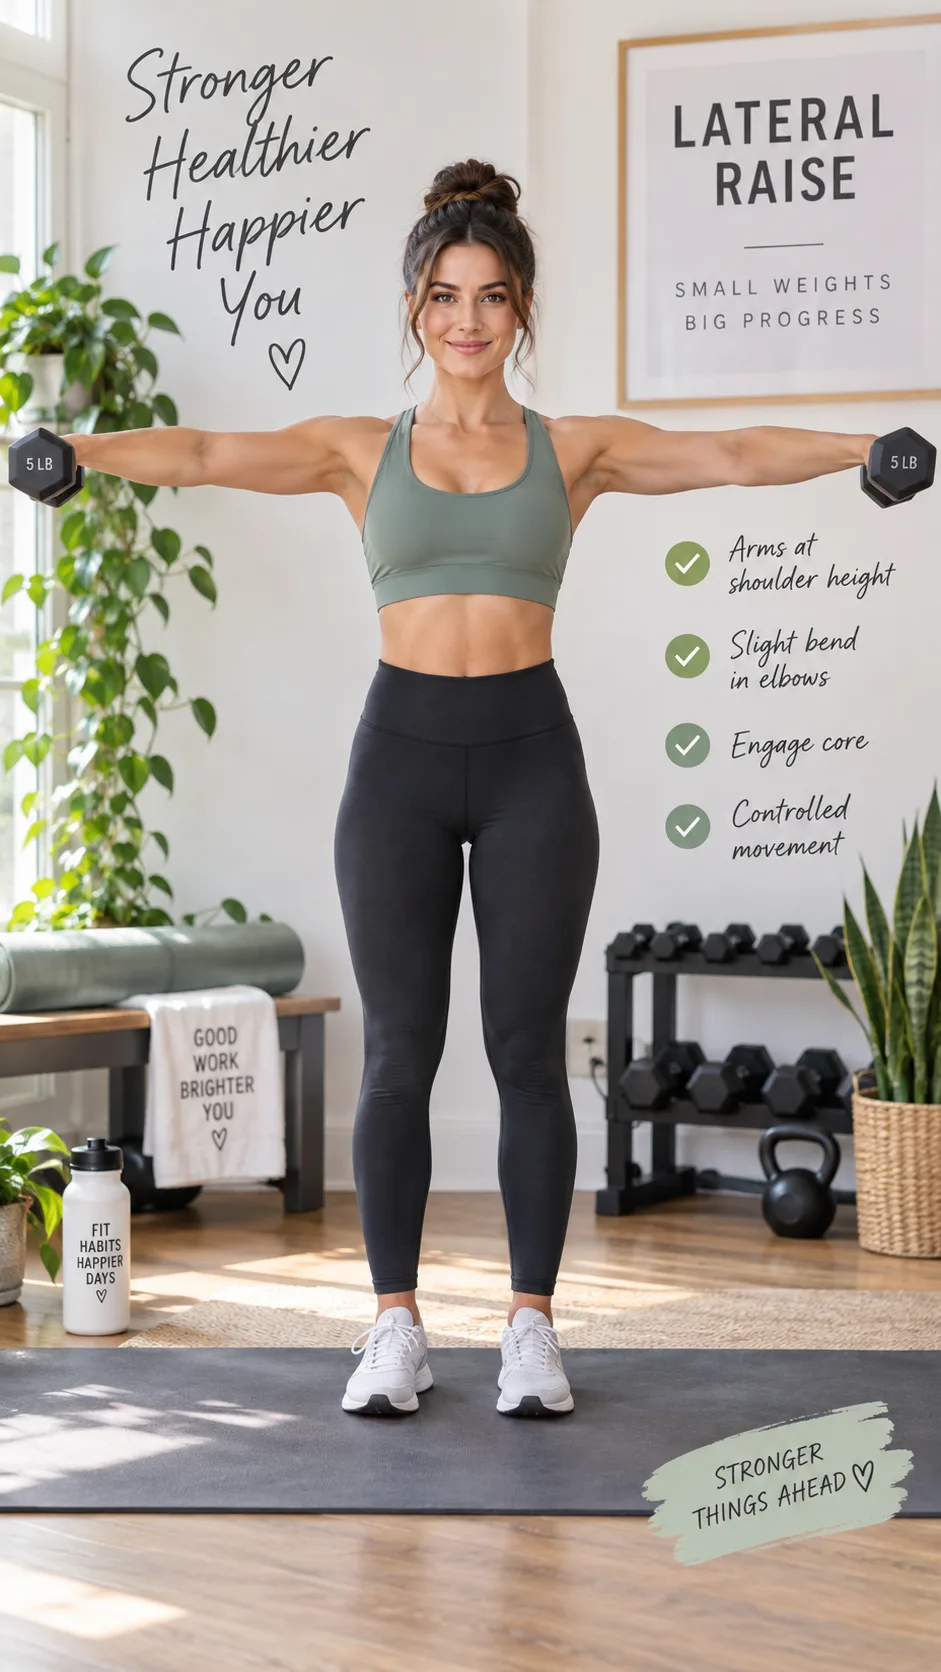
Move #7: Dumbbell lateral raise
Want that rounded shoulder cap that makes your arms look defined even in a t-shirt? Lateral raises target the medial deltoid, the side portion of your shoulder that creates width and that athletic silhouette everyone chases.
- Stand with dumbbells at your sides, slight bend in your elbows.
- Raise both arms out to the sides until they’re parallel to the floor (think: making a “T” shape).
- Lead with your elbows, not your hands. Imagine pouring water out of a pitcher at the top.
- Lower slowly. Do not let them drop. The lowering phase is where the magic happens.
Sets/Reps: 3 sets of 12-15 reps. Go LIGHT. I cannot stress this enough. Five-pound dumbbells will humble even experienced lifters on this exercise when done with strict form.
Move #8: Dumbbell Arnold press
Named after the man himself, the Arnold press rotates through multiple shoulder angles in a single rep, hitting your front, side, AND rear delts. It’s basically three exercises disguised as one, and it adds a polished finishing touch to your arm workout.
- Sit or stand holding dumbbells at shoulder height with palms facing you (like the top of a curl).
- As you press the weights overhead, rotate your palms outward so they face forward at the top.
- Reverse the rotation as you lower back down.
- That continuous rotation is what separates this from a standard shoulder press.
Sets/Reps: 3 sets of 8-10 reps. The rotation demands coordination, so start lighter and focus on the movement pattern first.
How to structure this into a complete workout
Doing all 8 exercises in one session works perfectly as a dedicated arm day. Here’s how I’d organize it for maximum efficiency:
- Warm-up: 2-3 minutes of arm circles, wrist rotations, and light shadow boxing.
- Biceps block: Standing curls, then hammer curls, then concentration curls (minimal rest between exercises, 90 seconds between rounds).
- Triceps block: Overhead extension, then kickbacks, then floor press.
- Shoulders block: Lateral raises, then Arnold press.
- Cool down: Stretch your biceps, triceps, and shoulders for 3-5 minutes.
Total time: approximately 25-35 minutes. That’s it. You’ll feel a serious pump by the end of the triceps block, and your shoulders will be on fire after the lateral raises. In the best way possible 🙂
How often should beginners train arms?
This is where most beginners go wrong. Training arms every single day won’t speed up your results. It’ll slow them down because your muscles grow during recovery, not during the workout itself.
Here’s the sweet spot for beginners:
- 2 times per week with at least 48-72 hours between sessions.
- Example schedule: Monday and Thursday, or Tuesday and Saturday.
- As you get stronger, increase weight by 2-5 lbs rather than adding more sessions.
According to the American College of Sports Medicine, beginners see optimal strength gains training each muscle group 2-3 times per week. More isn’t better; smarter is better. If you want to fill those rest days productively, a Pilates arm workout with weights offers lighter-intensity sculpting that complements this routine nicely.
Progressive overload: the thing nobody tells beginners about
Here’s what separates people who see results from people who spin their wheels for months: progressive overload. Your muscles adapt to stress. If you lift the same 8-pound dumbbells for the same 10 reps week after week, your body has zero reason to change.
You need to increase the demand over time. And you don’t always have to add weight to do it. Here are five ways to progressively overload as a beginner:
- Add reps: Went from 10 to 12 reps with the same weight? That’s progress.
- Add weight: Even 1-2 lbs makes a difference over months.
- Slow down the tempo: Take 3-4 seconds on the lowering phase instead of 2.
- Reduce rest time: Cut from 90 seconds to 60 seconds between sets.
- Add a set: Go from 3 sets to 4 when the exercise starts feeling easy.
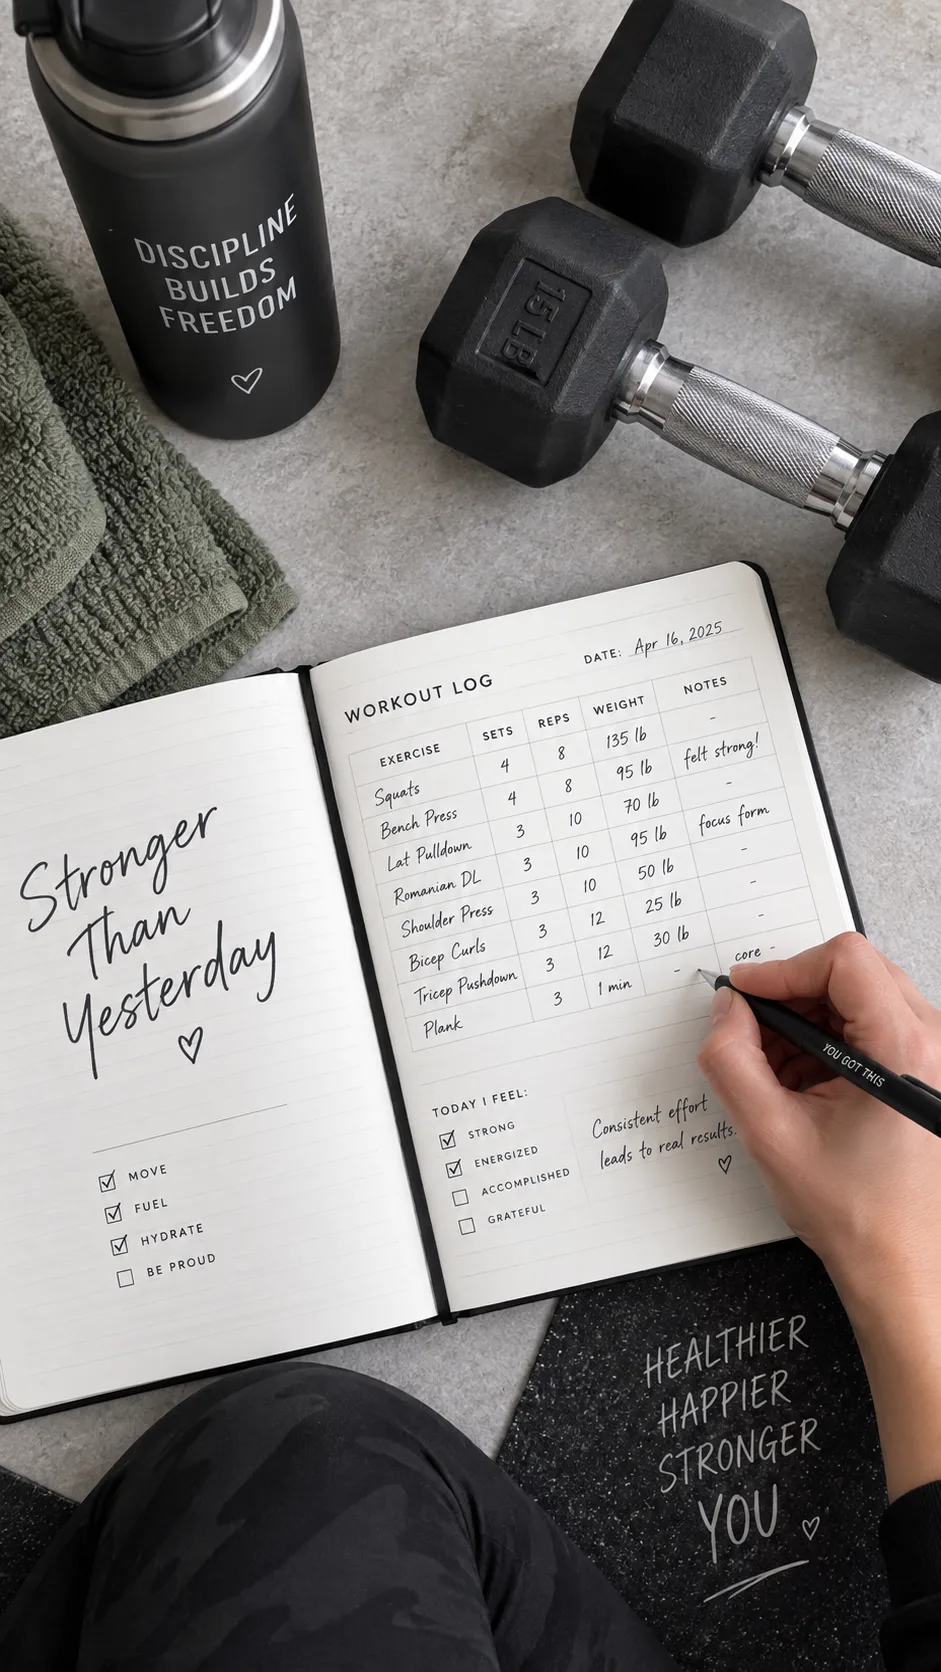
Track your workouts. Write down what you lifted, how many reps you completed, and how it felt. A simple notes app on your phone works perfectly. Without tracking, you’re just guessing, and guessing doesn’t build defined arms.
Common mistakes that kill your arm gains
I made every single one of these mistakes when I started. Save yourself the frustration and learn from my embarrassing first year of training:
Using too much weight
Your ego wants heavy dumbbells. Your biceps want weight they can control for 10-12 clean reps. Form always beats weight. Always. A perfectly executed curl with 10 lbs builds more muscle than a sloppy, swinging curl with 25 lbs. Research from the National Library of Medicine consistently supports this: controlled tempo and full range of motion trump load for hypertrophy in beginners.
Neglecting triceps
Remember, triceps account for roughly 60-67% of your upper arm size. If you’re only doing curls, you’re literally ignoring two-thirds of your arm. Balance your bicep and tricep volume equally, and watch how much faster your arms fill out.
Skipping the negative (eccentric) phase
Letting the weight drop after curling it up is like driving to the gym and sitting in the parking lot. The lowering phase causes the most muscle damage (the good kind that triggers growth). Control every inch of every rep, in both directions.
Not eating enough protein
You can have the perfect workout routine and still see mediocre results if your nutrition doesn’t support muscle growth. Aim for 0.7-1 gram of protein per pound of bodyweight daily. That’s the range most evidence supports for building lean muscle. If you’re also exploring nutrition strategies, a Mediterranean diet approach pairs exceptionally well with strength training goals.
Sample weekly schedule for beginners
Wondering how this arm workout fits into a broader training plan? Here’s a simple weekly layout that gives every muscle group attention without burning you out:
- Monday: Free Weight Arm Workout (this routine)
- Tuesday: Lower body (squats, lunges, deadlifts)
- Wednesday: Rest or light walking
- Thursday: Free Weight Arm Workout (repeat)
- Friday: Lower body + core
- Saturday: Active recovery (yoga, stretching, light cardio)
- Sunday: Full rest
This schedule hits arms twice per week with adequate recovery between sessions. It’s simple, sustainable, and it works, which is exactly what a beginner program should be. Nobody needs a 6-day split when they’ve been training for three weeks.
How long until you see results?
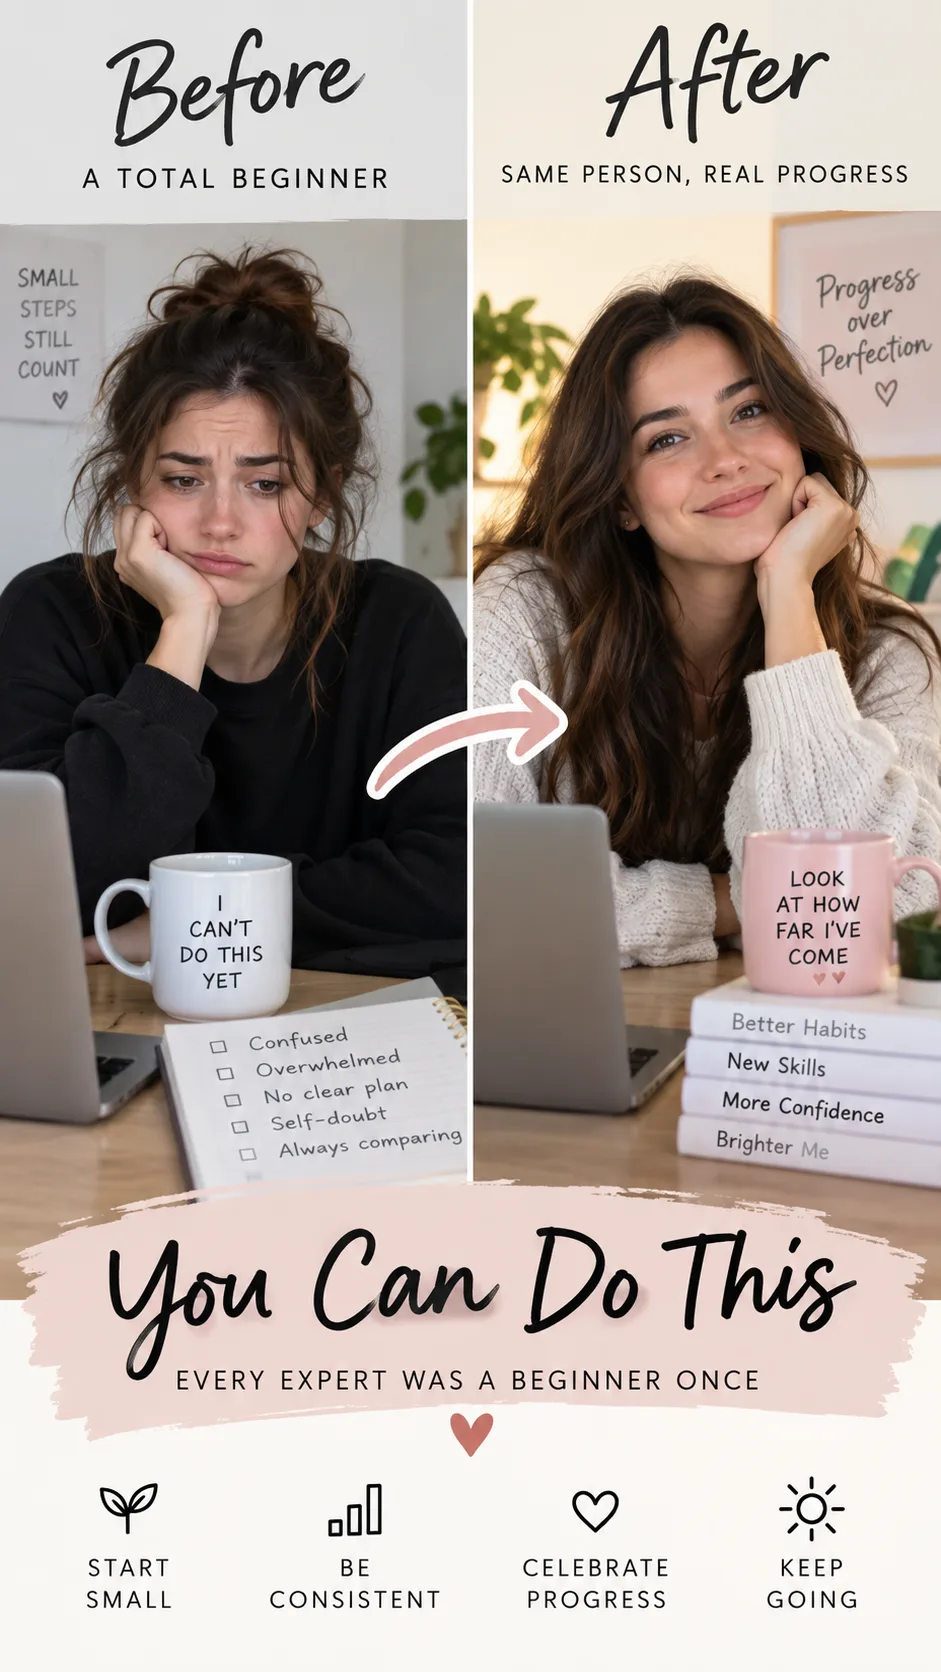
Time to set realistic expectations, because Instagram fitness timelines are absolute fiction. Here’s what the actual timeline looks like for most beginners following a consistent free weight arm workout:
- Weeks 1-2: You’ll feel stronger during the exercises. Your muscles will “wake up” and the mind-muscle connection improves noticeably.
- Weeks 3-4: Your arms will start feeling firmer to the touch, even if visible changes are subtle. Friends might not notice yet, but you will.
- Weeks 6-8: Visible definition begins showing, especially in the triceps and shoulders. This is where consistency pays off.
- Weeks 10-12: Noticeable arm definition that other people start commenting on. This is the sweet spot where most beginners finally “see” the transformation.
These timelines assume you’re training consistently (twice per week minimum), progressively overloading, and eating adequate protein. Miss any of those three pillars and everything slows down.
The bottom line
Building defined arms with free weights isn’t complicated, but it does require consistency and patience. These 8 beginner-friendly exercises (standing curls, hammer curls, concentration curls, overhead extensions, kickbacks, floor press, lateral raises, and Arnold press) cover every angle of your arms and shoulders for balanced, visible definition.
You don’t need machines. You don’t need a gym membership. You need a pair of dumbbells, a plan, and the willingness to show up twice a week even when you’d rather not. Start with weights you can control perfectly, track your progress, add challenge gradually, and eat enough protein to support the muscle you’re building.
Your arms are capable of way more than you think. Pick up those dumbbells, run through this workout today, and prove it to yourself. Three months from now, you’ll be really glad you started this week.