
You don’t need a gym membership. You don’t need dumbbells gathering dust in the corner. You don’t even need those fancy resistance bands your coworker keeps raving about. Your body is the only piece of equipment you need to build real, functional strength, and I’m going to show you exactly how.
I spent years believing I needed a fully stocked gym to make progress. Spoiler: I was wrong. After a knee injury forced me to train at home with nothing but my living room floor and sheer stubbornness, I realized that bodyweight training isn’t just a “backup plan.” It’s a legitimate, science-backed way to get stronger, leaner, and more mobile.
This guide lays out a complete full body workout at home with no equipment, designed specifically for beginners who want results without confusion.
Why bodyweight training builds real strength (not just “fitness”)
Here’s what most people get wrong: they assume that without heavy weights, you can’t build serious strength. But research from the Journal of Strength and Conditioning Research has shown that bodyweight exercises can produce comparable muscle activation to weighted exercises, especially for beginners.
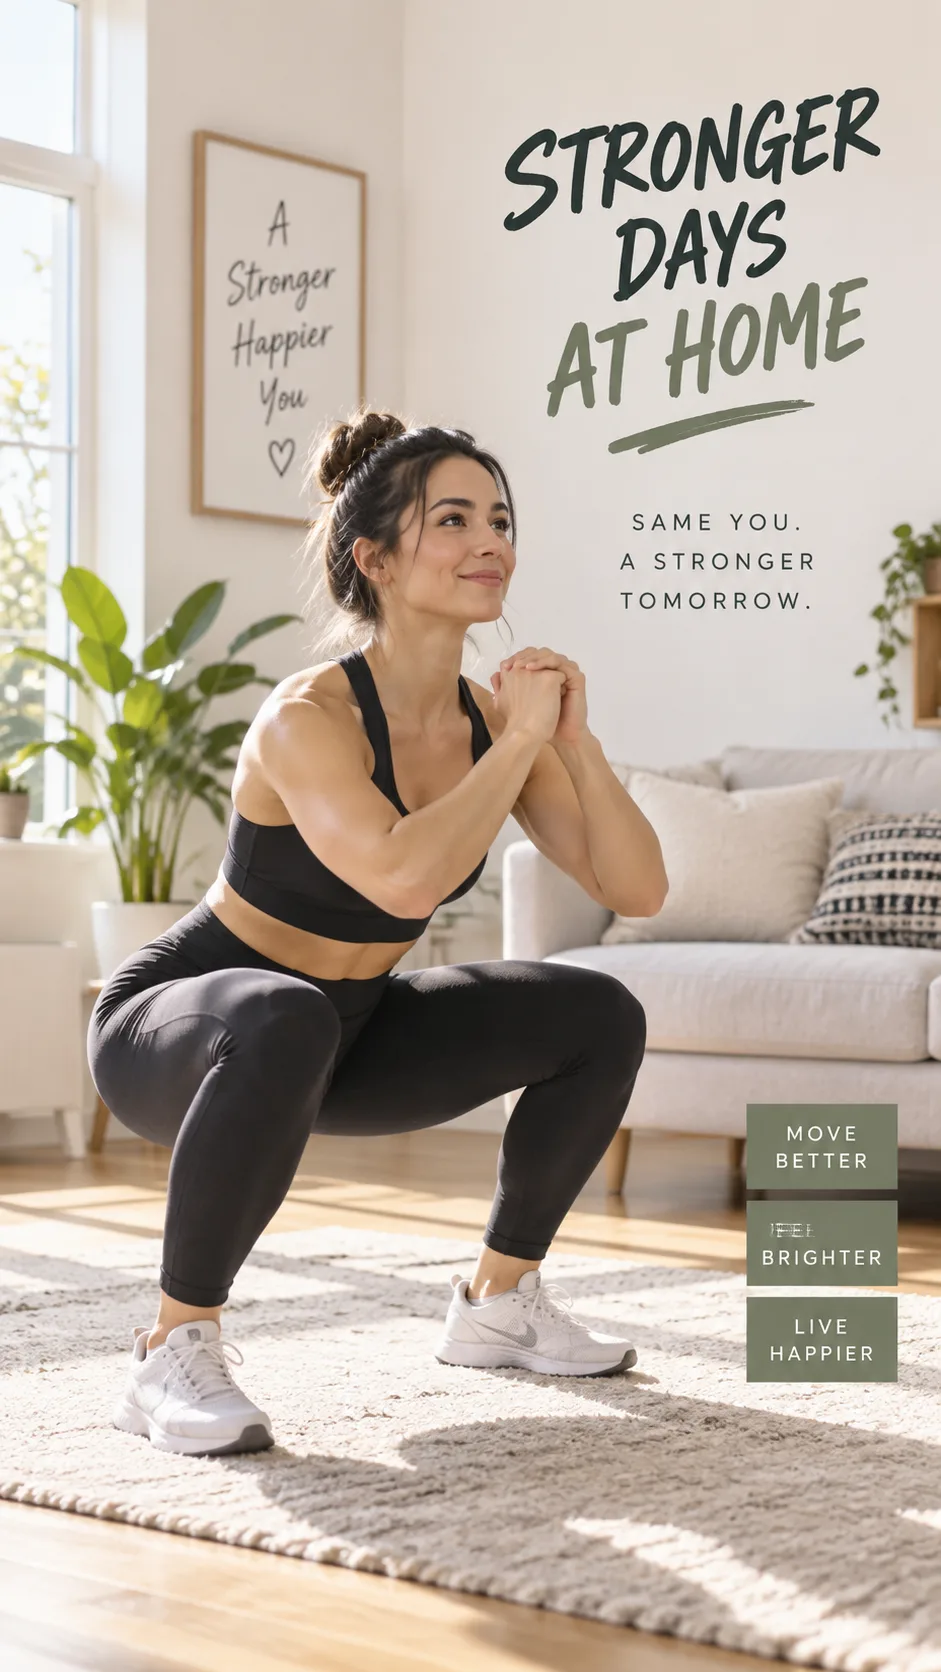
Think about it. A push-up forces your chest, shoulders, triceps, and core to work together as a unit. A squat loads your quads, glutes, hamstrings, and stabilizer muscles simultaneously. These compound movements mimic how your body actually functions in real life, which means the strength you build transfers directly to everyday activities.
And if you can’t control your own bodyweight through a full range of motion, adding external load is like building a house on sand. Master the basics first. Everything else gets easier after that.
Before you start: the 5-minute warm-up you shouldn’t skip
I know, I know. Warm-ups feel boring. But skipping them is how you end up pulling a hamstring while doing a lunge and spending the next two weeks on the couch feeling sorry for yourself. Five minutes of prep saves you weeks of recovery.
Run through this sequence before every session:
- Arm circles, 15 seconds forward, 15 seconds backward
- Leg swings, 10 per leg, front to back
- Hip circles, 10 per direction
- High knees, 30 seconds at a moderate pace
- Inchworms, 5 reps, slow and controlled
Your muscles should feel warm, your heart rate slightly elevated, and your joints should move freely. That’s the green light to begin.
The complete full body workout at home, no equipment needed
This routine hits every major muscle group in roughly 30-40 minutes. I’ve structured it so you work from the ground up: lower body first, then upper body, then core. Each exercise includes beginner modifications so nobody gets left behind.
Lower body: build your foundation
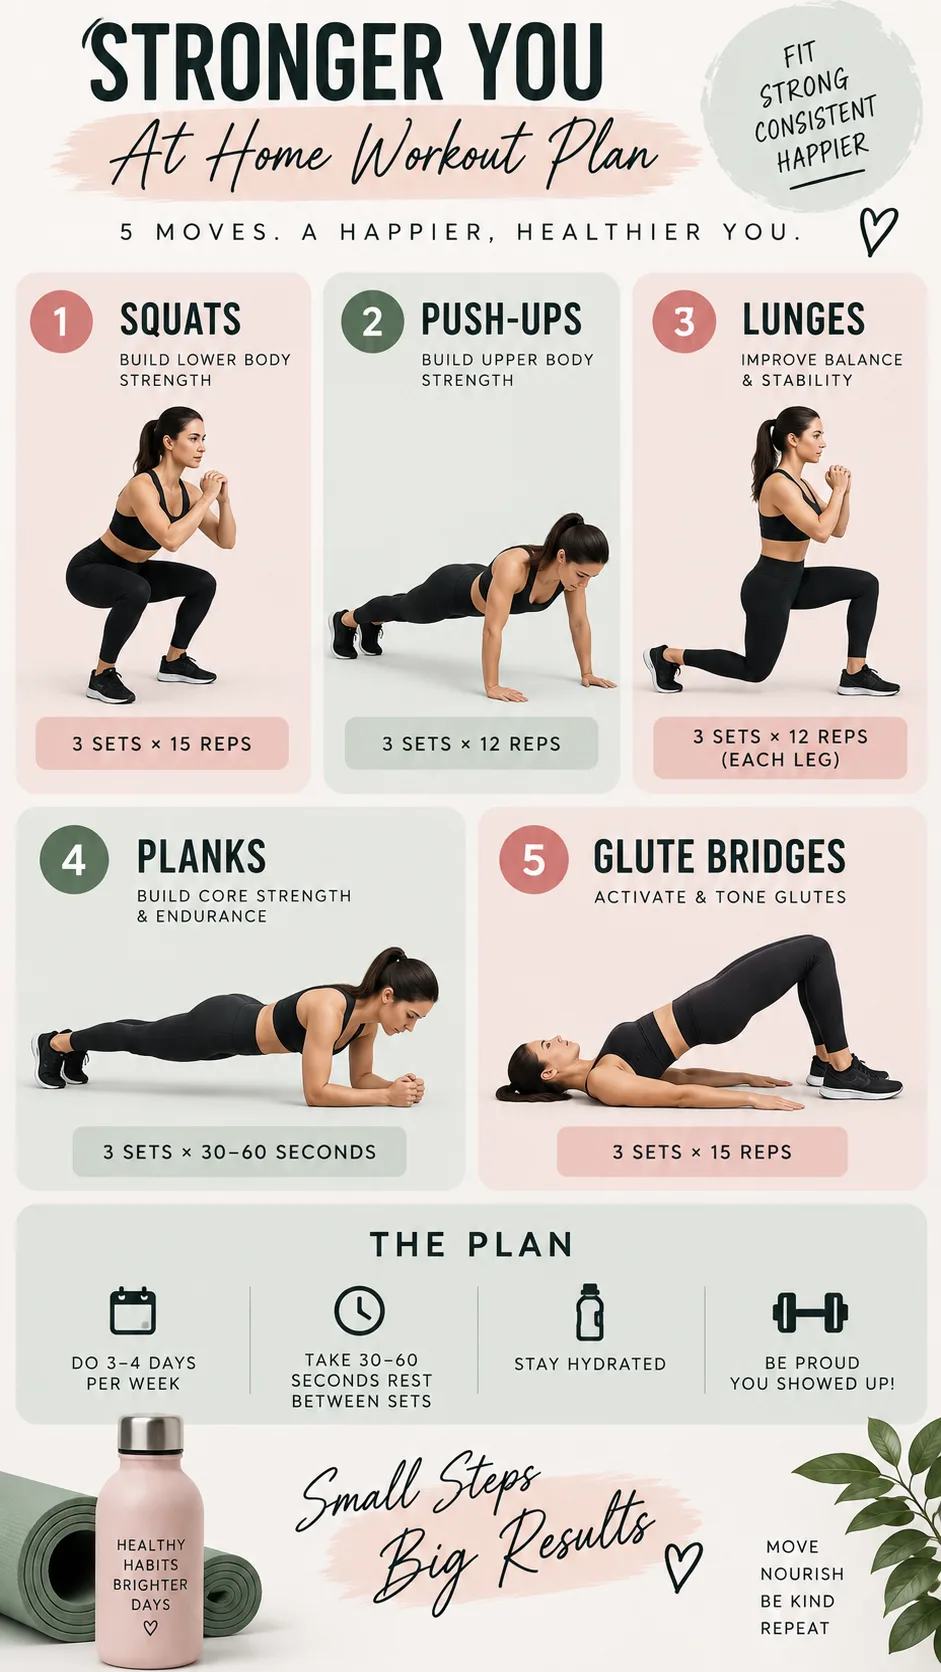
1. Bodyweight Squats, 3 sets of 12-15 reps
Stand with feet shoulder-width apart. Push your hips back like you’re sitting into a chair, keep your chest tall, and lower until your thighs reach parallel (or as close as you can get). Drive through your heels to stand back up. Beginner modification: Place a chair behind you and tap it lightly with your glutes at the bottom of each rep for depth reference.
2. Reverse Lunges, 3 sets of 10 per leg
Step one foot backward, lower your back knee toward the floor, then push through your front heel to return to standing. Reverse lunges put less stress on your knees than forward lunges, making them a smarter choice for beginners. Keep your torso upright throughout.
3. Glute Bridges, 3 sets of 15 reps
Lie on your back, feet flat on the floor, knees bent. Squeeze your glutes and drive your hips toward the ceiling. Hold for a one-second squeeze at the top, then lower slowly. This exercise fires up your glutes and hamstrings while protecting your lower back. If you want an even more targeted lower body challenge, check out our guide on leg and glute workouts that build strength and shape.
Upper body: push, pull, and press
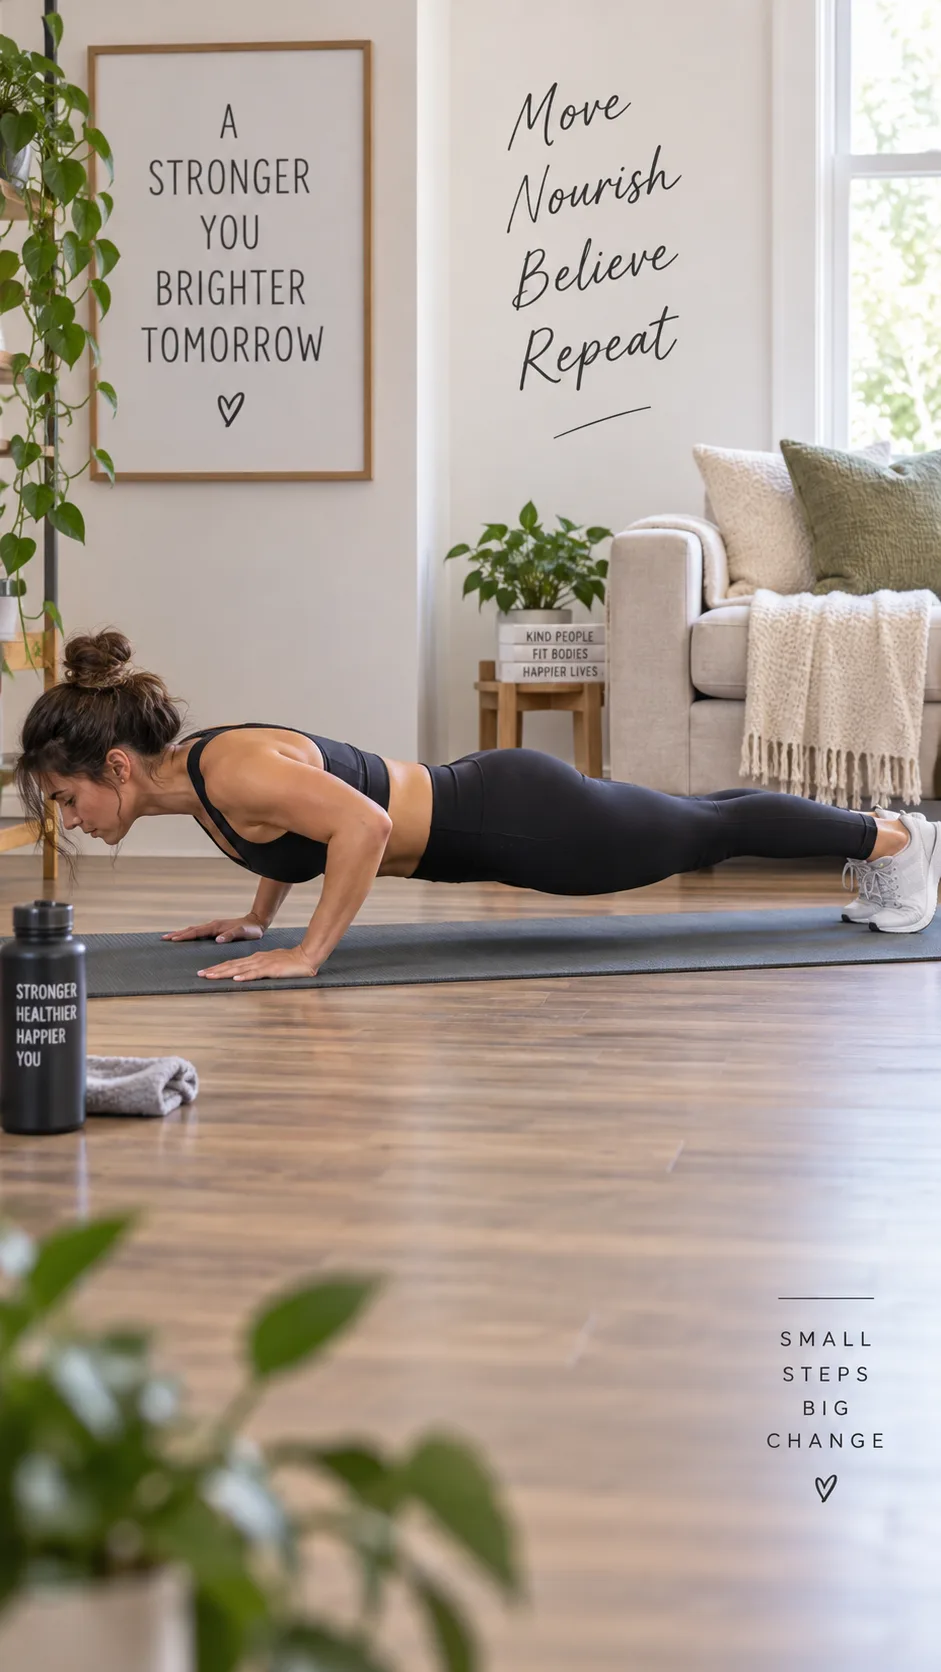
4. Push-Ups, 3 sets of 8-12 reps
The king of upper body bodyweight exercises. Hands slightly wider than shoulder-width, body in a straight line from head to heels. Lower your chest to the floor, then press back up. Beginner modification: Perform them on your knees or with your hands elevated on a sturdy surface like a countertop. No shame in scaling. Everyone starts somewhere.
5. Diamond Push-Ups, 2 sets of 6-10 reps
Place your hands close together under your chest, forming a diamond shape with your index fingers and thumbs. This variation shifts the emphasis to your triceps and inner chest. It’s harder than a standard push-up, so drop to your knees if you need to.
6. Superman Hold, 3 sets of 10 reps (hold 2 seconds each)
Lie face down, arms extended overhead. Simultaneously lift your arms, chest, and legs off the floor. Squeeze your back muscles at the top and hold for two seconds before lowering. This exercise targets your entire posterior chain: upper back, lower back, and glutes. For more upper body work you can do without equipment, our arm and back workout guide has you covered.
Core: the glue that holds everything together
7. Plank, 3 sets of 20-30 seconds
Forearms on the floor, body in a straight line, abs braced like someone’s about to poke you in the stomach. Don’t let your hips sag or pike upward. If 30 seconds feels easy, congratulations, you’re already ahead of most beginners. Add 5 seconds each week.
8. Dead Bugs, 3 sets of 8 per side
Lie on your back, arms pointing toward the ceiling, knees bent at 90 degrees. Extend your right arm overhead while simultaneously extending your left leg, then return to start and switch sides. Keep your lower back pressed firmly into the floor the entire time. This exercise teaches your core to stabilize while your limbs move, which is exactly how your body operates during real-world activities.
9. Mountain Climbers, 3 sets of 20 reps (10 per leg)
Start in a high plank position. Drive one knee toward your chest, then quickly switch legs. Move at a controlled pace. This isn’t a sprint. Mountain climbers double as both a core exercise and a cardio burst, making them ridiculously efficient for a home workout.
How to structure your weekly schedule
Doing this workout once won’t change anything. Consistency does the heavy lifting (pun very much intended). Here’s what a smart beginner schedule looks like:
- Monday: Full body workout
- Tuesday: Rest or light walking
- Wednesday: Full body workout
- Thursday: Rest or active recovery (stretching, yoga)
- Friday: Full body workout
- Saturday & Sunday: Rest, recovery, live your life
Three sessions per week is the sweet spot for beginners. It gives your muscles enough stimulus to grow while allowing adequate recovery time between sessions. The American College of Sports Medicine recommends 2-3 resistance training sessions per week for general health, so this schedule lines up with established guidelines.
Ever wondered why rest days matter so much? Your muscles don’t actually grow during the workout. They grow during recovery. Training breaks muscle fibers down; rest rebuilds them stronger. Skip recovery, and you’ll stall out faster than you’d expect.
Progressive overload: how to get stronger without adding weight
Here’s the question everyone eventually asks: “If I’m not adding weight, how do I keep getting stronger?” Great question. The answer is progressive overload, and you have more tools than you think.
- Add reps. Can you do 12 squats comfortably? Aim for 15 next week.
- Add sets. Going from 3 sets to 4 sets increases total training volume significantly.
- Slow down the tempo. Take 3 seconds to lower yourself during a push-up. That extra time under tension is BRUTAL in the best way.
- Reduce rest time. Cut your rest periods from 90 seconds to 60 seconds between sets.
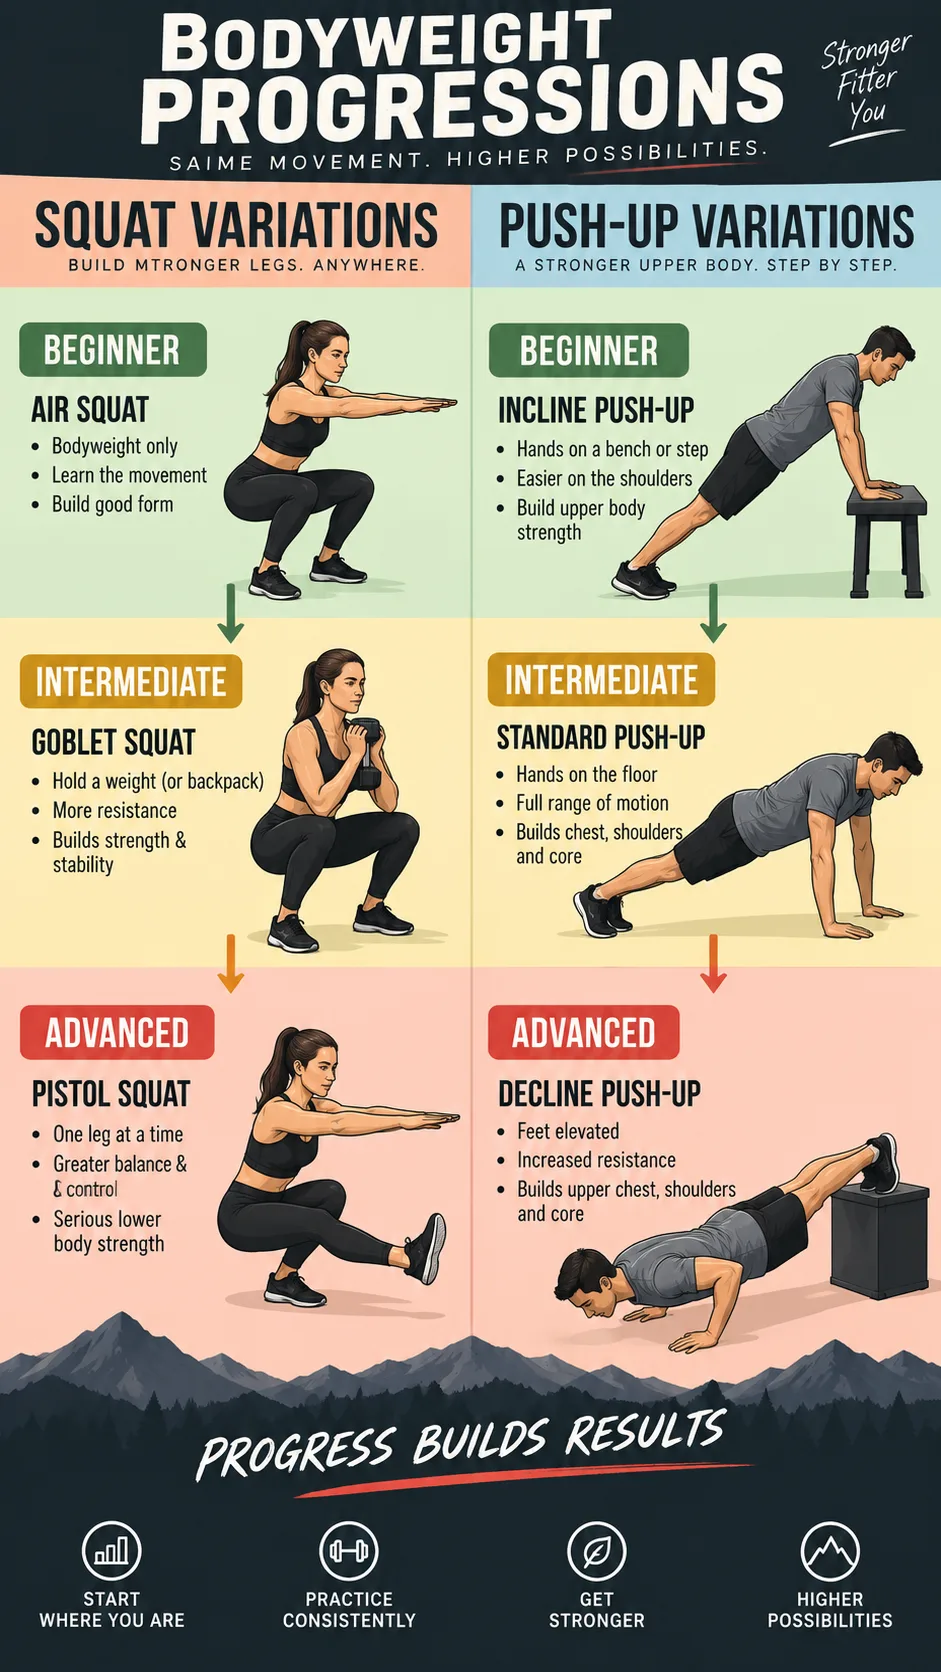
- Progress to harder variations. Standard push-ups to decline push-ups to archer push-ups. Standard squats to Bulgarian split squats to pistol squats.
- Add pauses. Hold the bottom of a squat for 3 seconds before standing. Your muscles will scream, and then they’ll adapt.
IMO, the tempo manipulation method is the most underrated tool on this list. Slowing your reps down instantly makes any exercise 2-3x harder without changing a single other variable. Try it once and you’ll understand why.
The 7 most common mistakes beginners make (and how to avoid them)
I’ve made every single one of these mistakes. Learn from my suffering so you don’t repeat it 🙂
1. Going too hard too fast. Your enthusiasm on Day 1 means nothing if you can’t walk on Day 3. Start with fewer sets and lighter intensity. Build gradually.
2. Sacrificing form for reps. Ten ugly push-ups accomplish less than five perfect ones. Quality over quantity, always. A study published by the National Library of Medicine confirms that proper exercise form maximizes muscle activation and reduces injury risk.
3. Ignoring the warm-up. We covered this. Don’t be that person.
4. Only training “mirror muscles.” Your chest and abs look cool, sure. But neglecting your back, glutes, and hamstrings creates muscle imbalances that lead to pain and injury down the road. This routine is balanced for a reason.
5. Not tracking progress. If you can’t measure it, you can’t improve it. Keep a simple notebook or use your phone to log reps, sets, and how each session felt.
6. Holding your breath. Breathe out during the exertion phase (the hard part) and breathe in during the lowering phase. Holding your breath spikes your blood pressure and limits performance.
7. Expecting overnight results. Strength training is a long game. You’ll feel changes within 2-3 weeks, see noticeable differences around the 6-8 week mark, and hit your stride around 12 weeks. Trust the process and stay consistent.
Nutrition: the other half of the equation
You can’t out-train a terrible diet. I wish someone had told me this when I started. It would’ve saved me months of wondering why I wasn’t seeing results despite training consistently.
You don’t need to follow some extreme meal plan. Focus on these fundamentals:
- Protein at every meal, aim for roughly 0.7-1g per pound of bodyweight daily. Chicken, fish, eggs, beans, Greek yogurt, tofu. Pick your favorites.
- Enough total calories, your body needs fuel to build muscle. Undereating sabotages recovery.
- Hydration, drink at least half your bodyweight (in pounds) in ounces of water daily. Dehydrated muscles perform worse. Period.
- Whole foods over processed foods, 80% of the time, eat stuff that grew from the ground or had a face. The other 20%? Enjoy your pizza guilt-free.
If you’re also managing weight loss alongside strength building, our GLP-1 strength training guide breaks down how to balance both goals effectively.

When should you add equipment?
Eventually (and this is a GOOD sign) the bodyweight routine will start feeling too easy, even with all the progressive overload tricks listed above. That’s your body telling you it’s ready for more.
Here’s a rough timeline for most beginners:
- Weeks 1-4: Master the basic movements and build consistency
- Weeks 5-8: Apply progressive overload techniques (tempo, pauses, harder variations)
- Weeks 9-12: Consider adding resistance bands or a single kettlebell
- Week 12+: Explore structured programs with external load if desired
But let me be clear. You can build an impressive physique and serious functional strength using nothing but your bodyweight for a LONG time. Gymnasts, calisthenics athletes, and military personnel prove this every single day. Equipment is an option, not a requirement.
When you do decide to level up, a certified personal trainer can help you transition smoothly. Or you could start with something simple like a kettlebell. Our full body kettlebell workout is a natural next step from this routine.
The mental game: why starting is the hardest part
Can we talk about something nobody mentions in workout articles? The hardest rep isn’t the last push-up. It’s the decision to start.
Your brain will manufacture a thousand excuses. “I’ll start Monday.” “I don’t have enough space.” “I don’t know if I’m doing it right.” Sound familiar? Every single person who ever got fit had those exact same thoughts and did it anyway.
Here’s my advice: don’t wait until you feel motivated. Motivation is unreliable. Build a routine instead. Set a specific time, put your workout clothes on, and just begin. Most days, once you finish the warm-up, the resistance melts away and you’ll wonder why you hesitated.
And on the days where it genuinely feels terrible? Do half the workout. Something always beats nothing :/
Putting it all together: your action plan
You now have everything you need to start a full body workout at home with no equipment that actually builds strength. No gym required. No excuses left. Here’s your quick-reference checklist:
- Warm up for 5 minutes before every session
- Perform the 9-exercise routine three times per week
- Rest 60-90 seconds between sets
- Track your reps and sets in a notebook or app
- Apply progressive overload every 1-2 weeks
- Eat enough protein and stay hydrated
- Prioritize sleep and recovery on off days
The routine above isn’t flashy. It won’t trend on social media. But it works, consistently, reliably, and for anyone willing to show up three times a week and put in honest effort.
Your living room floor is your gym. Your bodyweight is your barbell. And the only thing standing between you and real strength is the decision to start today. So close this tab, clear some floor space, and give yourself those first 30 minutes. Future you will be grateful.