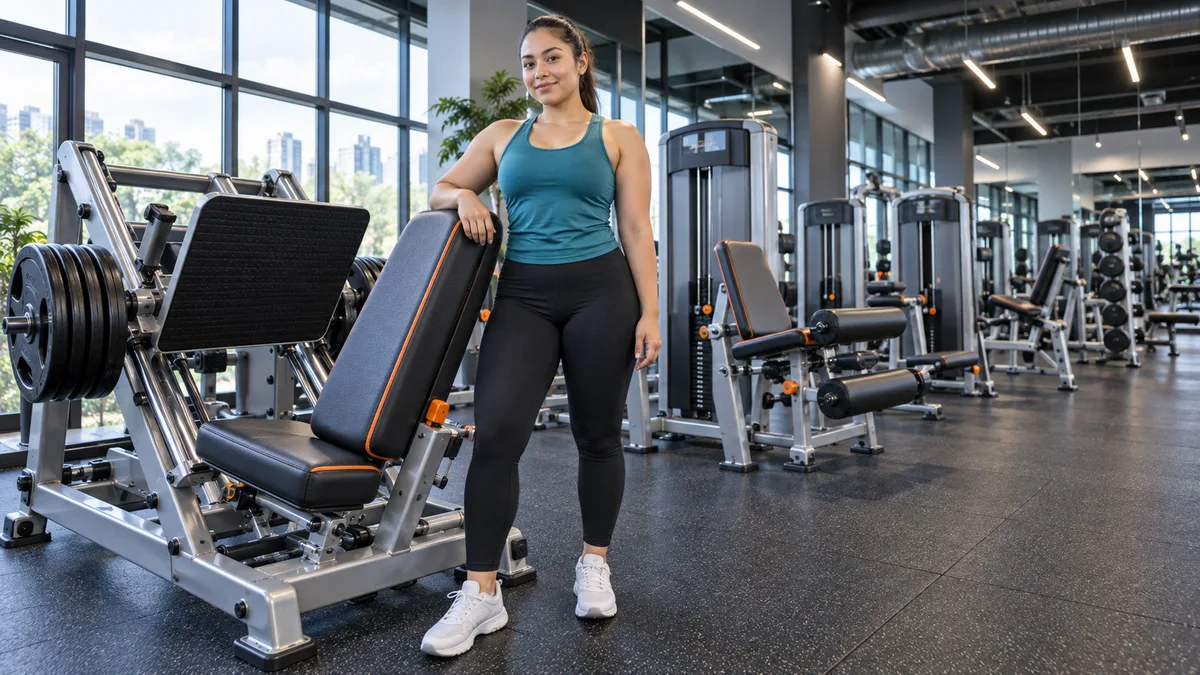
You walked into the gym, looked at the row of leg machines, and immediately felt like you wandered into the cockpit of a spaceship. Every handle, pad, and pin looks like it could launch you into orbit. Or, worse, embarrass you in front of the regulars. Sound familiar?
Here’s the thing: leg machines are the most beginner-friendly equipment in the entire gym. They guide your movement, reduce your injury risk, and let you focus on working your muscles instead of worrying about balance or form breakdowns. Free weights are great, but when you’re just starting out, machines remove about 90% of the guesswork.
I remember my first leg day. I sat on the leg press backwards. BACKWARDS. A kind stranger tapped me on the shoulder and pointed me the right way. If this article saves even one person from that experience, I’ve done my job.
So we’re going to break down the exact machines you need, how to use each one properly, and the complete beginner leg workout routine that’ll have your legs feeling stronger (and probably a bit wobbly) within weeks.
Why leg machines beat free weights for beginners
Before we get into the specific machines, we need to address the elephant in the weight room. You’ve probably heard someone say “just squat with a barbell” as if that’s helpful advice for someone who’s never stepped foot in a gym. A barbell back squat requires ankle mobility, hip mobility, core stability, and coordination, all at the same time. That’s a lot to ask on day one.
Leg machines solve this problem. They lock you into a fixed range of motion, meaning you can’t really mess up the movement pattern. Your body just follows the track. The American College of Sports Medicine has found that machine-based resistance training produces comparable strength gains to free weights in beginners, with a significantly lower learning curve.
Machines also let you isolate specific muscles more effectively. Want to target your quads without your lower back screaming at you? There’s a machine for that. Want to hammer your hamstrings without worrying about deadlift form? Got you covered there too.
The confidence factor
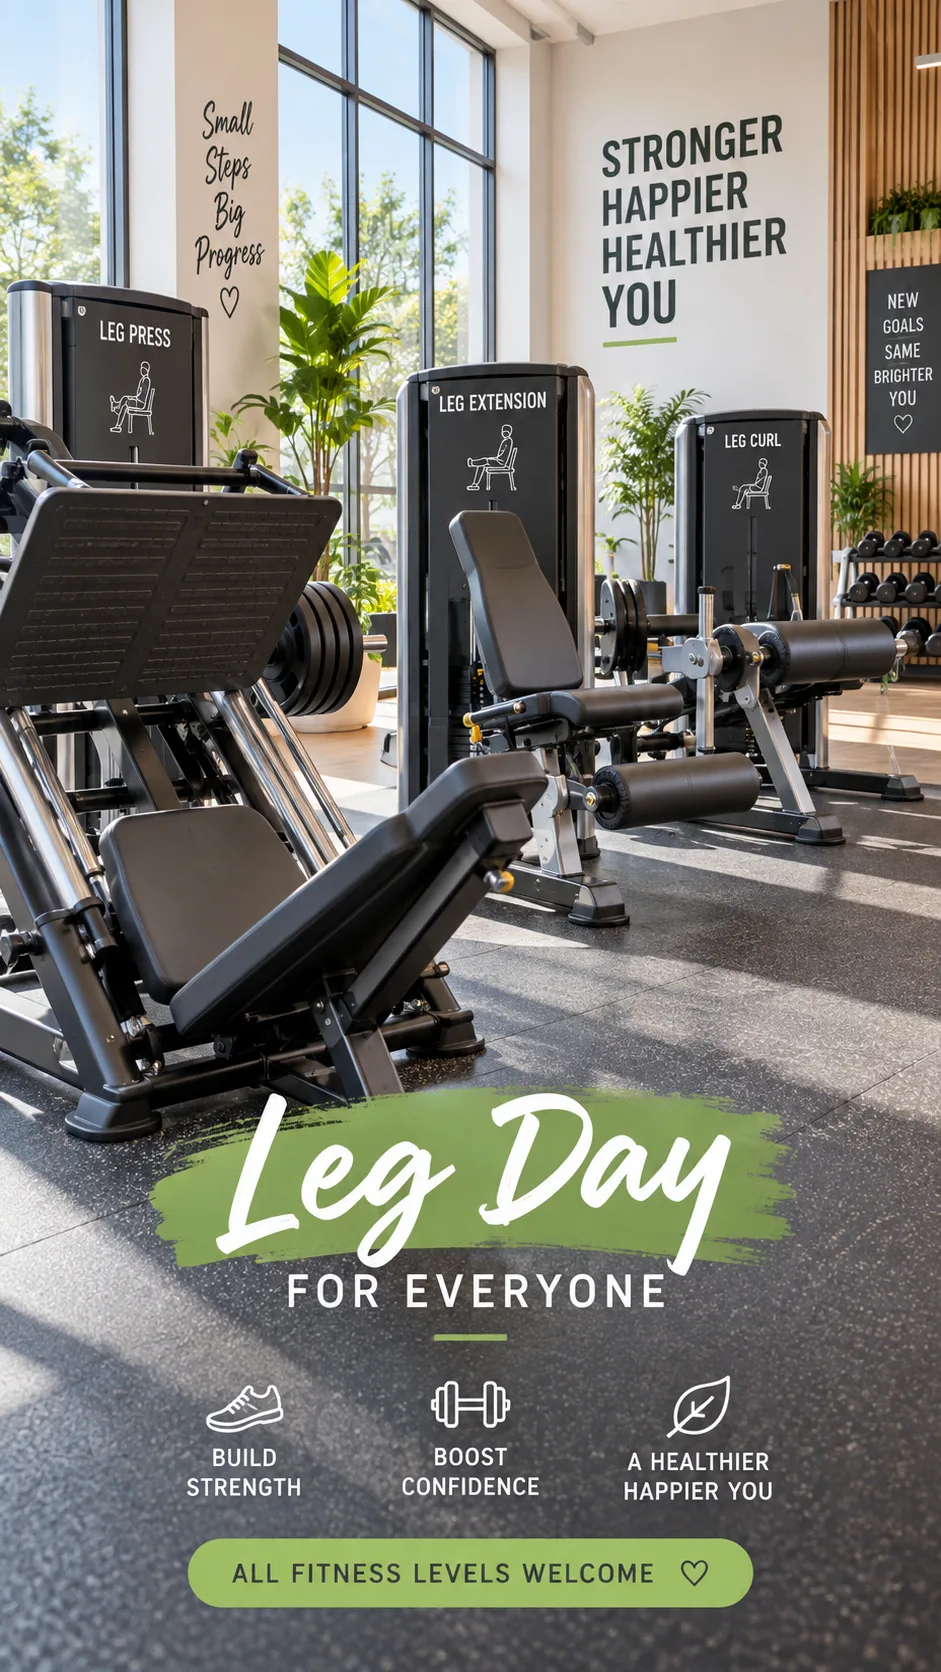
Gym intimidation is real. Machines come with little diagrams showing you exactly which muscles they work and how to position your body. They’re basically the IKEA instructions of fitness, except these ones make sense. That built-in guidance gives beginners the confidence to push hard without second-guessing every rep.
The 6 best leg machines for beginners (and how to use each one)
Not all machines deserve your time. Some are fantastic, some are forgettable, and a few are genuinely confusing even for experienced lifters. Here are the six that’ll give you the most bang for your buck as a beginner.
1. Leg press machine
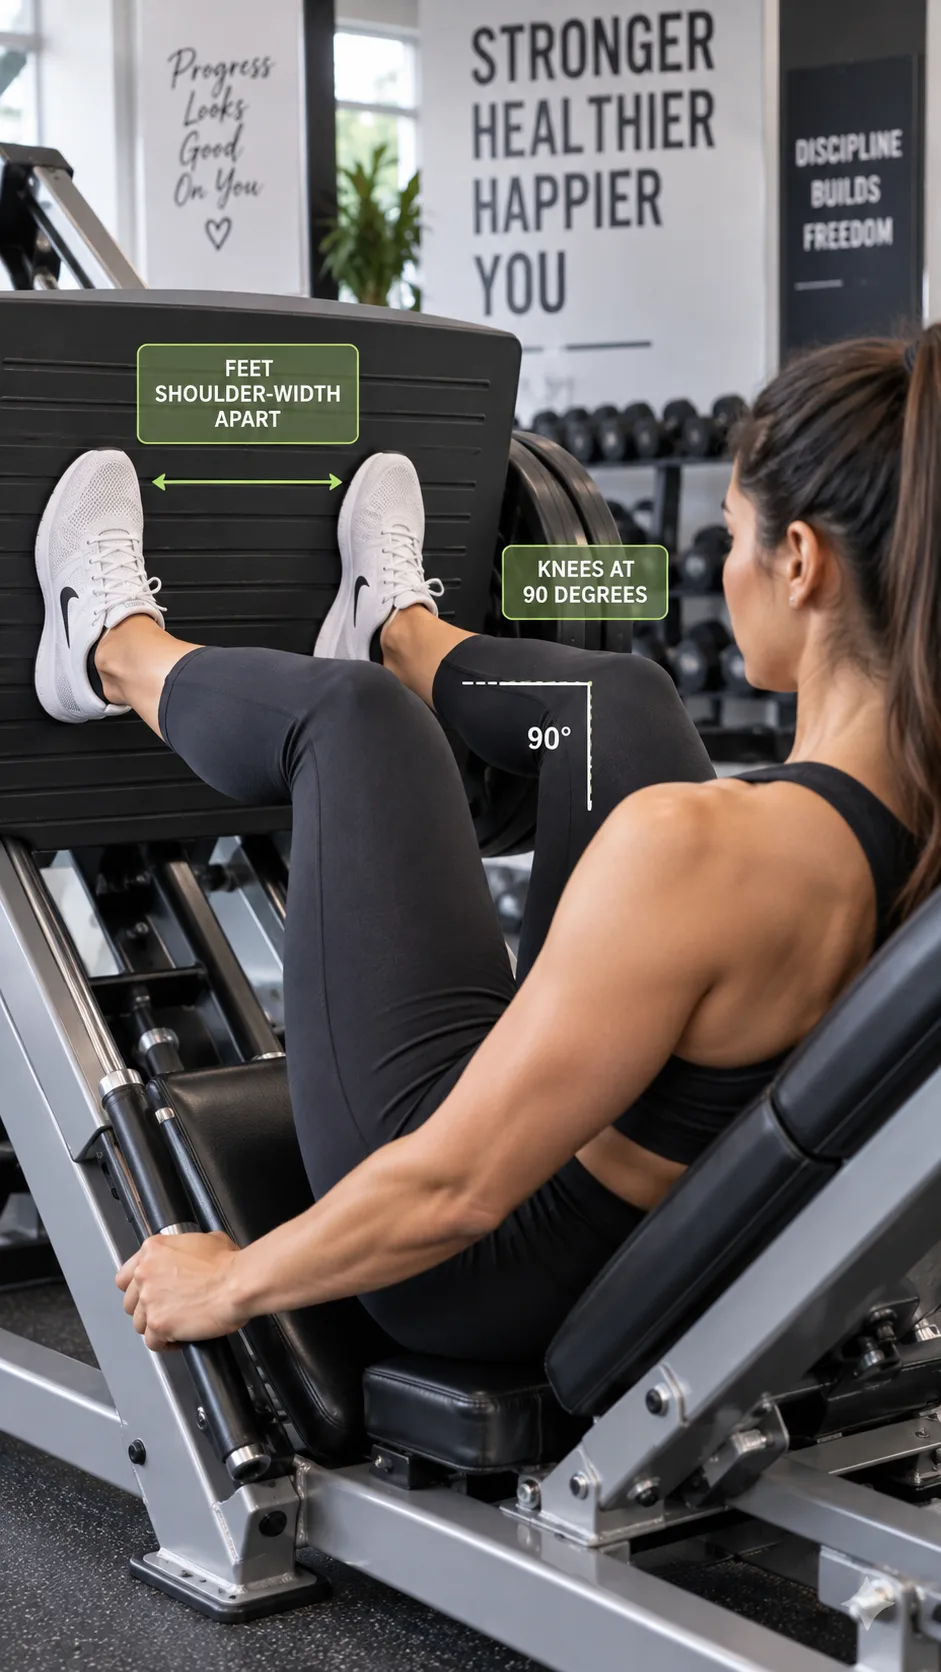
The leg press is the king of beginner leg machines. You sit back, place your feet on a platform, and push. It targets your quads, glutes, and hamstrings simultaneously, making it the closest thing to a squat you can do on a machine.
How to set it up:
- Sit with your back flat against the pad. No gaps between your lower back and the seat
- Place your feet shoulder-width apart in the center of the platform
- Keep your knees tracking over your toes (don’t let them cave inward)
- Lower the platform until your knees hit roughly 90 degrees, then press back up
- Never lock your knees completely at the top. Keep a slight bend
Start with a weight that feels challenging by reps 10-12 but doesn’t compromise your form. Your ego might want you to stack plates, but your knees will thank you for starting light.
2. Leg extension machine
Ever wondered which machine gives you that satisfying quad burn? This is the one. The leg extension isolates your quadriceps (the front of your thighs) like nothing else can.
How to set it up:
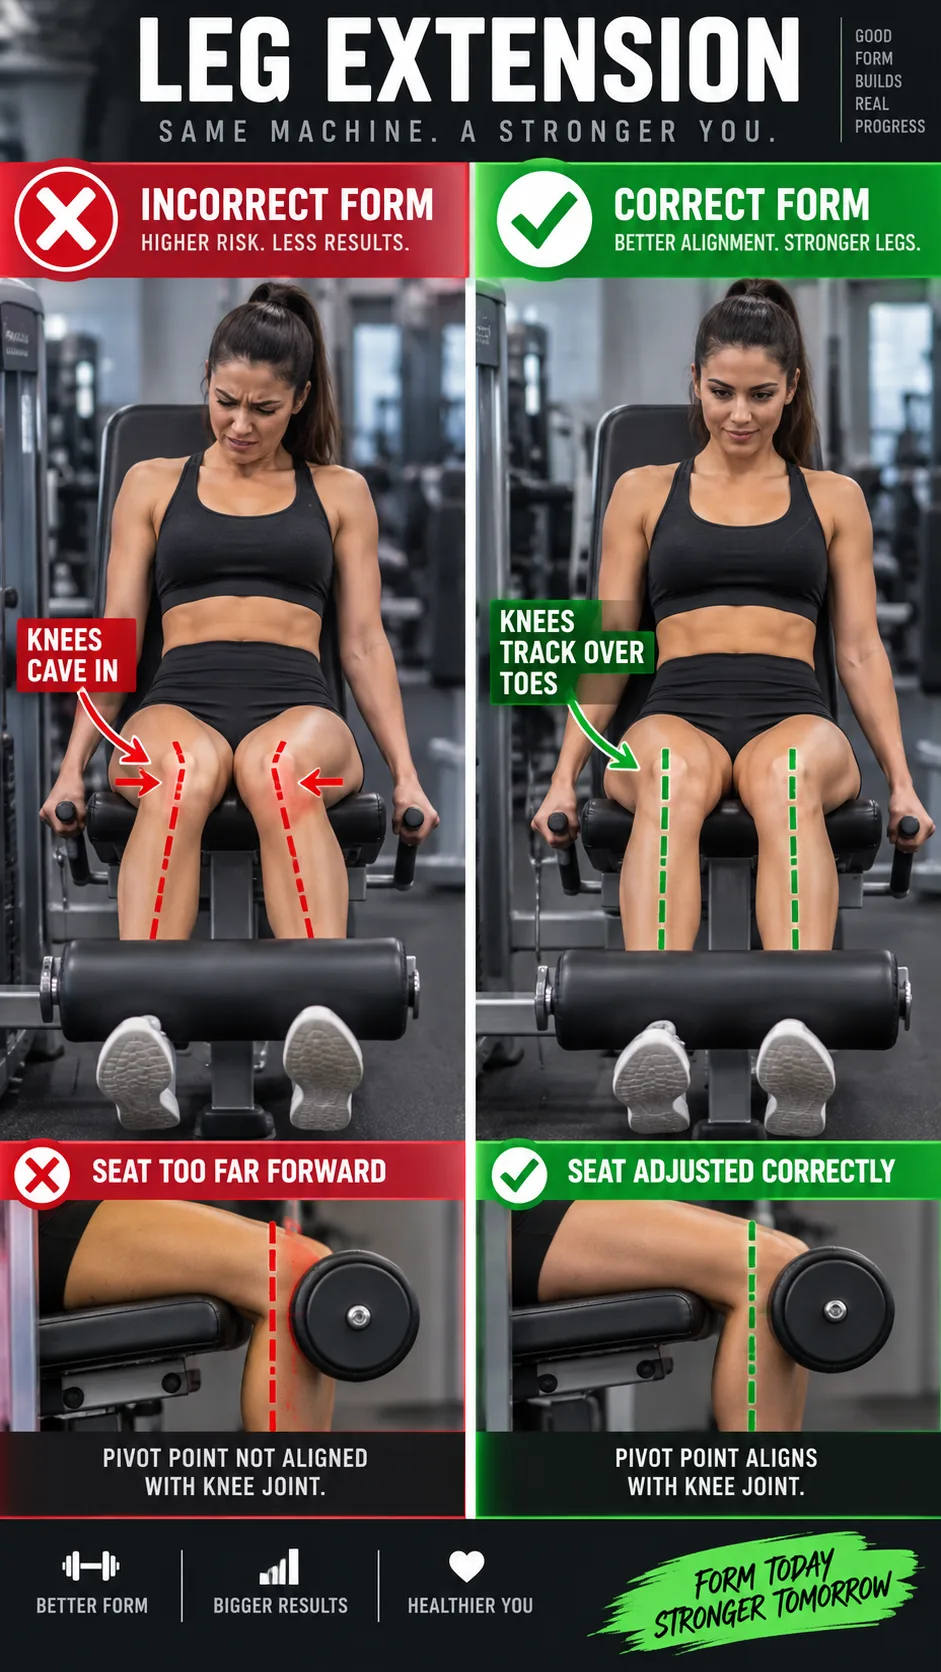
- Adjust the backrest so your knees align with the machine’s pivot point
- Position the ankle pad just above your feet, resting on your shins
- Grip the side handles and extend your legs until they’re almost straight
- Lower slowly. The eccentric (lowering) phase builds just as much muscle
Pro tip: Don’t swing the weight up using momentum. If you need to jerk the pad to start the movement, the weight is too heavy. Drop it down, check your pride at the door, and do controlled reps instead.
3. Seated leg curl machine
Your hamstrings (back of the thighs) need love too. Neglecting them is basically asking for muscle imbalances and knee problems down the road. The seated leg curl handles this perfectly.
How to set it up:
- Sit with your back against the pad and adjust the lap pad to sit snugly on your thighs
- Place the back of your ankles on top of the lower roller pad
- Curl your legs downward by bending your knees
- Squeeze at the bottom for a one-second hold, then return slowly
Some gyms have a lying leg curl instead (you lie face down). Both work great. Same movement, different body position. Use whichever your gym offers.
4. Hip adductor/abductor machine
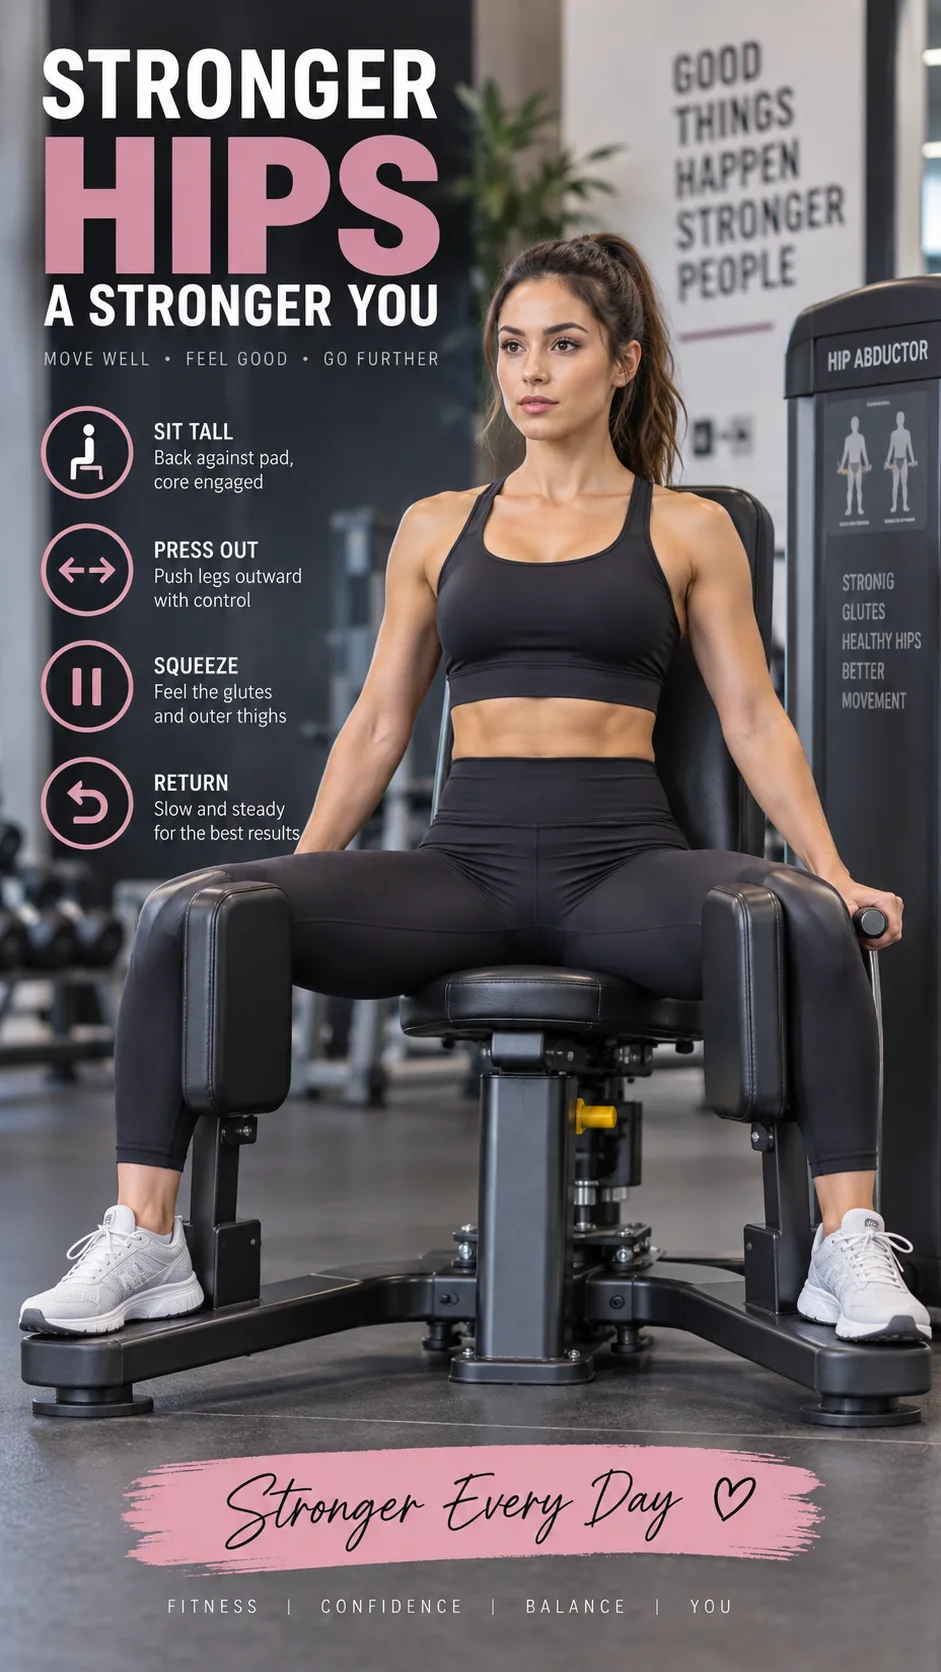
Yes, that machine. The one that makes everyone feel slightly awkward. But it’s incredibly effective for strengthening your inner thighs (adductors) and outer glutes/hips (abductors). These muscles stabilize your knees during every lower body movement, so training them matters more than you think.
How to use both settings:
- Adductor (squeeze inward): Sit with pads on the inside of your knees, then squeeze your legs together against resistance
- Abductor (push outward): Sit with pads on the outside of your knees, then push your legs apart against resistance
- Control the movement in both directions. Don’t let the weight slam back
5. Calf raise machine (seated or standing)
Calves are the most neglected muscle group in existence. Everyone trains quads and glutes, but calves? They get skipped like the terms and conditions on a website. Don’t be that person.
How to set it up:
- Place the balls of your feet on the platform edge with your heels hanging off
- Push up onto your toes as high as possible
- Lower your heels below the platform for a full stretch
- Calves respond well to higher reps. Aim for 15-20 per set
6. Smith machine (for goblet squats or split squats)
Okay, technically the Smith machine isn’t just a leg machine, but it’s phenomenal for beginners who want to practice squat-pattern movements with a safety net. The bar moves on a fixed vertical track, so you get the squat motion without worrying about tipping forward or backward.
Use it for Smith machine squats or split squats (one leg in front, one behind) to build confidence before graduating to free-weight squats. Just remember to position your feet slightly in front of the bar, not directly underneath it.
The complete beginner leg workout routine
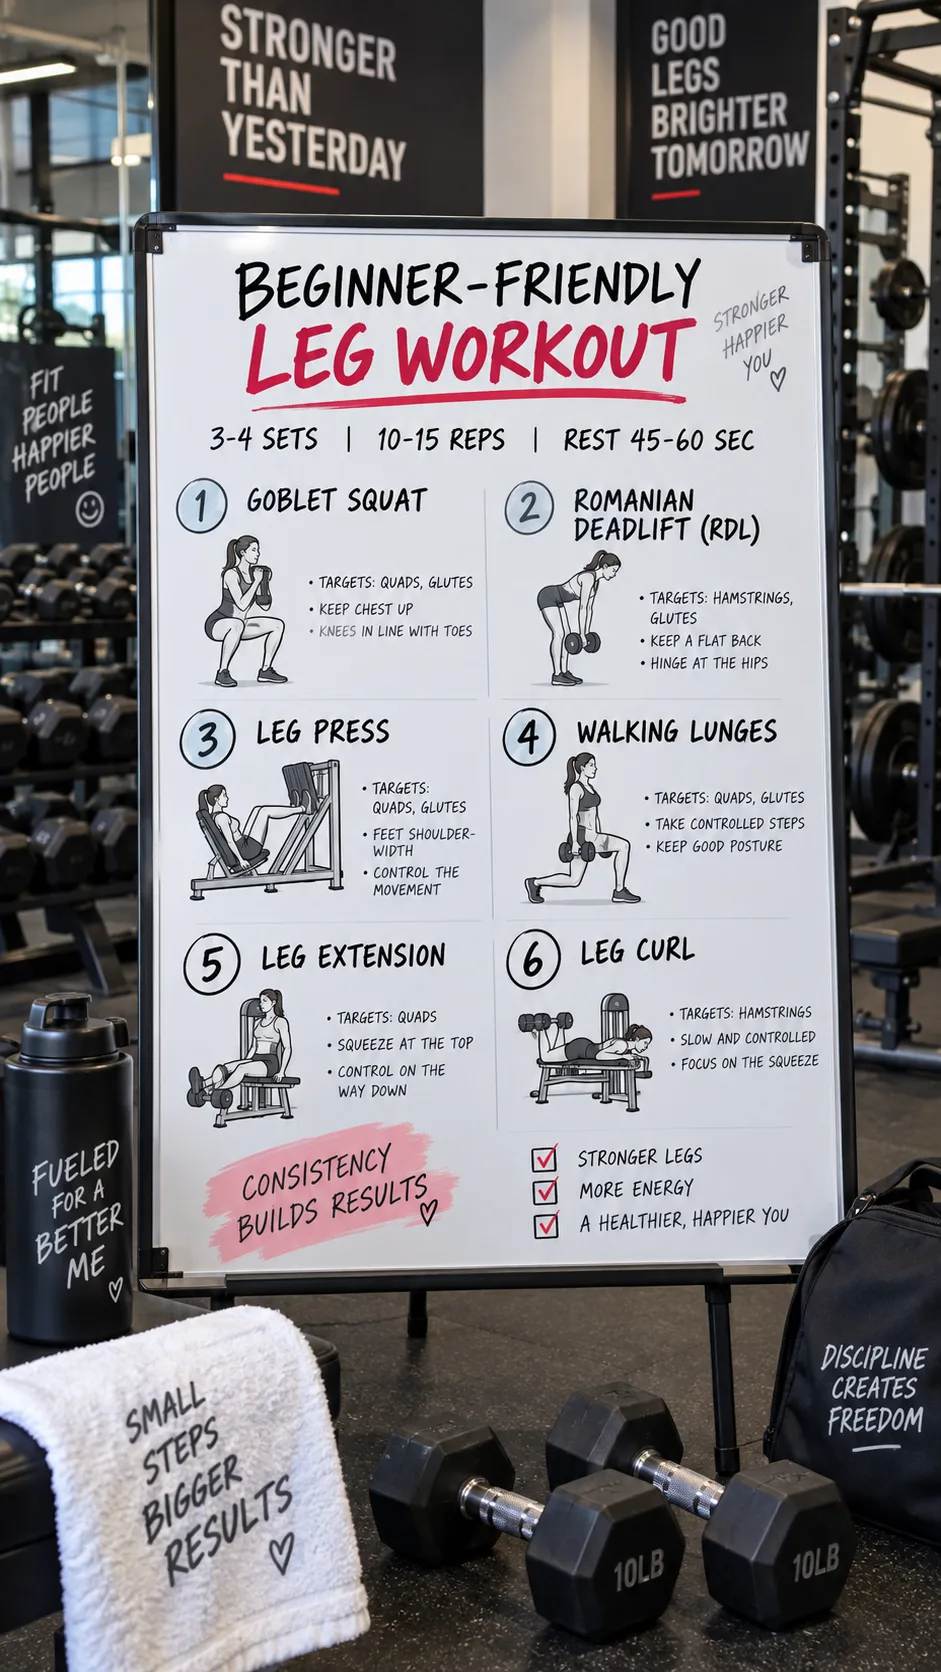
Enough theory. Here’s the workout you’re going to follow. This routine hits every major muscle in your legs and takes roughly 40-50 minutes including warm-up and rest periods.
Perform this workout 1-2 times per week with at least 48 hours between sessions to allow recovery. If you’re following a structured program, this slots perfectly into a gym weekly workout plan that covers all your muscle groups throughout the week.
- Leg Press, 3 sets x 12 reps (90 seconds rest between sets)
- Leg Extension, 3 sets x 12-15 reps (60 seconds rest)
- Seated Leg Curl, 3 sets x 12-15 reps (60 seconds rest)
- Hip Abductor, 2 sets x 15 reps (60 seconds rest)
- Hip Adductor, 2 sets x 15 reps (60 seconds rest)
- Seated Calf Raise, 3 sets x 15-20 reps (45 seconds rest)
Total volume: 16 sets. That’s enough stimulus to trigger growth without absolutely destroying you for the next three days. Although, fair warning: your first leg day WILL make stairs feel like Everest. That’s normal. Embrace it 🙂
How to warm up before your leg workout
Jumping straight into heavy leg presses with cold muscles is a recipe for pulled hamstrings and regret. Spend 5-10 minutes warming up before touching any machine.
A simple warm-up sequence:
- 5 minutes on the stationary bike or treadmill (moderate pace, you should be able to hold a conversation)
- 20 bodyweight squats
- 10 walking lunges per leg
- 10 leg swings per leg (front to back, holding a wall for balance)
This increases blood flow to your legs, lubricates your joints, and tells your nervous system “hey, we’re about to work.” Research from the National Strength and Conditioning Association consistently shows that dynamic warm-ups reduce injury risk and improve performance during resistance training.
Progressive overload: how to get stronger over time
Here’s where most beginners go wrong. They find a comfortable weight and use it forever. Weeks pass, months pass, and nothing changes. Why? Because your muscles only grow when you consistently challenge them beyond what they’re used to.
This concept is called progressive overload, and it’s the single most important principle in strength training. Without it, you’re just going through the motions.
How to apply progressive overload on machines
Follow this simple weekly progression system:
- Week 1-2: Find a weight where the last 2-3 reps of each set feel challenging but doable with good form
- Week 3-4: Add 1-2 more reps per set at the same weight (e.g., go from 12 to 14 reps)
- Week 5-6: Increase the weight by one pin/plate and drop back to your original rep range
- Repeat the cycle
For what it’s worth, you won’t always progress in a perfectly linear fashion. Some weeks you’ll feel strong, other weeks the weights will feel glued to the stack. That’s completely normal. The trend over months should be upward, and that’s what matters.
Common beginner mistakes on leg machines (and how to avoid them)
I’ve seen every mistake in the book, and I’ve made most of them myself. Here are the big ones to watch out for:
Going too heavy too soon
Your muscles might handle the weight, but your tendons and ligaments need time to adapt. They strengthen much slower than muscle tissue. Start lighter than you think you need to and progress gradually. Your joints will thank you in six months.
Skipping the full range of motion
Half reps give you half results. On the leg press, that means lowering until your knees reach at least 90 degrees. On leg curls, that means fully extending and fully contracting. Every. Single. Rep. The research is clear: full range of motion training produces superior muscle growth compared to partial reps.
Holding your breath
Breathe OUT during the hard part (the push or curl), and breathe IN during the lowering phase. Holding your breath spikes your blood pressure and can make you dizzy. Nobody wants to see stars on the leg extension machine.
Ignoring machine adjustments
Those little pins and levers on each machine exist for a reason. Take 30 seconds to adjust the seat height, backrest angle, and pad positions so the machine fits YOUR body. A poorly adjusted machine can shift the stress onto joints instead of muscles.
What about glutes? Don’t machines miss them?
Great question. Machines tend to hit quads, hamstrings, and calves more directly than glutes. But your glutes still get decent work on the leg press (especially if you place your feet higher on the platform) and the hip abductor machine.
If you want to specifically target your glutes more, consider adding the cable kickback or hip thrust machine if your gym has one. For a complete routine that hammers both legs and glutes, check out this leg and glute workout designed for beginners.
In my experience, the best approach for beginners is to master the basic leg machines first, then layer in glute-specific work after 4-6 weeks when you’ve built a foundation of strength and confidence.
How nutrition supports your leg gains
You can do the perfect leg workout three times a week, but if your nutrition is garbage, your results will be too. Muscle growth requires adequate protein. Aim for roughly 0.7 to 1 gram of protein per pound of body weight daily.
You also need enough total calories to fuel recovery. Training in a massive caloric deficit while trying to build leg muscle is like trying to build a house while someone keeps stealing your bricks. It doesn’t work well.
If you’re not sure where to start with nutrition, learning how to build a macro meal plan takes the confusion out of eating for your goals. Pair a solid nutrition plan with this leg routine and you’ll see real, visible changes within 8-12 weeks.
When should you graduate from machines to free weights?
Machines aren’t “lesser than” free weights. They’re just different tools. That said, there comes a point where adding free-weight movements like barbell squats, Romanian deadlifts, and lunges will accelerate your progress.
You’re ready to start incorporating free weights when:
- You’ve been consistently training on machines for at least 6-8 weeks
- You can comfortably perform all exercises with full range of motion
- You understand the basic movement patterns (squat, hinge, lunge)
- You feel confident navigating the gym floor
Even then, you don’t need to ditch machines entirely. Most experienced lifters use a combination of both. I still use the leg extension and leg curl in every leg workout because they’re fantastic for isolating muscles that compound movements sometimes miss.
Sample 4-week progression plan
Here’s exactly how your first month should look. Follow this progression and you’ll build real, measurable strength.
Week 1: Perform all exercises at a moderate weight. Focus 100% on learning proper form and machine adjustments. Keep 2-3 reps “in the tank” (meaning you could do 2-3 more reps if you had to).
Week 2: Same weights, same reps. Your form should feel more natural now. Start paying attention to the mind-muscle connection. Feel the target muscle working on each rep.
Week 3: Add 1-2 reps to each set OR increase the weight by one increment. Your body has adapted to the initial stimulus and needs a new challenge.
Week 4: Push a bit harder. Try to increase either weight or reps on at least 2-3 exercises. By now, you should notice your legs feeling firmer and your overall confidence in the gym climbing fast.
Recovery: the part everyone ignores
Your muscles don’t grow IN the gym. They grow while you’re resting afterward. If you train legs on Monday, those muscles need at least 48 hours before you hit them again. Most beginners do best with two leg sessions per week, spaced 3-4 days apart.
Recovery essentials:
- Sleep: Aim for 7-9 hours. Growth hormone peaks during deep sleep, and that’s when the majority of muscle repair happens
- Hydration: Drink at least half your body weight (in pounds) in ounces of water daily
- Stretching: Spend 5-10 minutes stretching your quads, hamstrings, and calves after each session
- Nutrition: Eat a protein-rich meal within 2 hours of your workout
Soreness after your first few sessions is completely normal. It’s called DOMS (Delayed Onset Muscle Soreness), and it typically peaks 24-48 hours after training. Light walking or cycling on rest days helps reduce it faster than sitting on the couch, as tempting as that sounds.
Final thoughts: just start
The best beginner leg workout is the one you do. You don’t need a perfect plan, the perfect gym, or the perfect playlist (though a solid playlist helps, not gonna lie). You just need to walk up to the first machine on this list, adjust the seat, pick a reasonable weight, and start repping.
Leg machines remove the barriers that stop most beginners from training their lower body effectively. They’re safe, they’re straightforward, and they work. Period. The routine in this article gives you everything you need: which muscles to target, which machines to use, how many sets and reps to perform, and how to progress week over week.
Your legs carry you through every single day. They deserve more than being an afterthought. Give them two solid sessions per week on these machines, fuel them with enough protein, let them recover properly, and within a couple of months you’ll have noticeably stronger, more defined legs. And you’ll never sit on the leg press backwards. Probably.
Now go make those legs work.