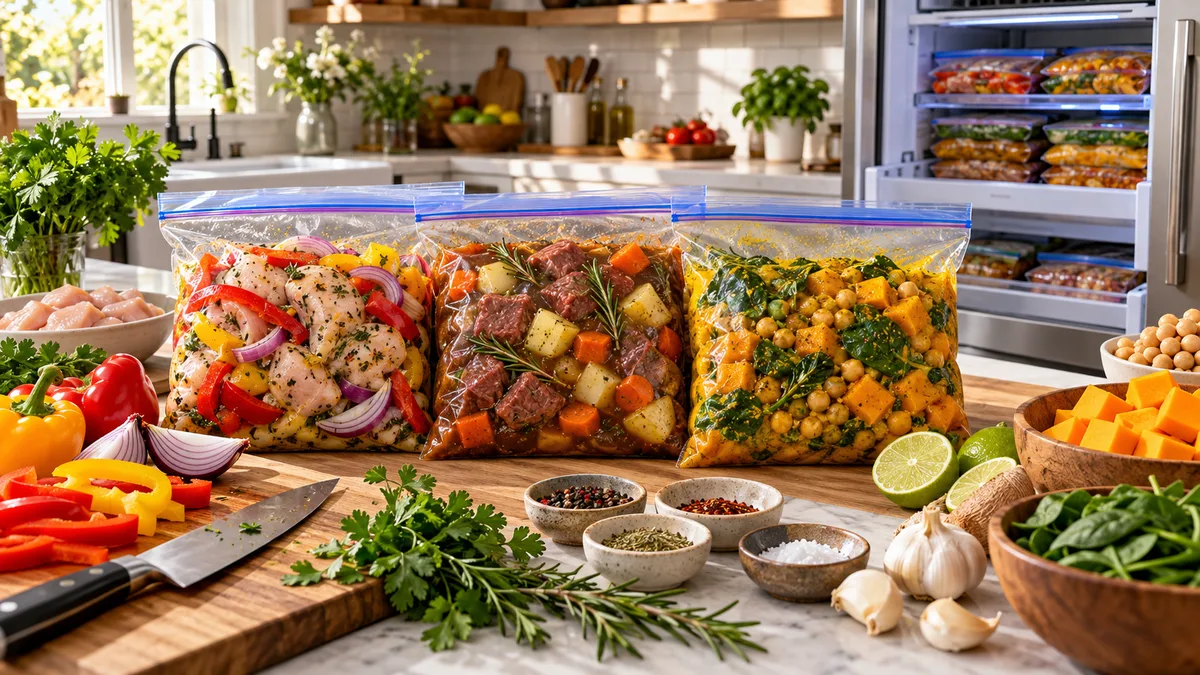
You drag your feet into the kitchen at 6:30 PM after a brutal day. Your stomach growls, your sink holds three dirty mugs, and the thought of chopping an onion makes you want to cry. You open a food delivery app, gasp at the thirty-dollar total for cold pad thai, and settle on buttered toast instead. Most people know this routine all too well.
You do not need culinary school training to break the cycle. You only need a freezer, some zip-top bags, and two focused hours on a Sunday afternoon. While standard meal prep forces you to eat rubbery four-day-old broccoli from plastic containers, freezer meal prep lets you cook hot, bubbling dinners on demand.
This guide walks you through the exact recipes and assembly routines that take the stress out of weeknight dinners. Skip the daily cooking grind and take back ten or more hours of your life every week.
The real math: How batch freezing saves 10+ hours weekly
Most cooks underestimate how much time ordinary dinner prep consumes. You rarely spend just thirty minutes in the kitchen. Consider the hidden time drains that eat up your evenings:
- Daily grocery stops take 20 minutes per trip, especially with checkout lines and parking.
- Cutting board setup and ingredient prep take 15 to 20 minutes.
- Active stove management takes 30 to 45 minutes.
- Scrubbing pots, pans, and utensils takes another 20 minutes.
Multiply those chores across seven days, and you easily surrender twelve to fourteen hours of your week to dinner duty. That equals a second job you never wanted.
Freezer meal prep changes the math entirely. When you prepare five to eight meals during a single two-hour batch session, you wash one knife, wipe down your counters once, and skip five days of kitchen cleanup. On busy weeknights, your active work drops to ninety seconds: open the bag, pour the contents into your slow cooker or baking pan, and walk away. Check out our foundational system in meal prep for the week for beginners to master this core routine.
The 5 non-negotiable rules of freezer meal prep
Everyone has thawed a frozen meal only to find a watery mess that tasted like cardboard and frost. Poor freezing habits ruin good food. Follow these five baseline rules so your meals come out of the freezer tasting fresh and delicious every time.
1. Cool everything completely before freezing
Never place warm food in the freezer. When you seal steaming ingredients inside a container, that steam condenses into water droplets. The moisture freezes into coarse ice crystals, which destroy food textures and cause freezer burn. Cool any cooked ingredients on a sheet pan on your counter for twenty minutes, chill them in your refrigerator, and transfer them into the freezer only when they feel cold to the touch.
2. Squeeze out all excess air
Air dries out meat, creates freezer burn, and turns sauces watery. When you pack freezer bags, flatten the food, roll the bag upward from the bottom to push out every pocket of air, and zip the seal tight. If you plan to prep every month, buy a basic vacuum sealer to keep food fresh for up to a full year.
3. Pick ingredients that freeze well
Certain ingredients freeze with ease, while others turn into mush. Learn the difference before you spend money at the grocery store:
- Ingredients that freeze well include chicken thighs, ground meats, chuck roast, black beans, chickpeas, onions, bell peppers, carrots, garlic, marinara, curries, and chili bases.
- Ingredients to avoid include russet potatoes (they turn dark and grainy), soft lettuces, cucumbers, mayonnaise, and sour cream (which breaks and curdles into an oily layer). Stir your dairy in during the final ten minutes of cooking instead.
4. Label bags before you fill them
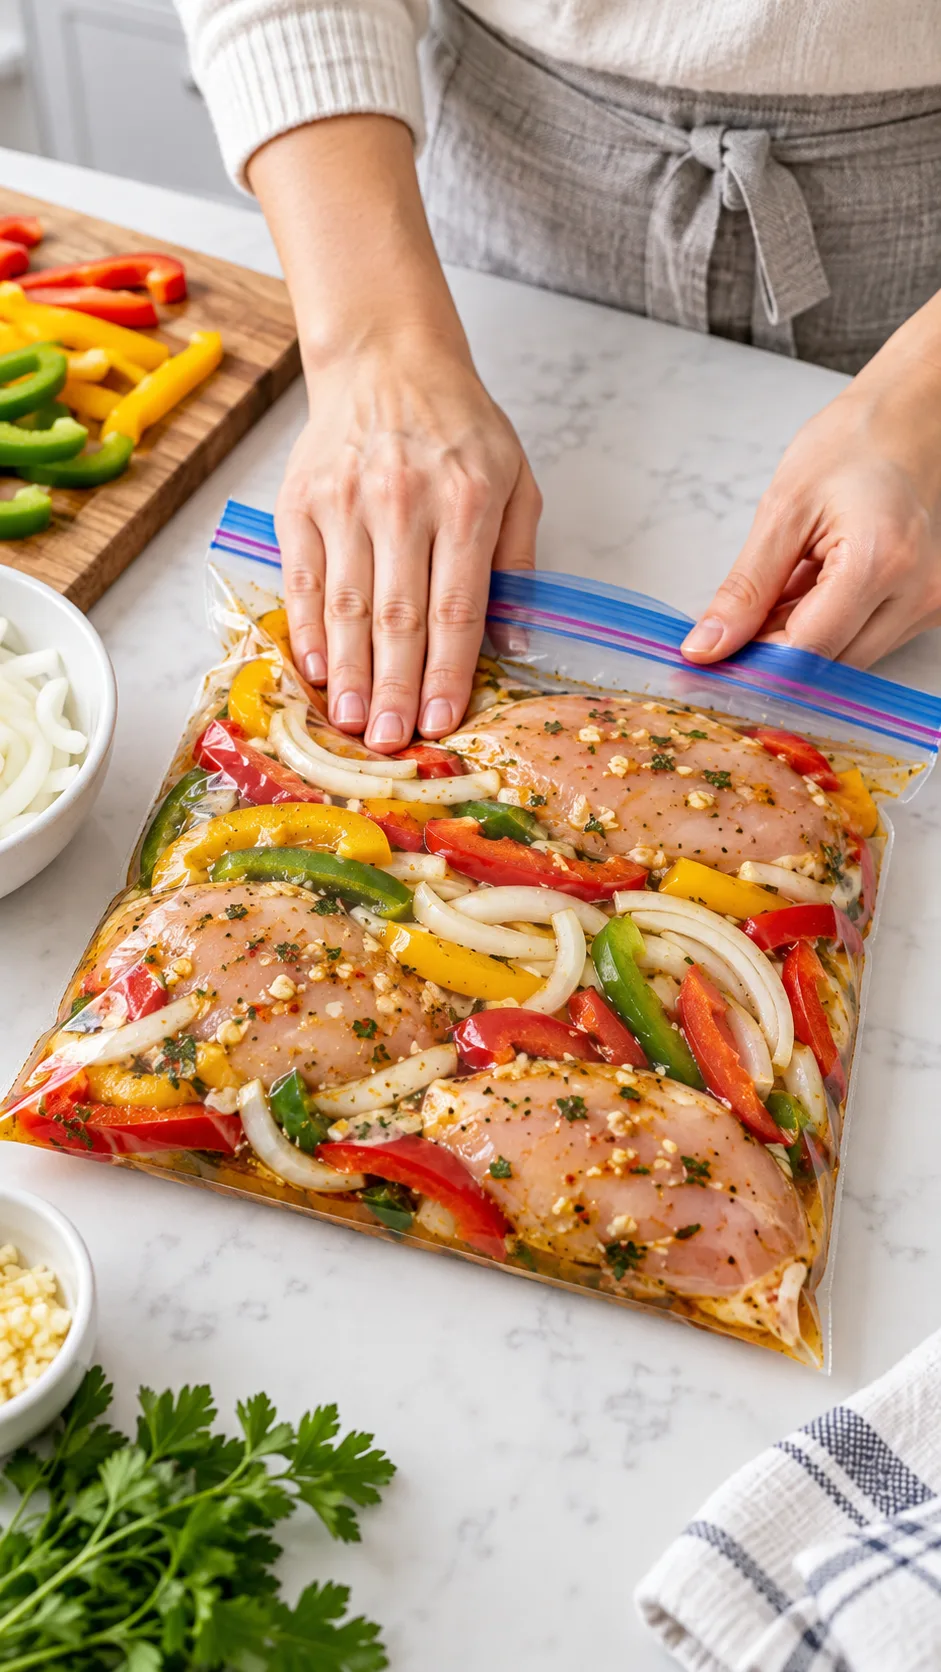
Writing on a cold, slippery bag full of raw food will test your sanity. Write the recipe name, assembly date, and clear cooking directions (such as “Cook on LOW for 6 hours; serve over rice”) directly on the dry plastic bag before you load your ingredients. Frozen meals look identical once they solidify into red and brown blocks.
5. Freeze flat to save space
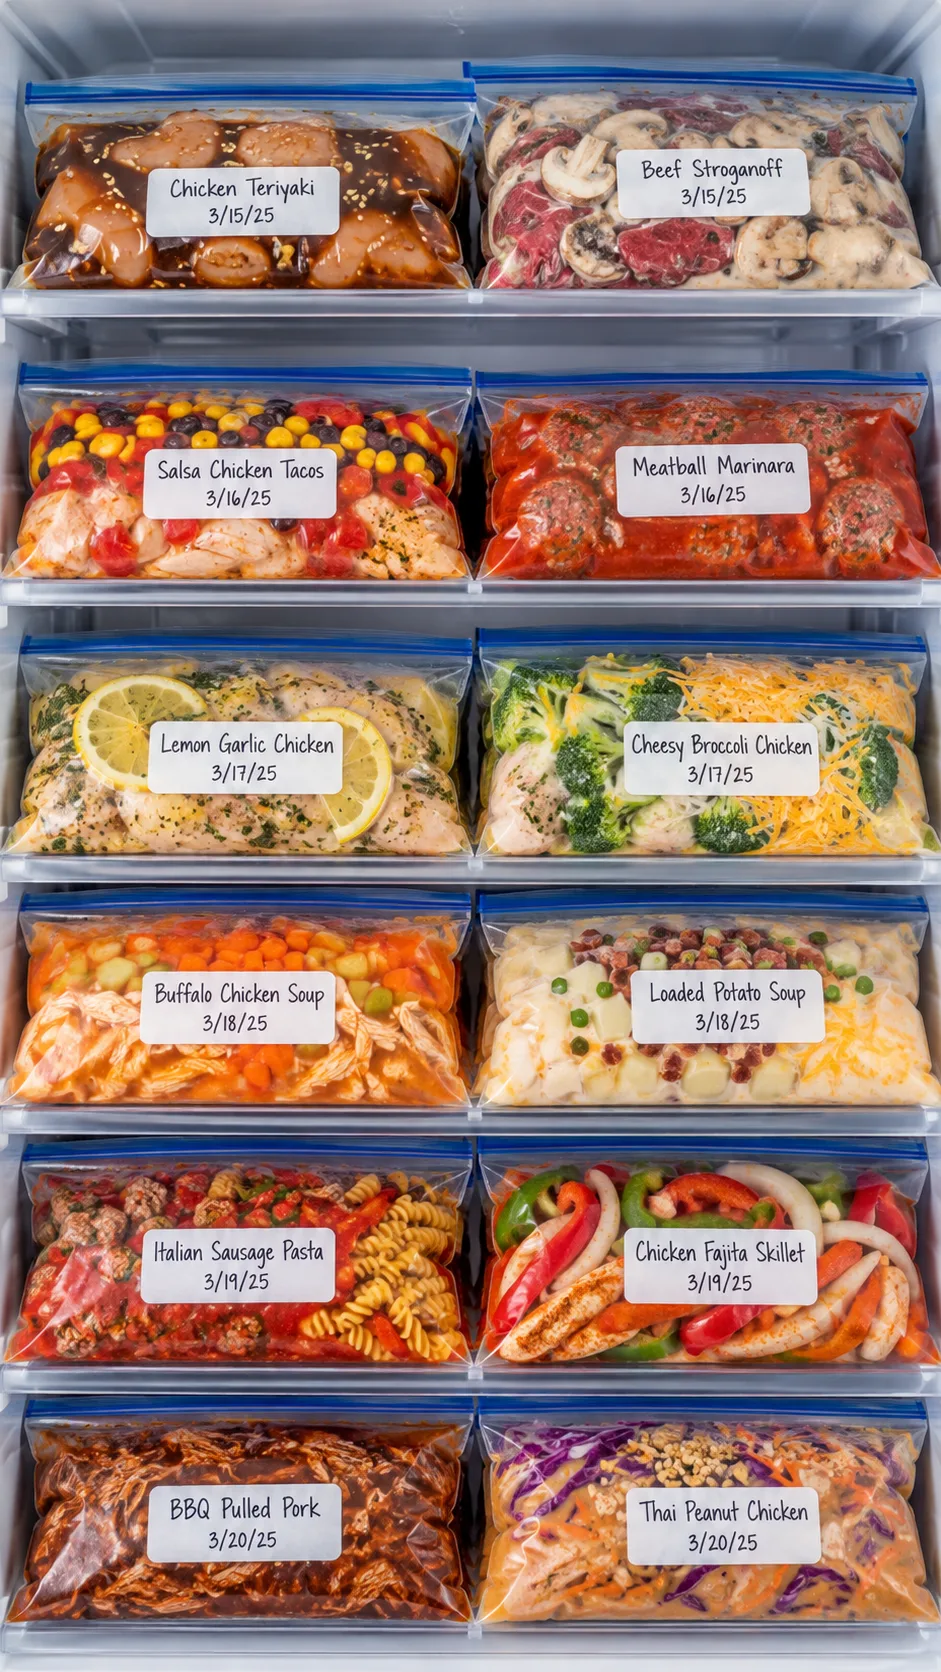
Bulky, round bags turn into messy piles that slide out whenever you open the freezer door. Lay your filled zip-top bags flat on a baking sheet until they freeze completely solid. Once firm, stack them upright like files in a cabinet or basket. You can fit twenty full dinners into a small apartment freezer with this method.
For more details on safe freezing temperatures and storage timetables, consult the official USDA Freezing and Food Safety guidelines.
Essential gear for beginners
You do not need specialty kitchen gadgets to start. You probably have most of these tools in your drawers already:
- Gallon freezer bags: Buy thick bags labeled for freezer use. Regular sandwich bags tear easily and let air seep inside.
- Baggy racks or wide pitchers: Stretch your zip-top bags over a pitcher mouth to keep them wide open while you add sticky sauces. This protects the zipper and stops spills.
- Disposable aluminum baking pans: These work well for casseroles, enchiladas, and pasta dishes that travel straight from the freezer to your oven.
- Permanent marker: Use this for clear labels that withstand sub-zero temperatures.
- Digital kitchen scale: This helps you divide meat evenly across bags without guessing.
Dump-and-go slow cooker freezer meals
Dump meals deliver maximum weeknight convenience. You assemble raw ingredients in a bag, freeze it, thaw it in the fridge overnight, dump everything into your slow cooker in the morning, and walk into a great-smelling kitchen after work.
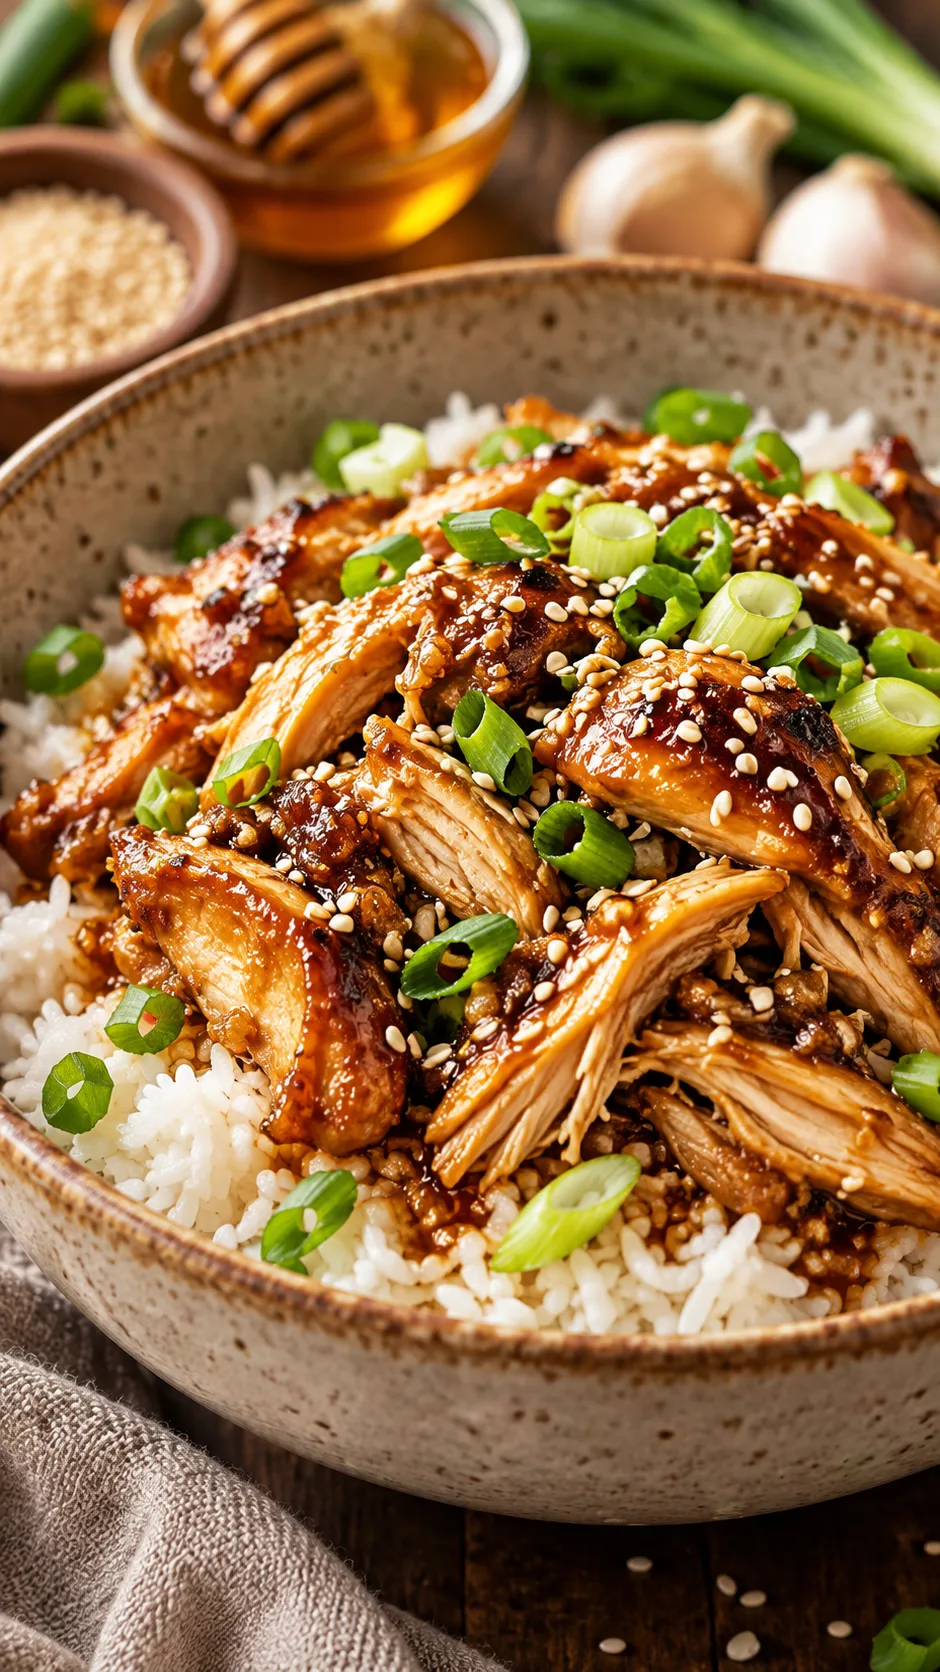
Recipe 1: Honey garlic chicken thighs
Chicken thighs hold up far better than chicken breasts in the freezer. They stay juicy, remain tender, and resist drying out during long slow cooker cycles.
Ingredients for 4 Servings:
- 2 lbs boneless, skinless chicken thighs (trimmed)
- 1/3 cup low-sodium soy sauce or tamari
- 1/3 cup raw honey
- 4 cloves garlic, minced
- 1 tablespoon fresh ginger, grated
- 1 tablespoon toasted sesame oil
- 1 medium yellow onion, diced
- 2 cups broccoli florets (store in a separate bag)
Prep and Freeze Instructions: Put the chicken thighs, onion, garlic, ginger, honey, soy sauce, and sesame oil directly into a gallon freezer bag. Press out the extra air, seal the top, and massage the bag to coat the meat evenly in sauce. Label the bag and freeze it flat.
Cooking Day: Thaw the bag in your refrigerator overnight. Pour the contents into your slow cooker. Cook on LOW for 5 to 6 hours (or HIGH for 3 hours). Add the broccoli florets during the final thirty minutes of cooking and put the lid back on. Shred the chicken with two forks and serve over warm rice.
Recipe 2: Smoky sweet potato and black bean chili
This vegetarian chili packs plenty of fiber and costs very little to assemble. The broth thickens on its own as the sweet potatoes simmer, creating a deep, rich bowl that freezes cleanly.
Ingredients for 6 Servings:
- 2 large sweet potatoes, peeled and cut into 1/2-inch cubes
- 2 cans (15 oz each) black beans, drained and rinsed
- 1 can (15 oz) fire-roasted diced tomatoes (with juices)
- 1 red bell pepper, diced
- 1 small yellow onion, chopped
- 3 cloves garlic, minced
- 2 tablespoons chili powder
- 1 tablespoon ground cumin
- 1 teaspoon smoked paprika
- 1/2 teaspoon kosher salt
- 1.5 cups vegetable broth (add on cooking day)
Prep and Freeze Instructions: Place all ingredients (except the vegetable broth) into a gallon freezer bag. Press out the air, seal tight, flatten, and freeze.
Cooking Day: Pour the thawed bag contents into your slow cooker. Add the 1.5 cups of vegetable broth over the top. Cook on LOW for 7 to 8 hours or HIGH for 4 hours until the sweet potatoes turn tender. Garnish with fresh cilantro and sliced avocado.
Recipe 3: Classic Italian beef bolognese
A thick meat sauce turns a standard box of dry pasta into a hearty meal. For more dinner ideas using ground beef, check out our collection of ground beef meal prep recipes.
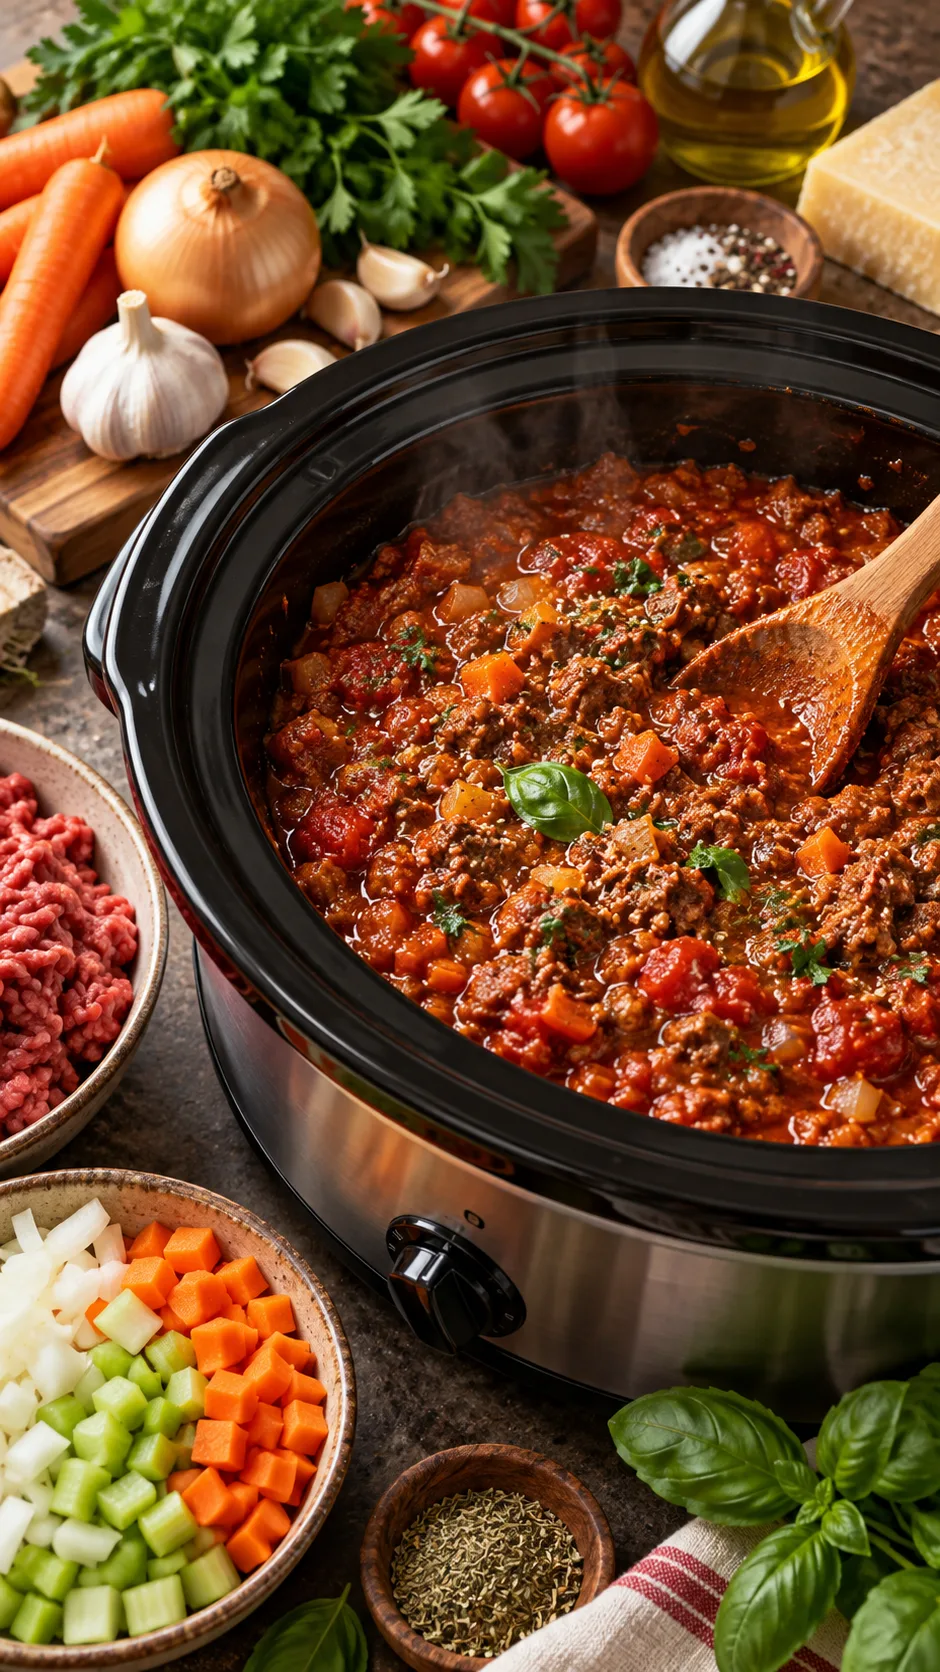
Ingredients for 6 Servings:
- 1.5 lbs lean ground beef (90/10)
- 1 medium yellow onion, finely diced
- 2 medium carrots, finely shredded
- 2 stalks celery, finely chopped
- 4 cloves garlic, minced
- 1 can (28 oz) crushed San Marzano tomatoes
- 2 tablespoons tomato paste
- 1 tablespoon dried Italian seasoning
- 1 teaspoon salt and 1/2 teaspoon black pepper
Prep and Freeze Instructions: Brown the ground beef in a skillet over medium heat until cooked through. Drain the excess fat and let the meat cool completely. In your freezer bag, combine the cooled beef, chopped vegetables, crushed tomatoes, tomato paste, and seasonings. Seal and freeze flat.
Cooking Day: Empty the thawed ingredients into your slow cooker. Cook on LOW for 6 hours. Spoon the thick sauce over hot pasta and top with grated Parmesan cheese.
Bake-from-frozen casseroles and one-pan dinners
Casseroles work exceptionally well for freezer meals because rich sauces coat the ingredients to block out cold air, and cheeses melt into a crisp crust directly in your oven.
Recipe 4: Creamy salsa verde chicken enchiladas
Roll these enchiladas when you have free time on the weekend, freeze the pan unbaked, and cook them straight from cold when you need dinner fast.
Ingredients for 4 Servings:
- 3 cups cooked chicken, shredded
- 8 medium tortillas
- 1 jar (16 oz) salsa verde
- 4 oz cream cheese, softened
- 1.5 cups shredded Monterey Jack cheese, divided
- 1 teaspoon ground cumin
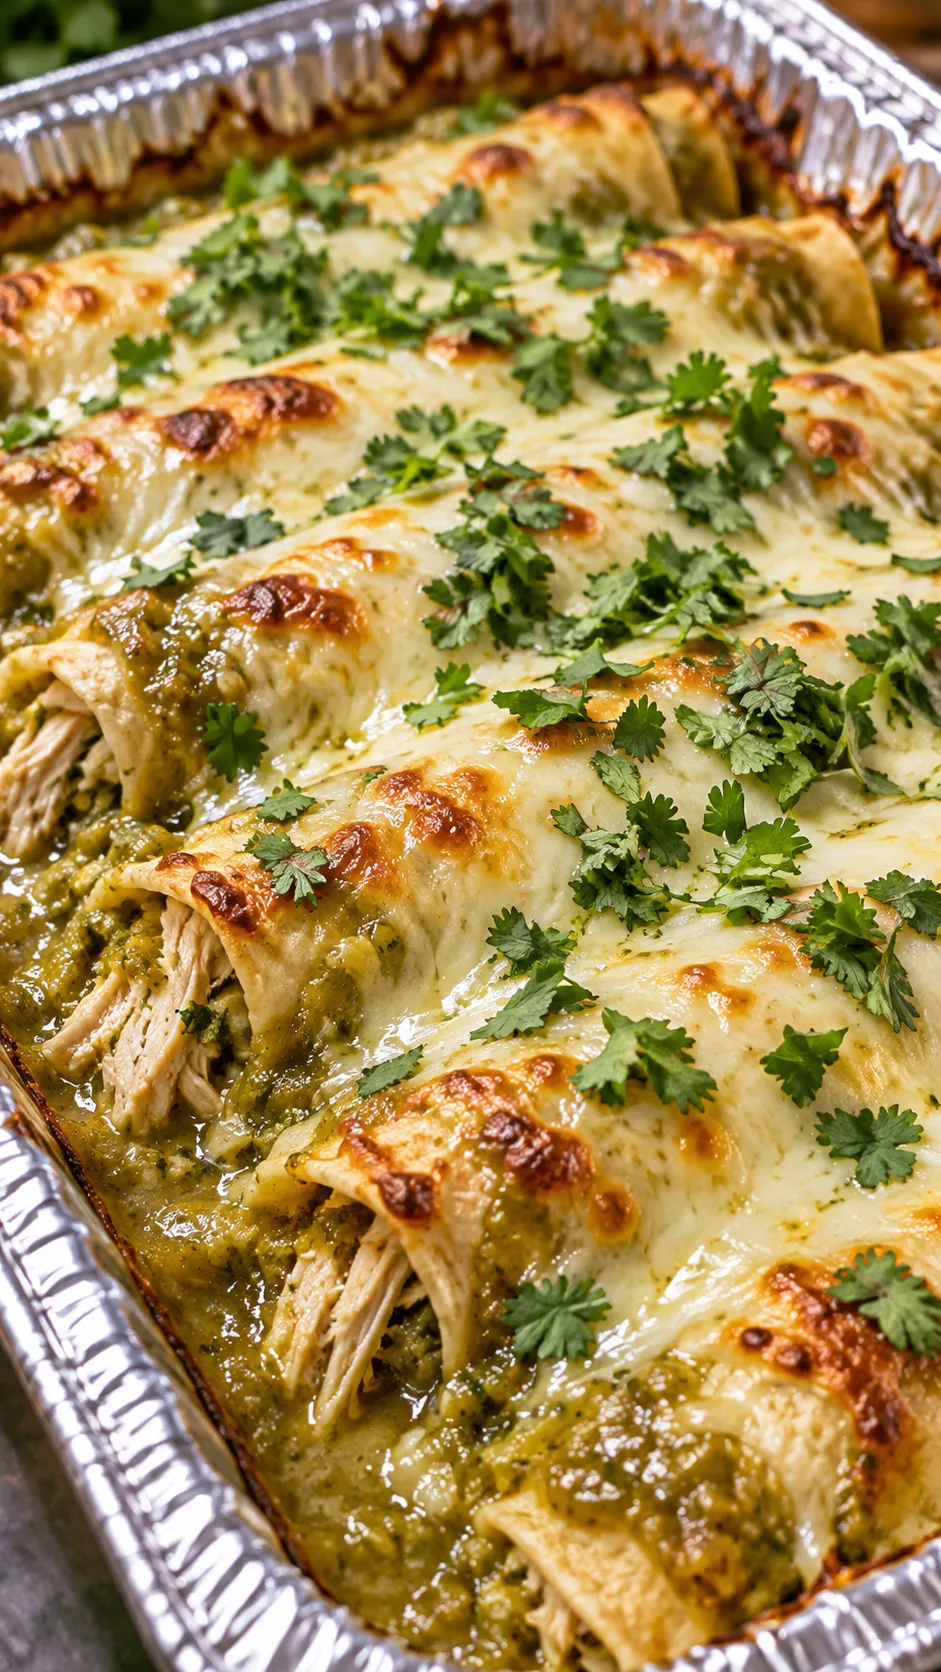
Prep and Freeze Instructions: In a mixing bowl, combine the softened cream cheese, cumin, half the salsa verde, and 1/2 cup of shredded cheese. Stir the shredded chicken into this mixture. Roll equal portions of the filling inside each tortilla. Lay the enchiladas seam-side down in an aluminum baking pan. Pour the rest of the salsa verde over the tortillas and scatter the remaining cup of cheese across the top. Cover the pan with two layers of heavy foil. Freeze for up to 3 months.
Cooking Day: Leave the foil cover on the pan. Bake straight from frozen at 375°F (190°C) for 45 minutes. Remove the foil and bake for 10 to 15 minutes more until the cheese melts into bubbling brown spots.
Recipe 5: Cheesy sausage and spinach baked ziti
This baked pasta feeds a crowd without last-minute chaos. Combine this dish with our other suggestions for healthy dinner meal prep to build a reliable dinner menu all month long.
Ingredients for 6 Servings:
- 1 lb ziti or rigatoni pasta, cooked firm al dente
- 1 lb mild Italian sausage, browned and drained
- 1 jar (24 oz) marinara sauce
- 1 cup whole milk ricotta cheese
- 2 cups shredded mozzarella cheese, divided
- 2 cups fresh baby spinach, chopped
- 1/2 cup grated Parmesan
Prep and Freeze Instructions: Cook your pasta two minutes under package directions so it stays firm. Drain the noodles and rinse them with cold water to stop the cooking immediately. In a large bowl, mix the cooled pasta, cooked sausage, marinara, ricotta, spinach, and 1 cup of mozzarella. Spoon the mixture into an aluminum foil pan. Scatter the remaining mozzarella and Parmesan over the surface. Wrap the pan tightly with two sheets of foil and freeze.
Cooking Day: Thaw the dish in your refrigerator overnight. Bake covered at 375°F (190°C) for 30 minutes. Uncover the pan and bake for another 15 minutes until the center turns hot and the top forms a golden cheese crust.
Defrosting safely: The dos and don’ts
Defrosting techniques matter as much as your cooking methods. Bacteria multiply fast at room temperature, which turns improper thawing into a health hazard. The FDA Food Safety guidelines outline the core safety rules to remember:
- The refrigerator method works best: Transfer your meal bag from the freezer to the bottom shelf of your fridge 24 to 36 hours before cooking. This thaws the food evenly and keeps temperatures safe.
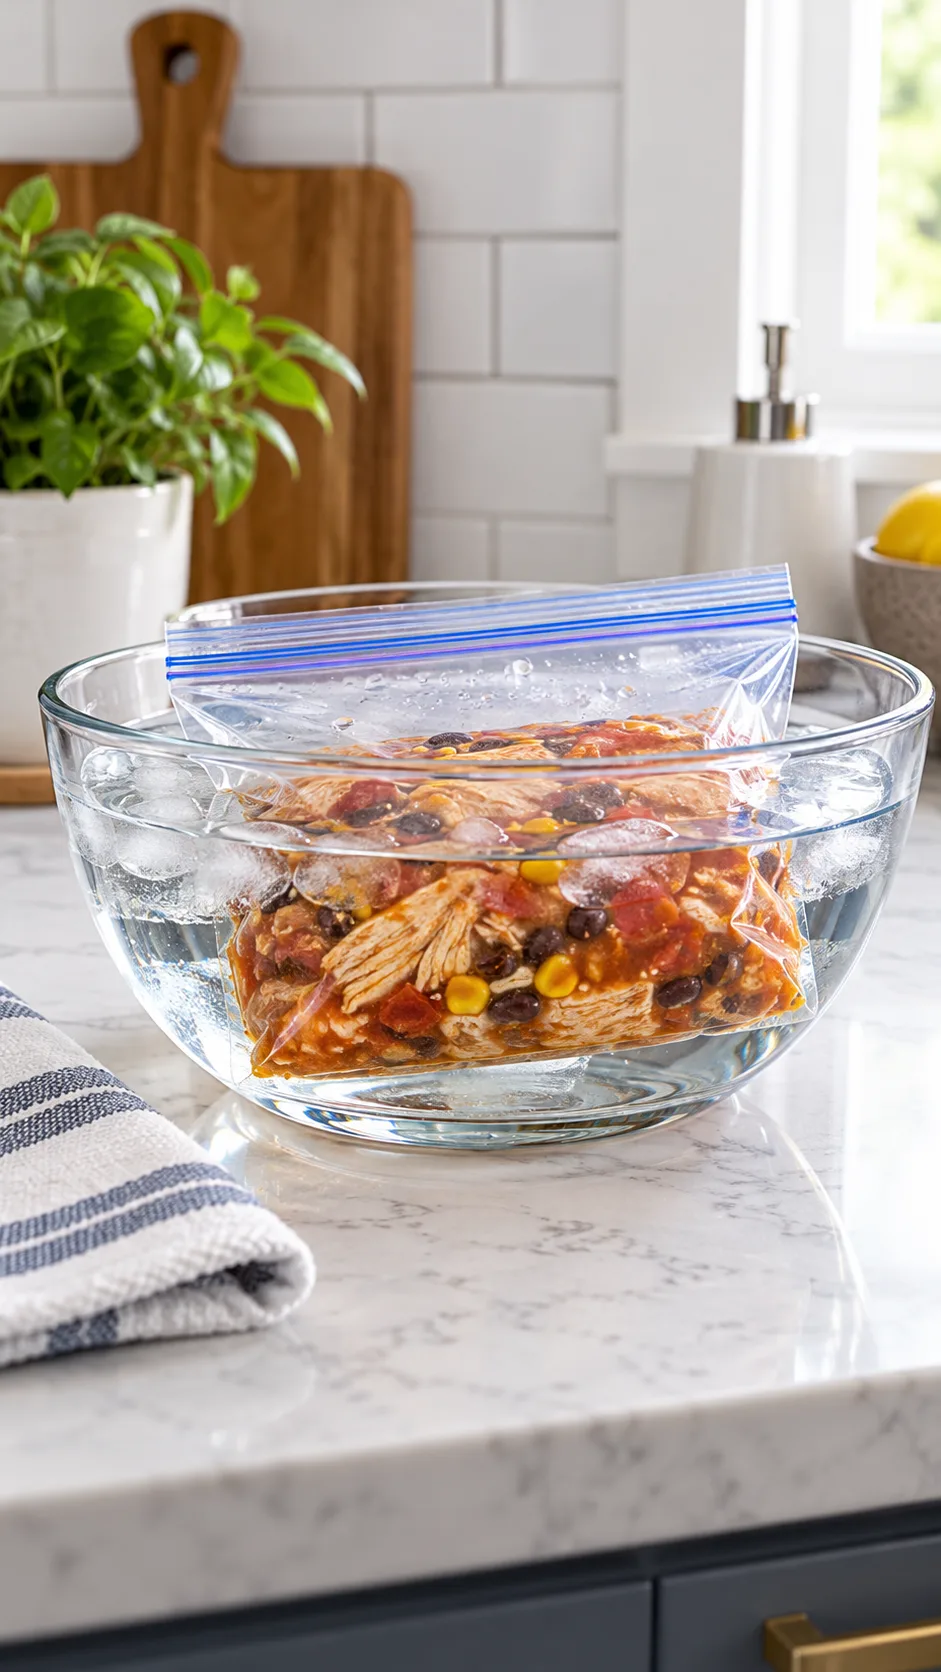
- The cold water method provides a quick thaw: Place the sealed, leak-proof freezer bag into a bowl filled with cold tap water. Replace the water every 30 minutes until the food thaws. Avoid hot water, because warm water heats the outer layer of meat into bacterial danger zones while the middle stays frozen solid.
- Cooking straight from frozen: You can bake casseroles straight out of the freezer by adding 20 to 25 minutes to your total covered baking time. However, never put large blocks of frozen raw meat directly into a slow cooker. Slow cookers heat too gradually, holding raw meat in the bacterial growth zone between 40°F and 140°F for too long.
Step-by-step blueprint: The 2-hour batch prep session
You can turn raw groceries into a full freezer stash without leaving your kitchen a wreck. Work through these steps in order to stay organized:
Minute 0 to 20: Station setup and labeling
Clear your counters and empty the dishwasher so dirty tools have an immediate home. Spread out your gallon freezer bags and write all recipe names, dates, and cooking instructions with a permanent marker. Open the bags and prop them upright inside pitchers or quart jars on your counter.
Minute 20 to 50: The bulk chop
Chop every vegetable in one pass. Dice your onions, mince the garlic cloves, slice the peppers, and shred the carrots. Keep them on a broad cutting board or divide them right into the labeled bags. Bagged frozen chopped onions and jars of minced garlic from the store can trim this step down if you want to save time.
Minute 50 to 80: Protein searing and sorting
Brown your ground beef and sausage in large skillets. While the cooked meats cool down on sheet pans, use clean tongs to drop raw chicken thighs or stew beef into your labeled dump bags. Wash your cutting boards, knives, and tongs right away to prevent cross contamination.
Minute 80 to 110: Sauces, spices, and assembly
Whisk together your sauces, broths, and dry seasonings. Pour the liquid mixtures over the meats and vegetables in each bag. Squeeze out the extra air, zip the seams, and turn the bags over in your hands to spread the marinade around the meat.
Minute 110 to 120: Flat lay and clean
Wipe down the outside of each bag with a damp towel. Lay the bags flat on baking sheets and slide them into your freezer. Load your mixing bowls into the dishwasher, wipe down the counters, and relax. You just made dinner for the coming week in under two hours.
Frequently asked questions
How long do freezer meals last?
In standard home freezers set to 0°F (-18°C), prepped meals maintain their best flavor and texture for 3 to 4 months. The food stays safe past that point, but ice crystals and dry air will gradually dull the flavor and soften vegetable textures.
Can I reuse plastic freezer bags to save money?
You can wash, dry, and reuse heavy freezer bags that held chopped vegetables, bread, or fruit. If a bag held raw chicken, raw beef, or oily sauces, throw it away. Cleaning raw meat juices out of plastic bag corners is difficult and risks spreading bacteria. You can also switch to dishwasher-safe silicone bags for a reusable option.
Can I freeze glass containers instead of plastic bags?
Yes, but use straight-sided, tempered glass jars or borosilicate dishes built for freezing. Liquids expand by roughly nine percent as they freeze into ice. Leave at least one full inch of open space at the top of glass jars. If you fill them to the brim, expanding sauces will crack the glass.
Reclaim your free time tonight
Stop asking yourself what to cook every evening at 6 PM. Daily cooking burnout steals time from your family, your hobbies, and your rest. Freezer meal prep brings routine back to your evenings and cuts your grocery spending.
You do not need to assemble twenty dinners this weekend. Pick two recipes from this list. Buy the ingredients, spend forty-five minutes packing them flat in your freezer, and enjoy a hot, homemade dinner later this week without the mess.