
Your dumbbells are buried under a pile of laundry. The gym is a 20-minute drive away. And your upper body hasn’t been challenged since you awkwardly carried all the grocery bags in one trip last Tuesday. Sound familiar?
Here’s the thing: a single resistance band can deliver a killer upper body workout that rivals what most people do with an entire rack of weights. I’m not exaggerating. I spent years ignoring bands, thinking they were just rehab tools for people recovering from shoulder surgery. Then I tried a focused upper body resistance band workout, and my back muscles suddenly remembered they existed.
This article walks you through 8 targeted moves that tone your arms and wake up your back. No gym membership, no excuses, and no equipment that costs more than a large pizza.

Why resistance bands work (better than you think)
If you’ve ever dismissed resistance bands as “not real weights,” I get it. I was in that camp for years. But the science tells a completely different story.
Resistance bands create what exercise scientists call linear variable resistance, meaning the tension increases as you stretch the band further. Unlike dumbbells, where gravity dictates the load throughout the movement, bands force your muscles to work harder at the top of each rep. That’s the part where most people coast. According to research published in the Journal of Sports Science & Medicine, resistance band training produces comparable strength and muscle activation gains to conventional free weight training.
Translation? Your muscles don’t know the difference between a band and a dumbbell. They only know tension. And bands deliver plenty of it.
Benefits specific to upper body training
- Constant tension throughout the range of motion, with no “dead zones” where the weight feels easy
- Joint-friendly resistance, especially important for shoulders, which are notoriously injury-prone
- Portability: toss a band in your bag and train literally anywhere
- Progressive overload made simple: grab a thicker band or shorten your grip
- Cost: a full set of bands costs less than one month at most gyms
If you’re working toward a broader upper body workout plan, resistance bands slot in perfectly as a standalone session or a complement to your weight training days.
What you need before you start
Minimal gear. That’s the beauty of this whole thing.
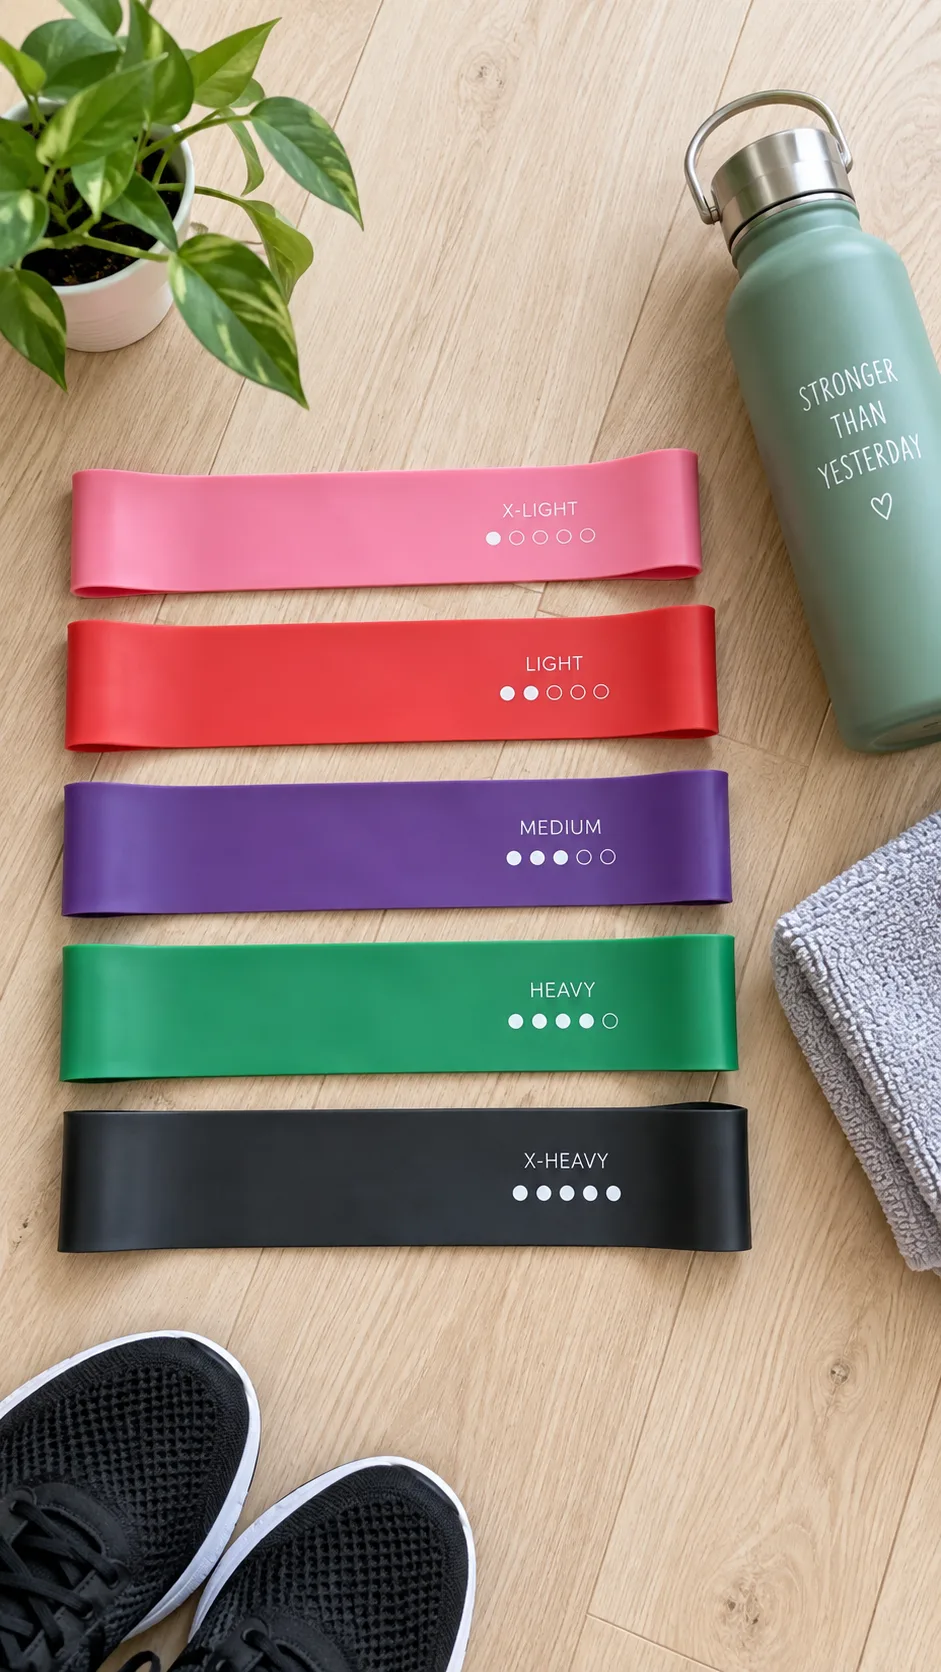
- A loop resistance band (long loop, not the mini booty band kind). Medium resistance is a solid starting point.
- A door anchor (optional but opens up way more exercises)
- About 20-25 minutes of uninterrupted time
- A flat surface, whether that’s a floor, yoga mat, or carpet
For band selection, start with a medium-resistance band (usually color-coded green or blue, depending on the brand). The TheraBand and Rogue brands both make quality options that last. Cheap bands snap. I learned that the hard way during a face pull. Not fun.
The 8-move upper body resistance band workout
Here’s the full routine. I’ve structured it to alternate between pushing and pulling movements so you hit every major upper body muscle group: biceps, triceps, shoulders, upper back, lats, and rear delts. Each exercise targets specific areas while keeping your core engaged as a bonus.
Perform 3 sets of 12-15 reps for each exercise. Rest 30-45 seconds between sets. The entire upper body resistance band workout should take about 20-25 minutes.
Move 1: Banded pull-apart
Primary targets: Rear delts, upper back, rhomboids
This is the move that will literally wake up your back. Most of us spend hours hunched over phones and laptops, and our rear delts and rhomboids essentially fall asleep. The banded pull-apart is their alarm clock.
Hold the band in front of you at shoulder height with both hands, arms extended. Pull the band apart by squeezing your shoulder blades together until the band touches your chest. Control the return and don’t let the band snap back. That eccentric (lowering) phase is where half the magic happens.
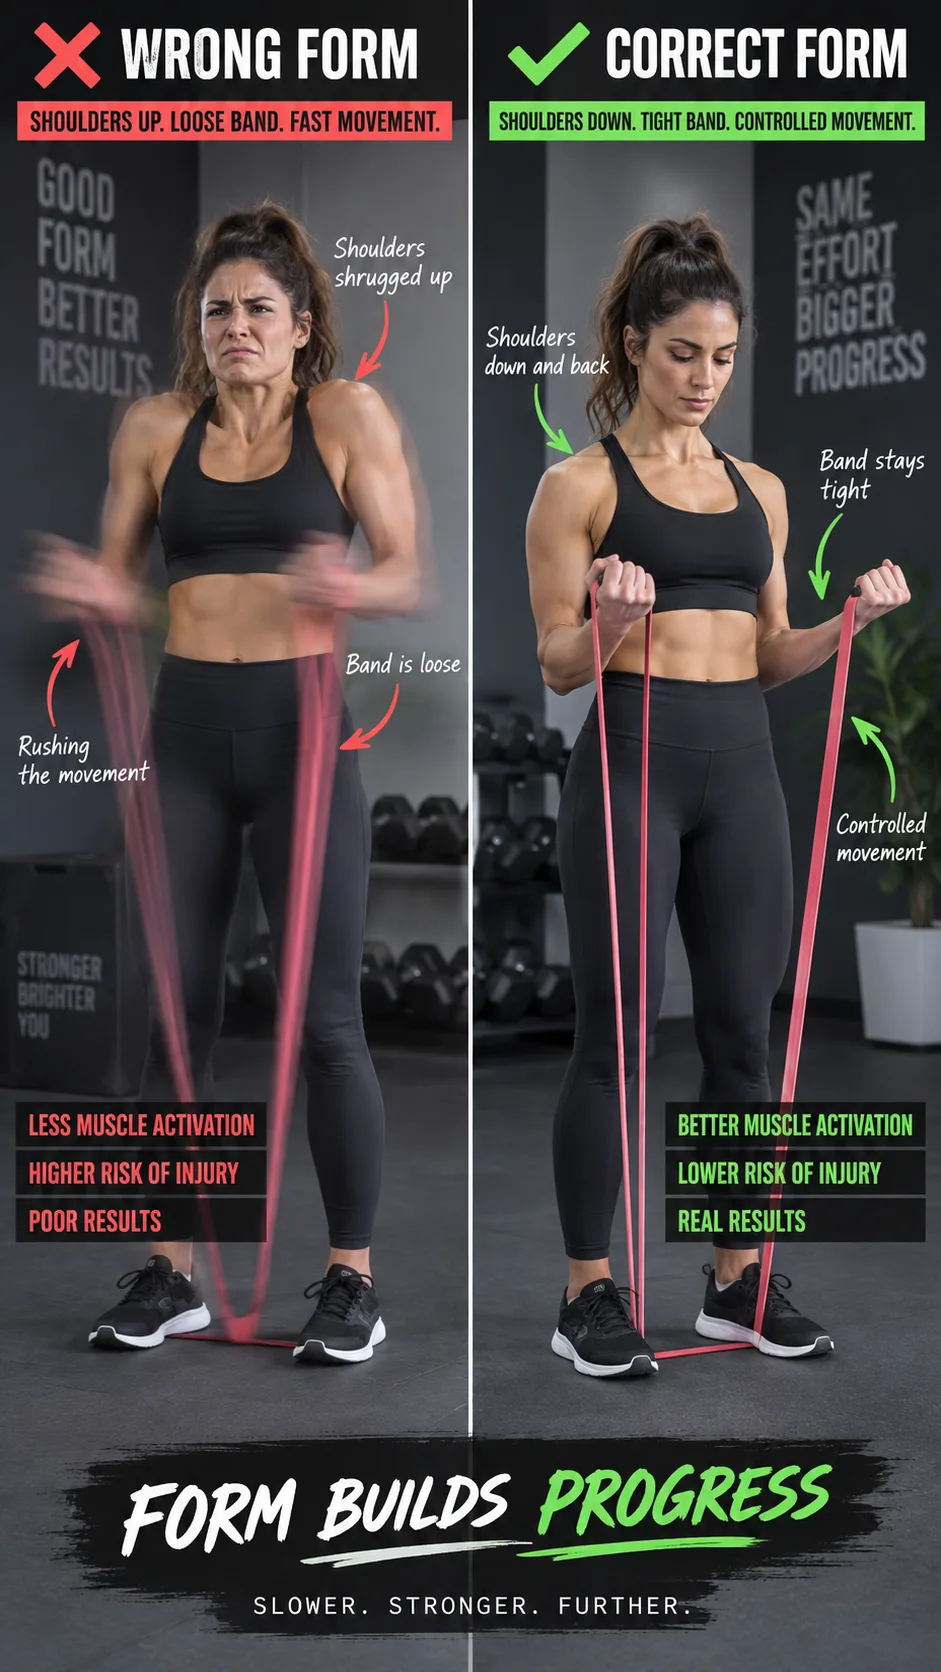
Pro tip: Keep your shoulders DOWN and away from your ears the entire time. The second your shoulders creep up, your traps take over and your back muscles stop doing their job.
Move 2: Overhead banded press
Primary targets: Shoulders (anterior and medial delts), triceps
Stand on the center of the band with both feet. Grab each end (or the handles, if your band has them) and press straight overhead until your arms fully extend. Lower with control to shoulder height. That’s one rep.
Ever wondered why overhead pressing feels SO much harder with a band than a dumbbell? It’s that variable resistance we talked about: the band gets tighter at the top, exactly where a dumbbell press gets easiest. Your shoulders have nowhere to hide.
Move 3: Banded bicep curl
Primary targets: Biceps (both heads), forearms
Stand on the band, grab each end with an underhand grip, and curl. Simple. Classic. Brutally effective with a band.
What matters here is keeping your elbows pinned to your sides. The moment your elbows drift forward, your front delts start helping, and this stops being a bicep exercise. I like to do these slowly, 2 seconds up and 3 seconds down, to maximize time under tension. Your arms will be screaming by set three. You’re welcome 🙂
Move 4: Banded bent-over row
Primary targets: Lats, rhomboids, middle traps, biceps
This one is a BACK BUILDER. Stand on the band with both feet, hinge forward at the hips (about 45 degrees), and row both ends of the band toward your lower ribcage. Squeeze your shoulder blades together at the top for a one-second hold.
The bent-over row is one of the best exercises you can do for overall back development, and the band version is surprisingly challenging. Focus on driving your elbows back, not just pulling with your hands. Think about it like you’re trying to elbow someone behind you (gently, of course).
If you want more dedicated back work beyond bands, check out this back workout guide with weight exercises for the gym.
Move 5: Banded tricep pushdown
Primary targets: Triceps (all three heads)
Anchor the band above head height, either with a door anchor or by looping it over the top of a sturdy door. Grab the band with both hands and push downward, extending your arms fully while keeping your elbows locked at your sides.
Your triceps make up roughly two-thirds of your upper arm mass. If you want arms that look toned and defined, tricep work isn’t optional. IMO, this banded version gives you a better squeeze at the bottom than the cable machine version at most gyms.
Move 6: Banded face pull
Primary targets: Rear delts, rotator cuff, upper back
Anchor the band at face height. Step back until you feel tension. Pull the band toward your face, separating your hands as you pull and finishing with your hands beside your ears. Your upper arms should end parallel to the floor.
Face pulls are the single most underrated exercise for shoulder health and posture correction. Physical therapists prescribe them constantly, and for good reason. They strengthen the muscles that counterbalance all that forward-hunching we do. The American Council on Exercise consistently recommends pulling exercises like these for postural balance.
This is the one move on this list I’d call non-negotiable. Even if you skip everything else (please don’t), do your face pulls.
Move 7: Banded lat pulldown
Primary targets: Latissimus dorsi, biceps, lower traps
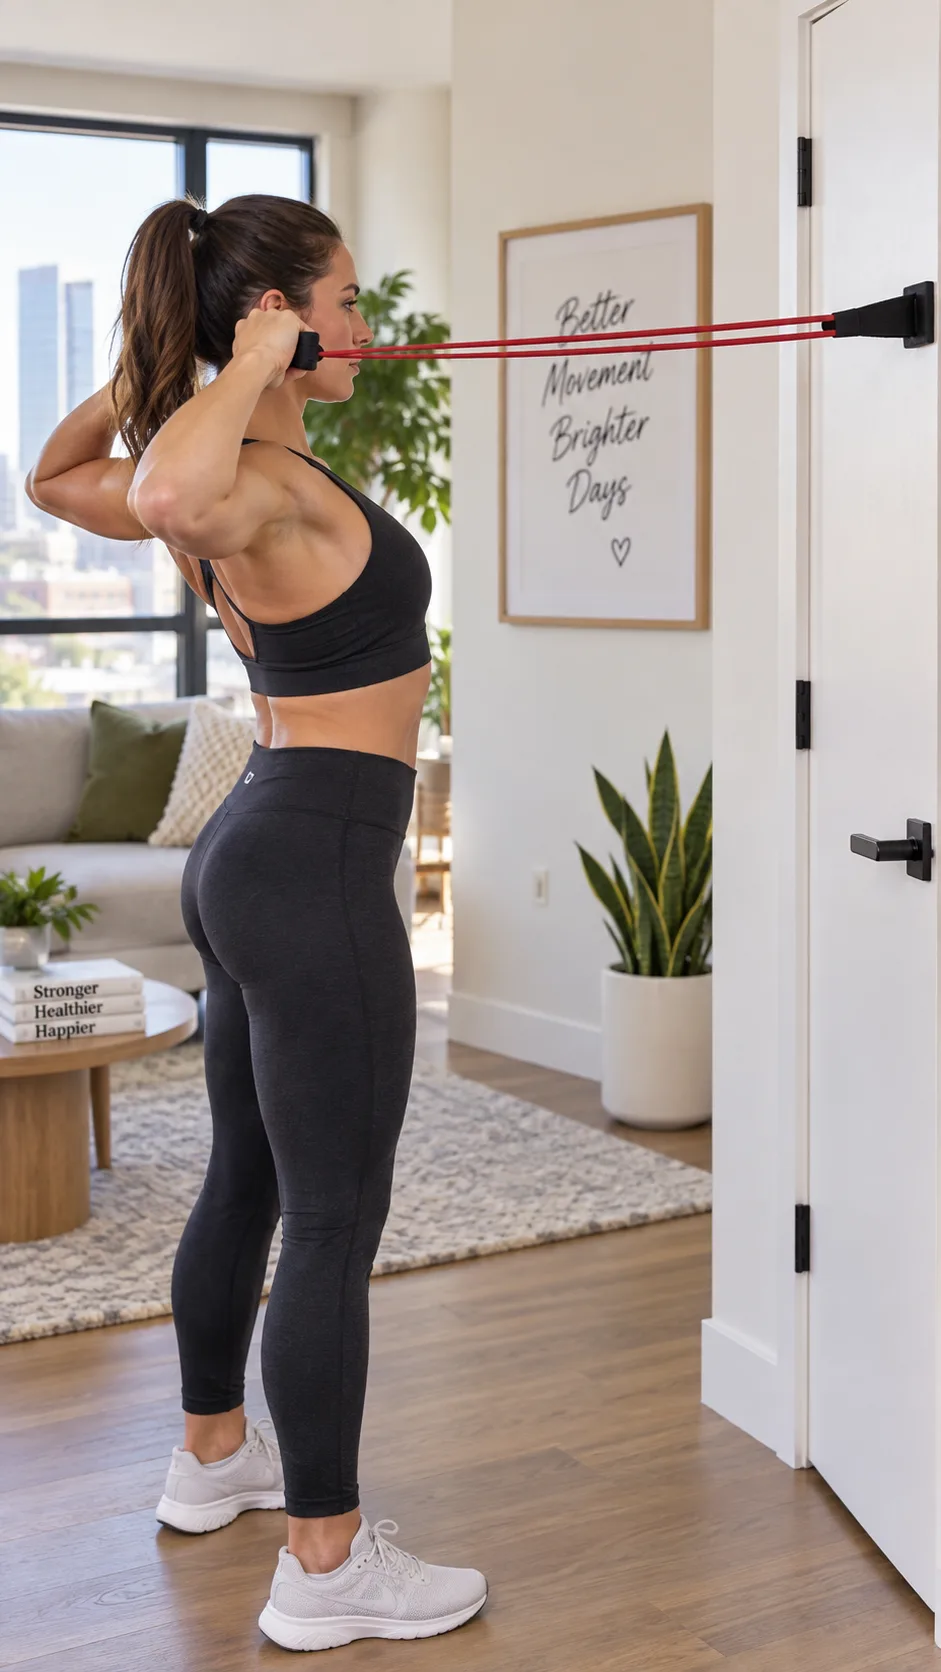
Hold the band overhead with both hands, slightly wider than shoulder-width. Pull the band down and apart, bringing your hands to approximately shoulder height while squeezing your lats. Think about pulling your elbows down into your back pockets.
No pull-up bar or lat pulldown machine? This banded variation mimics the movement pattern well. It won’t replicate the exact load of a weighted pulldown, but the muscle activation pattern is nearly identical, and the constant band tension keeps your lats working through the entire range of motion.
Move 8: Banded push-up
Primary targets: Chest, front delts, triceps, core
Loop the band across your upper back and hold the ends under each hand as you get into push-up position. Now do push-ups. The band adds resistance at the top of the movement, exactly where regular push-ups become easiest.
This is the grand finale for a reason. By this point, your arms, shoulders, and back are already fatigued. Adding a banded push-up at the end creates a metabolic finisher that torches whatever energy your upper body has left. If you can knock out 12 clean reps on set three, your band isn’t heavy enough. Upgrade.
For those who also want to build chest and arm strength with additional moves, this arm and chest workout guide pairs perfectly with today’s routine.
How to structure your weekly routine
One session of this workout is fine. Consistent sessions are where the actual results come from. Here’s how I’d program it into your week:
- 2-3 times per week with at least 48 hours between sessions for recovery
- Pair it with lower body work on alternate days for balanced programming
- Progress every 2-3 weeks by increasing band resistance, adding reps, or slowing your tempo
A sample week might look like this:
- Monday: Upper body resistance band workout
- Tuesday: Lower body or cardio
- Wednesday: Rest or light stretching
- Thursday: Upper body resistance band workout
- Friday: Lower body or full-body session
- Saturday: Active recovery (walk, yoga, mobility)
- Sunday: Rest
Need help figuring out the right approach for your goals? This guide on workout recommendations matched to your fitness goal can point you in the right direction.
Common mistakes that kill your results
I’ve made every one of these mistakes personally, so consider this a public service announcement.
Going too fast
Speed is the enemy of band training. When you rush through reps, the band’s elasticity does the work for you. Slow down. Control every inch of every rep. A 2-second concentric (lifting) and 3-second eccentric (lowering) tempo will double the effectiveness of each set.
Using a band that’s too light
If you can blow through 15 reps without any real effort, you’re essentially doing nothing. The last 3-4 reps of each set should feel genuinely challenging. If they don’t, grab a thicker band or shorten your grip to increase tension.
Neglecting your back
Most people gravitate toward bicep curls and shoulder presses because they can SEE those muscles working. But your back contains some of the largest muscle groups in your upper body, and neglecting them creates imbalances that lead to rounded shoulders and eventual pain. At least half of your upper body resistance band workout should focus on pulling movements. That’s exactly why this routine includes four pulling exercises.
Forgetting to breathe
You’d be amazed how many people hold their breath during resistance band exercises. Exhale during the exertion (the hard part) and inhale during the return. Proper breathing stabilizes your core and helps you generate more force. It also prevents you from turning an alarming shade of purple :/
Watch this routine in action
Sometimes reading exercise descriptions only gets you halfway there. Watching the movements helps you nail the form and avoid those mistakes I just warned you about. This video walks through a solid upper body band routine with clear demonstrations:
Who is this workout best for?
This routine works for almost everyone, but it’s especially great for:
- Beginners who find free weights intimidating (bands offer a more forgiving learning curve)
- Travelers who want to maintain their upper body strength on the road
- People recovering from injuries who need joint-friendly resistance (always clear this with your physio first)
- Home workout enthusiasts who don’t want to invest in a full weight set
- Anyone with a desk job: if you sit at a computer all day, your upper back needs this routine desperately
That said, if you’re an advanced lifter chasing serious hypertrophy, bands alone probably won’t cut it as your sole training tool. Use them as a supplement. But for toning, strengthening, improving posture, and building functional upper body fitness? Resistance bands are genuinely hard to beat.
Tracking your progress
One of the trickiest parts of band training is measuring progress, since you’re not simply adding plates to a bar. But tracking your progress still matters. Here’s how to do it effectively:
- Log your band color/resistance level for each exercise
- Record your reps and sets, and when you consistently hit the top of your rep range, increase resistance
- Note your tempo: slowing down is a form of progression even without changing bands
- Take progress photos every 4 weeks, since muscle tone changes are often visible before the scale moves
Consistent tracking keeps you honest and motivated. Learn more about building a simple system with this workout progress tracking guide.
Final thoughts: your back (and arms) will thank you
Resistance bands don’t look as impressive as a loaded barbell. Nobody’s posting band pull-aparts on Instagram with dramatic lighting and a motivational caption. But the payoff is real: toned arms, a stronger back, better posture, and healthier shoulders.
This upper body resistance band workout takes about 20 minutes, requires one piece of equipment that costs less than dinner out, and works whether you’re training in your living room, a hotel room, or a park. The barrier to entry is essentially zero.
Start with the 8 moves above. Do them 2-3 times a week. Progress to a heavier band when it gets easy. Give it four weeks, and your upper body will feel (and look) noticeably different.
Now stop reading and go grab a band. Your back has been asleep long enough.