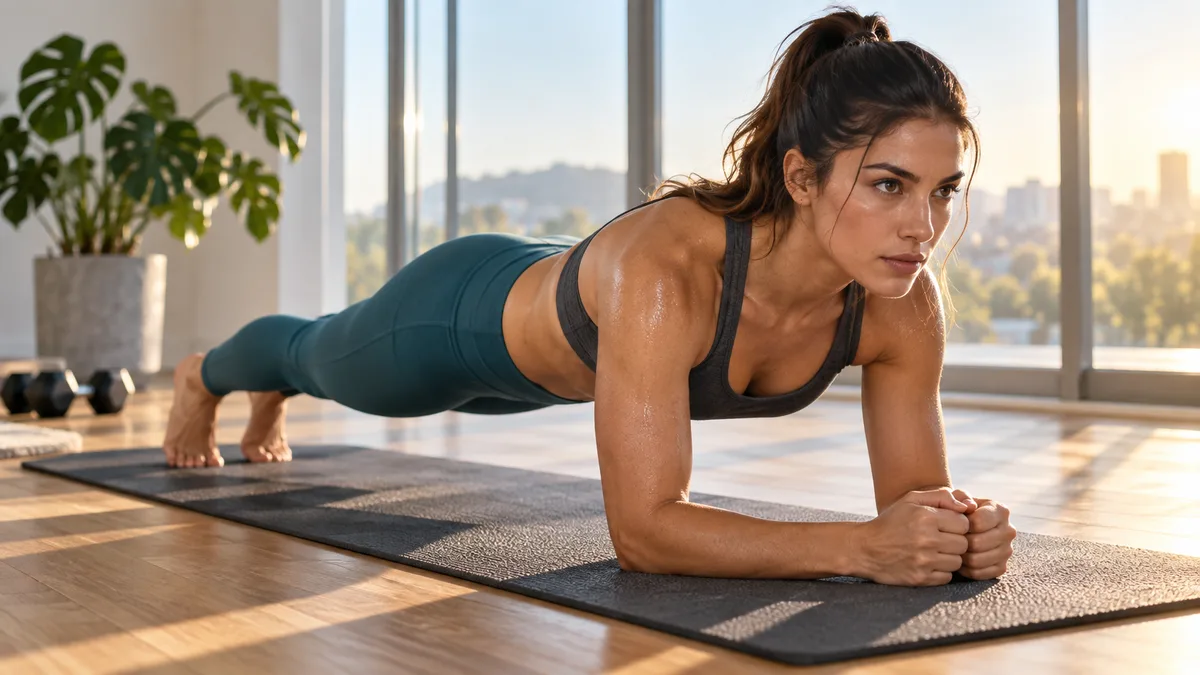
You don’t have unlimited time and motivation. Neither do I. You want a flatter stomach, you want it to actually work, and you’d rather not spend your entire evening on a gym floor wondering if anything useful is happening.
Good news: you don’t need an hour-long ab session to see real changes. What you need are the right movements, done with intention, that target your core from every angle. I’ve spent years testing routines (some brilliant, some absolutely pointless), and these seven workouts are the ones that consistently deliver.
So if you’re tired of doing 200 crunches and seeing exactly zero difference, stick around. This one’s for you.
Why most ab workouts fail (and what actually works)
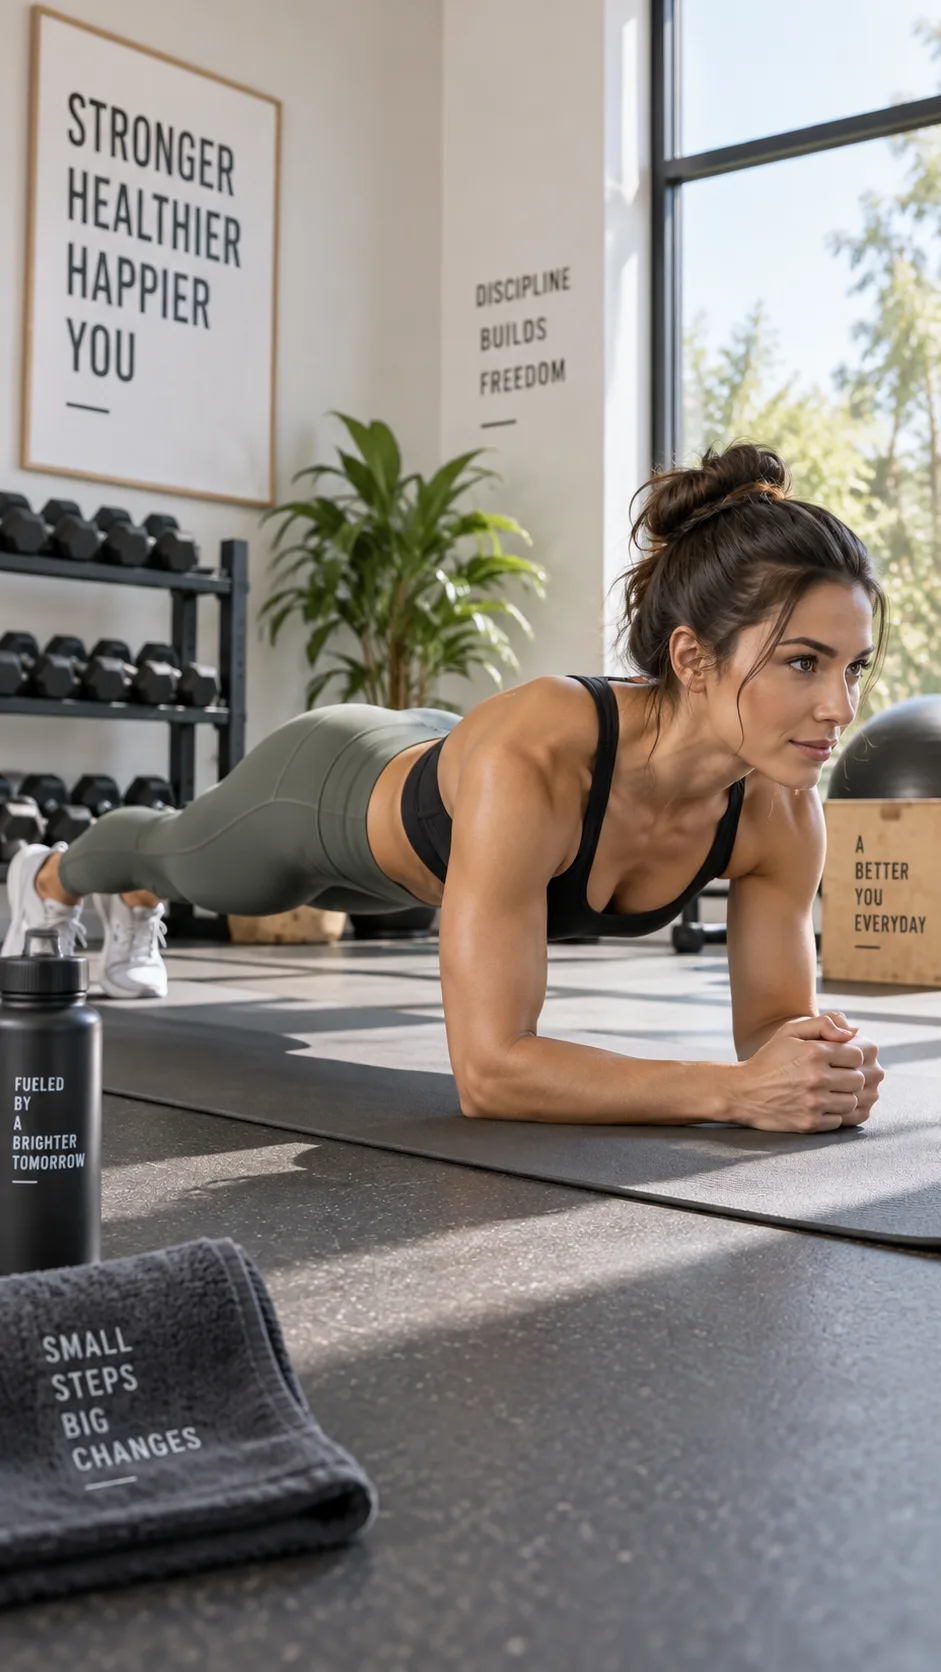
Here’s the uncomfortable truth: most people train their abs wrong. They pick one or two exercises, do them on repeat, and wonder why their stomach looks the same three months later. The core isn’t just one muscle. It’s a complex system of muscles that wraps around your entire midsection like a natural corset.
Your core includes the rectus abdominis (the “six-pack” muscles), the obliques (your sides), the transverse abdominis (the deep stabilizer underneath everything), and even your lower back muscles. If you only train the front, you’re literally ignoring more than half the equation.
According to the American Council on Exercise, exercises that engage multiple core muscles simultaneously produce significantly better results than isolation moves like basic crunches. That’s exactly why the seven workouts below work. They hit everything at once.
The role of intensity over duration
Ever wondered why someone who does a focused 15-minute core session looks better than someone grinding through 45 minutes of half-hearted sit-ups? Intensity beats duration every single time. Your muscles respond to how hard you challenge them, not how long you bore them.
Each workout below prioritizes quality contractions, time under tension, and progressive difficulty. You’ll feel these in minutes, and that’s exactly the point.
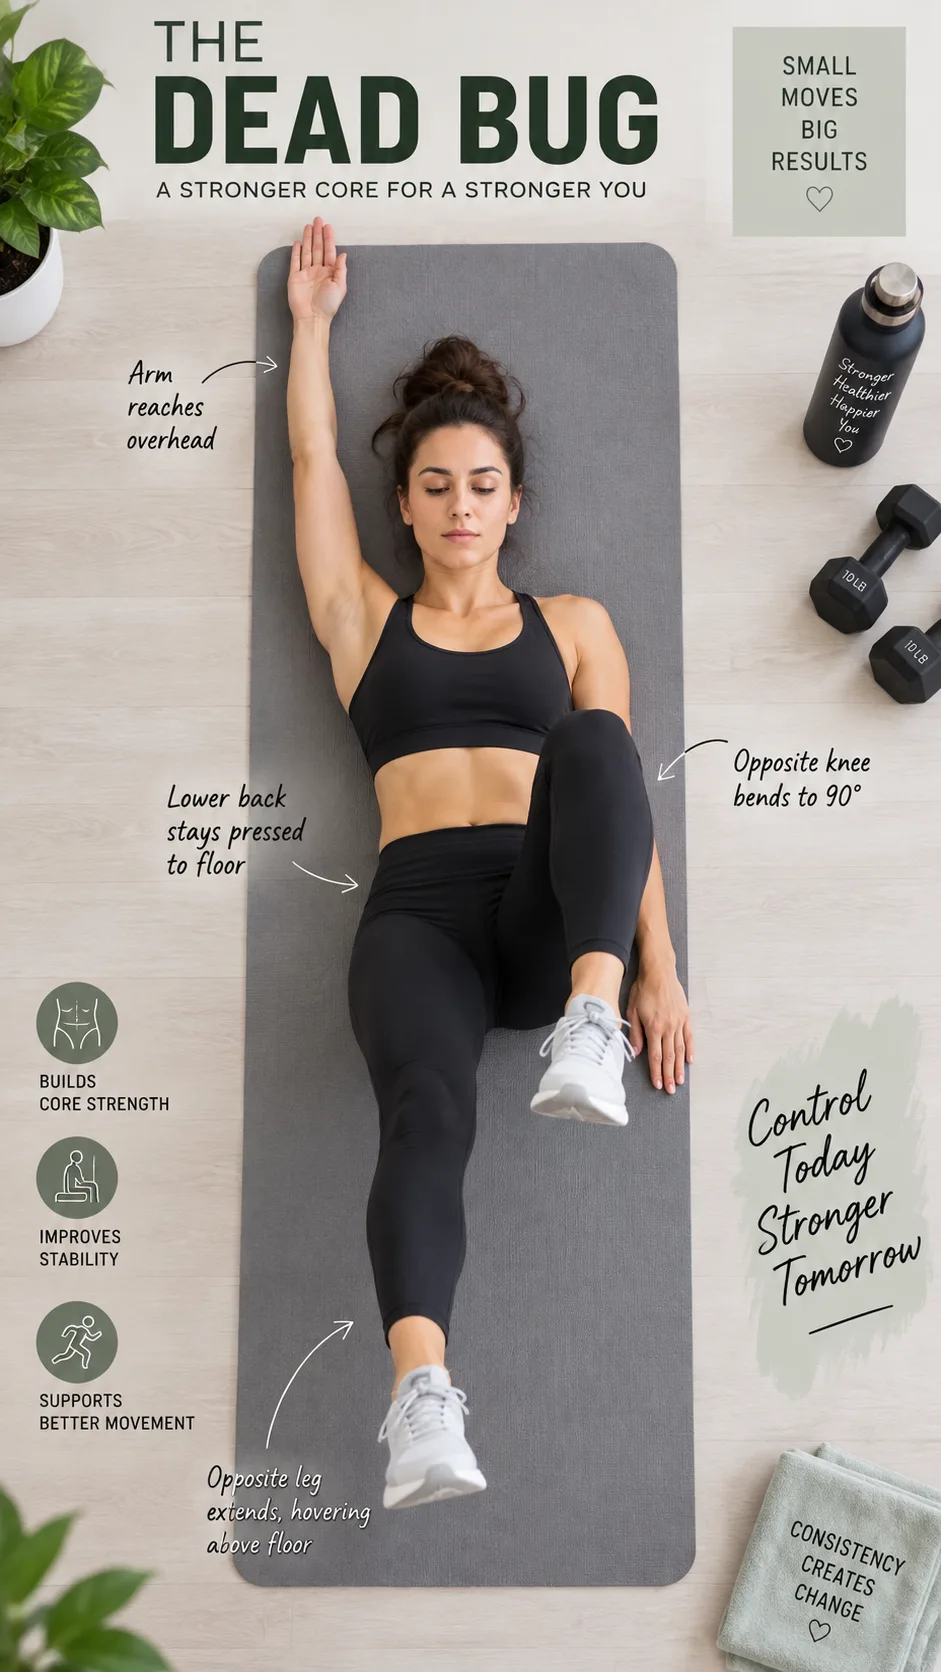
Workout #1: The dead bug hold and press
If you’ve never tried dead bugs, prepare to have your ego checked. This exercise looks deceptively easy, but it absolutely torches your deep core stabilizers, the muscles most responsible for that flat, pulled-in look.
How to do it
- Lie on your back with your arms extended straight toward the ceiling and your knees bent at 90 degrees (shins parallel to the floor).
- Press your lower back firmly into the ground. This is non-negotiable. No arching.
- Slowly extend your right arm overhead while simultaneously extending your left leg straight out, hovering just above the floor.
- Return to the start position and repeat on the opposite side.
- Perform 3 sets of 10 reps per side, moving slowly and deliberately.
The magic here is the anti-extension component. Your core has to fight like crazy to keep your back flat against the floor. This builds the kind of deep stability that makes your waistline look tighter even before you lose significant body fat.
If you’re also working on strengthening your deeper core muscles, you might want to check out these pelvic floor exercises for women. They complement dead bugs beautifully.
Workout #2: The plank to pike (on sliders or towels)
Standard planks are fine. But after a while, holding a plank for 60 seconds becomes more of an endurance test than an effective ab workout. Adding movement changes everything.
How to do it
- Start in a high plank position with your feet on sliders, paper plates, or towels (any smooth surface works on hardwood or tile).
- Keep your arms straight and your shoulders stacked over your wrists.
- Squeeze your abs and pike your hips toward the ceiling, sliding your feet toward your hands.
- Your body should form an inverted V at the top of the movement.
- Slowly slide back to plank position. That’s one rep.
- Aim for 3 sets of 8-12 reps.
This movement challenges your entire anterior chain: shoulders, chest, hip flexors, and especially the lower abs, which most people find incredibly stubborn. The sliding component also forces you to control the eccentric (lowering) portion, which means more time under tension and better muscle activation.
Workout #3: The hollow body hold
Gymnasts have some of the most impressive cores on the planet, and this is one of their foundational exercises. The hollow body hold teaches your abs to work as a single, powerful unit. It’s HARDER than it looks. Way harder.
How to do it
- Lie on your back with your arms extended overhead and your legs straight.
- Engage your core and lift your shoulders, arms, and legs off the ground simultaneously.
- Your lower back must stay glued to the floor. If it lifts, you’ve gone too far.
- Hold this banana-shaped position for 20-30 seconds.
- Rest for 15 seconds, then repeat for 4-5 rounds.
Can’t hold it for 20 seconds? No shame. Bend your knees or keep your arms by your sides to reduce the lever length. The important thing is maintaining that lower-back-to-floor contact. As you get stronger, straighten everything out and watch your hold time climb.
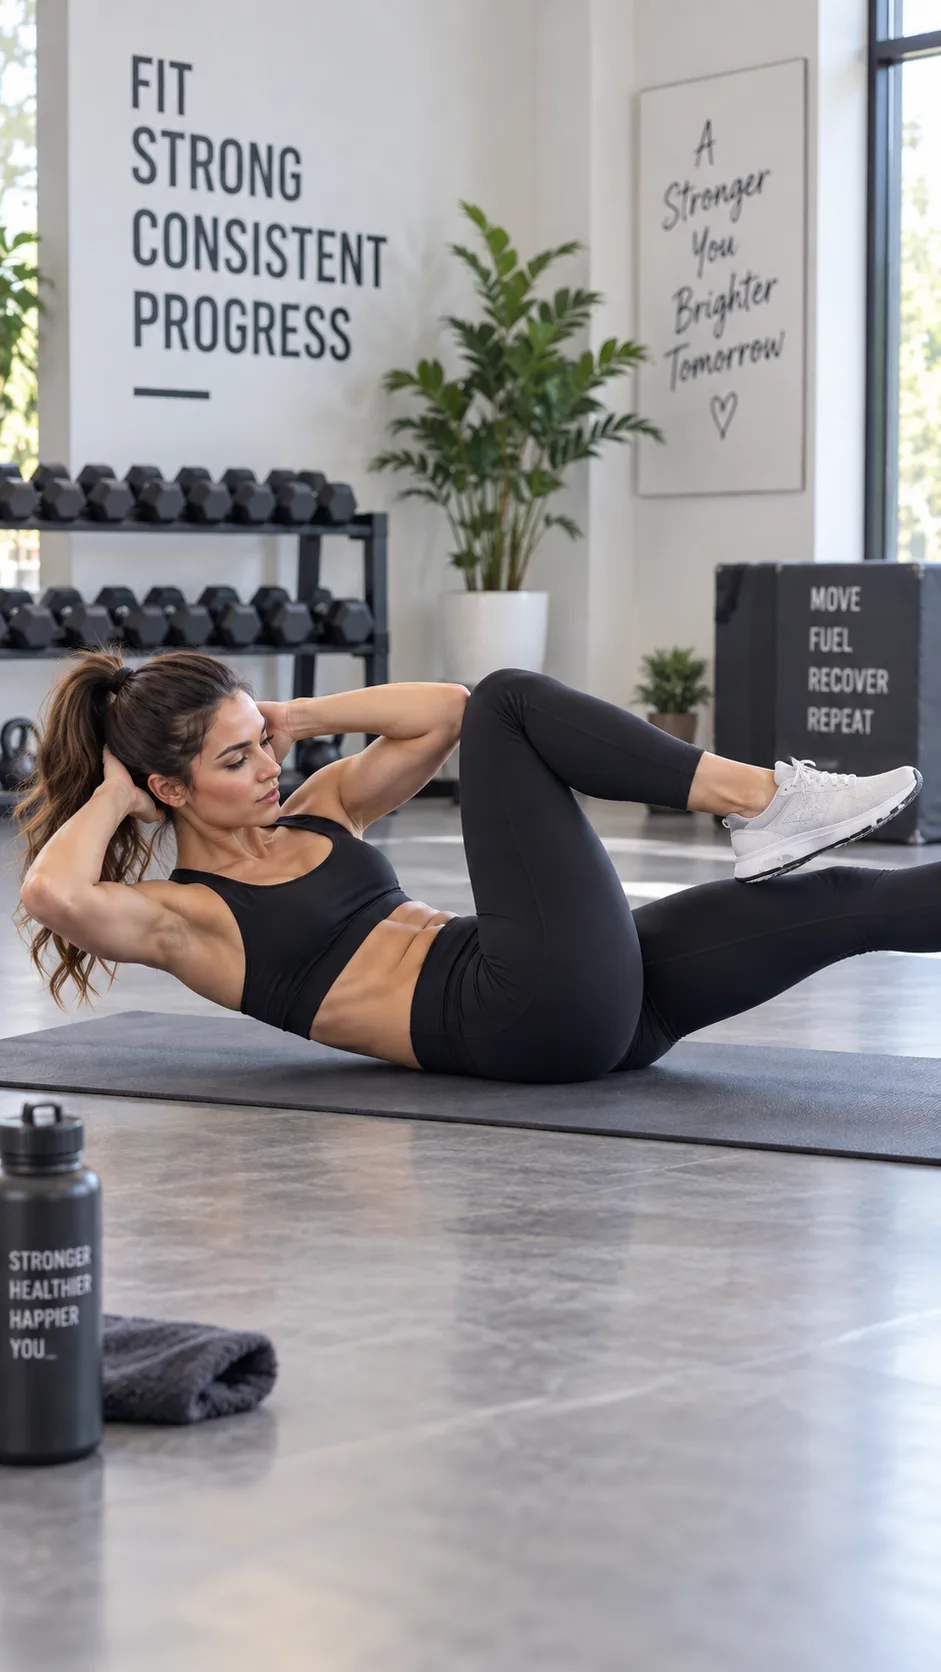
Workout #4: Bicycle crunches (done right)
Yes, bicycle crunches. I know they seem basic. But here’s the thing: most people do them at warp speed and completely waste the exercise. When you slow them down and focus on actual rotation, they become one of the most effective oblique-targeting moves you can do.
A well-known study by the American Council on Exercise ranked bicycle crunches as the #1 most effective rectus abdominis exercise, beating out ab rollers, captain’s chairs, and every fancy crunch machine in the gym.
How to do them properly
- Lie on your back with your hands lightly behind your head (don’t pull on your neck, ever).
- Lift your shoulders off the ground and bring your right elbow toward your left knee as you extend your right leg.
- Pause for a full second at the point of maximum contraction. Feel your obliques working.
- Switch sides with control. No flailing.
- Perform 3 sets of 15 reps per side at a slow, deliberate tempo.
The one-second pause changes the entire exercise. You’ll feel the difference by rep five, and by rep twelve, your obliques will have some very strong opinions about your life choices. That’s how you know it’s working 🙂
Workout #5: Mountain climbers with a twist
Mountain climbers already spike your heart rate and hammer your core. But when you add a cross-body twist, you recruit your obliques and transform this from a basic cardio drill into a serious flat stomach workout that burns fat AND builds muscle at the same time.
How to do it
- Start in a high plank position, hands shoulder-width apart.
- Drive your right knee toward your LEFT elbow (across your body), squeezing your obliques at the top.
- Return to plank and immediately drive your left knee toward your RIGHT elbow.
- Keep your hips low. Don’t let them pike up.
- Perform 30 seconds on, 15 seconds rest, for 4 rounds.
This exercise pulls double duty as both a core strengthener and a metabolic conditioner. Your heart rate will climb, you’ll burn more calories per minute, and you’ll challenge your stability muscles in ways a standard crunch never could. IMO, this is the single best bang-for-your-buck core exercise when you’re short on time.
If you’re building a full workout routine and want to pair this with some solid lower-body work, take a look at this beginner leg and glute routine for women. Combining core and lower-body training is a seriously smart strategy for overall body composition.
Workout #6: The Pallof press (anti-rotation king)
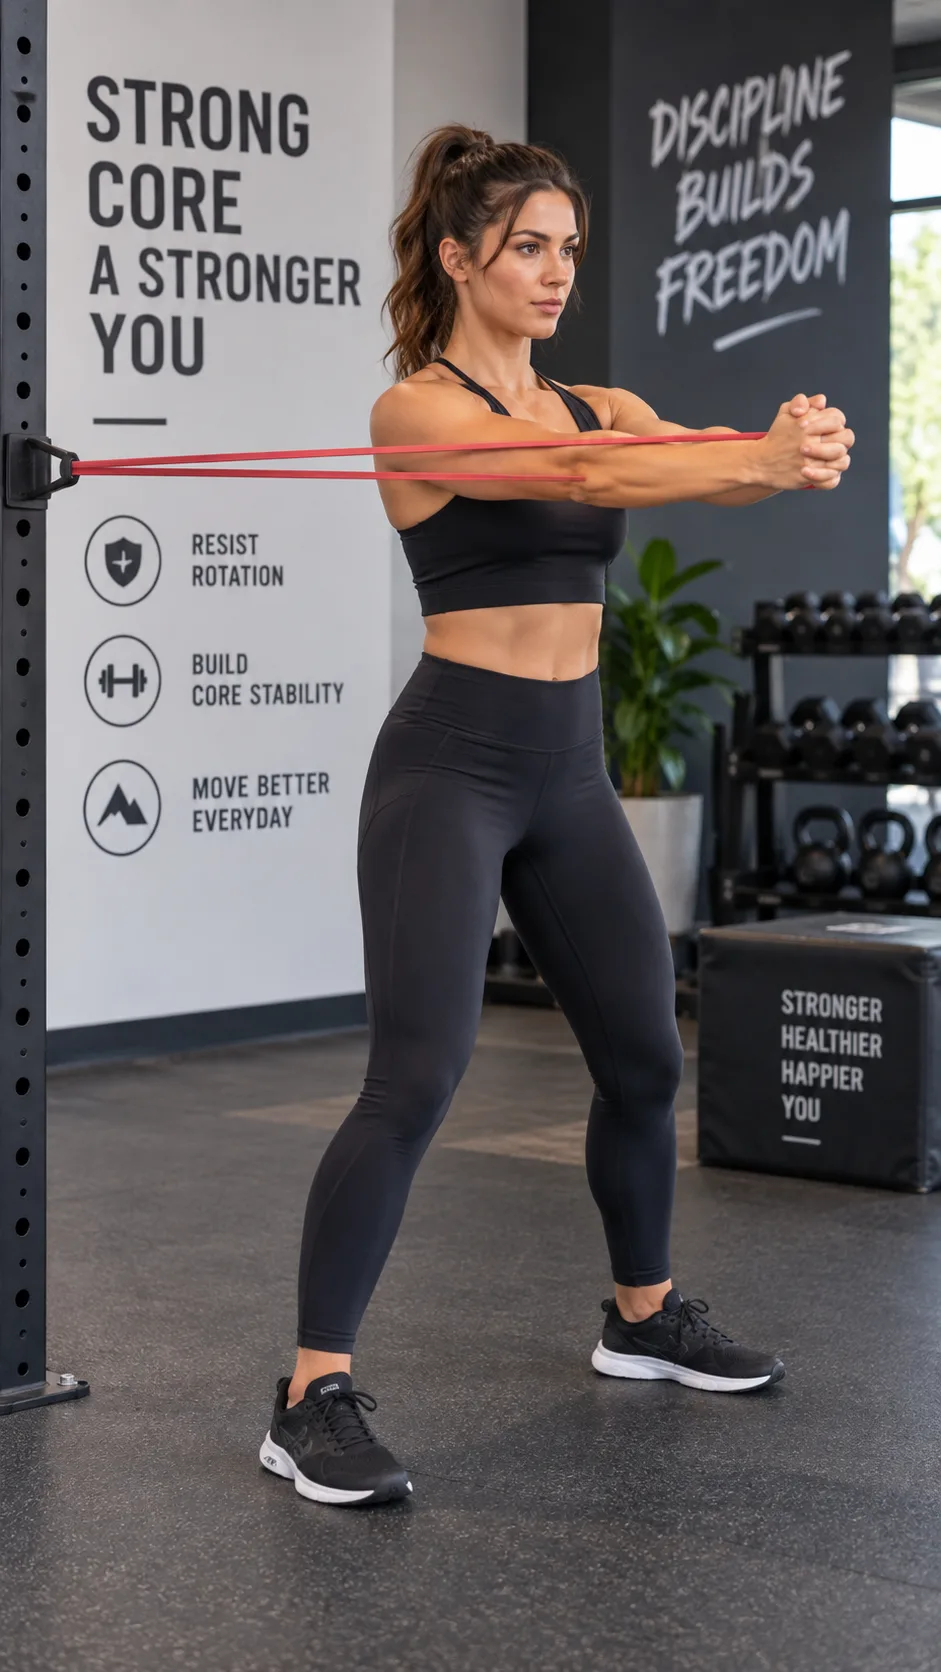
Here’s an exercise most people overlook entirely, and it’s a shame because it’s PHENOMENAL for building a tight, stable midsection. The Pallof press is an anti-rotation exercise, meaning your core works by resisting movement rather than creating it.
Why does that matter? Because that’s exactly how your core functions in real life. It stabilizes. It braces. It keeps your spine safe. And when those muscles get stronger, your whole midsection tightens up.
How to do it
- Attach a resistance band to a sturdy anchor point at chest height (or use a cable machine at the gym).
- Stand perpendicular to the anchor, holding the band at your chest with both hands.
- Press your hands straight out in front of you. The band will try to rotate your torso. Don’t let it.
- Hold the extended position for 2-3 seconds, keeping your hips and shoulders square.
- Return to your chest and repeat for 3 sets of 12 reps per side.
This one doesn’t look intense from the outside, but your transverse abdominis and obliques will be firing on all cylinders. It’s the kind of exercise that builds the functional core strength most ab routines completely ignore. Personal anecdote: I dismissed this exercise for years until a physical therapist insisted I try it. Within three weeks, my waistline measurement actually decreased, without changing my diet. I was sold.
Workout #7: The reverse crunch to leg lower
Let’s talk about lower abs for a second. That stubborn pooch below the belly button? Standard crunches barely touch it. The reverse crunch to leg lower specifically targets the lower portion of your rectus abdominis and does it with brutal efficiency.
How to do it
- Lie on your back with your arms flat by your sides, palms pressing into the floor.
- Bring your knees toward your chest, then curl your hips off the floor by squeezing your lower abs (don’t swing, lift with control).
- Slowly lower your hips back down, then extend your legs out at about a 45-degree angle.
- Pause for one second with legs extended, keeping your lower back pressed into the floor.
- Bring your knees back to your chest and repeat. Aim for 3 sets of 10-12 reps.
The leg-lowering component is where things get spicy. Gravity is working against you, and your lower abs have to work overtime to control the descent. If your lower back starts arching off the floor, don’t extend your legs as far. Work within your current strength level and progress from there.
How to put these 7 workouts together
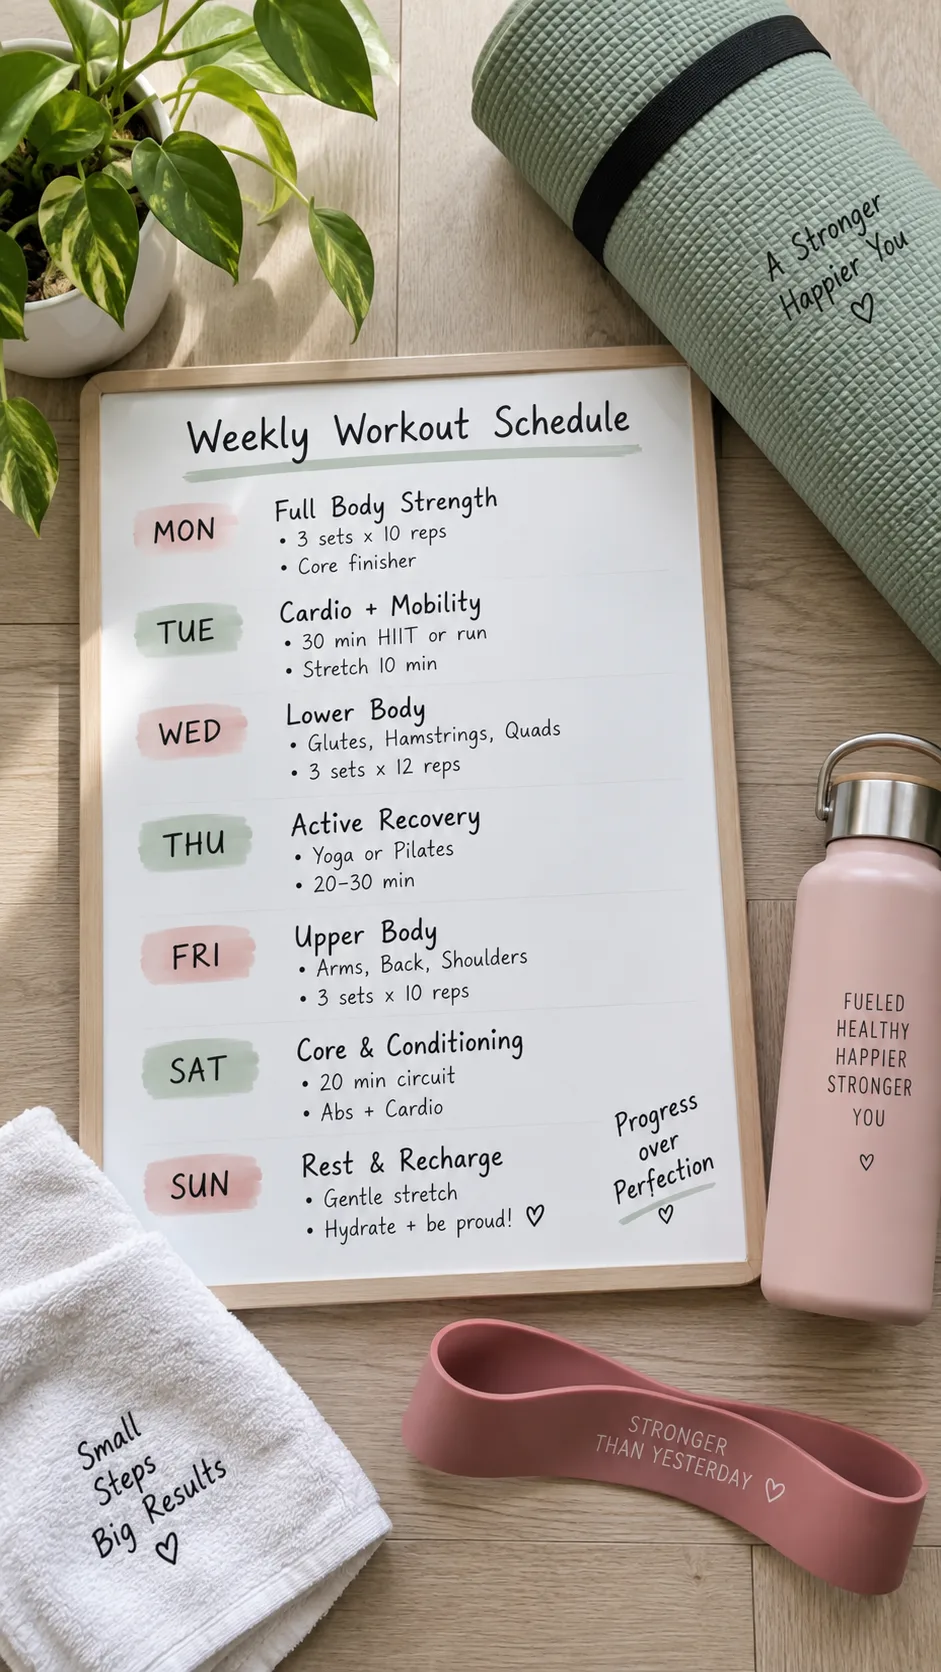
Knowing seven great exercises is useless if you don’t have a plan for using them. Here’s how I’d structure your week for fast flat stomach results without overtraining:
Sample weekly schedule
- Monday: Dead Bugs + Hollow Body Hold + Reverse Crunch to Leg Lower (15-20 minutes)
- Wednesday: Plank to Pike + Mountain Climbers with Twist + Bicycle Crunches (15-20 minutes)
- Friday: Pallof Press + Dead Bugs + Hollow Body Hold (15-20 minutes)
- Optional Saturday: Pick any 3 exercises and create a circuit. 40 seconds work, 20 seconds rest, 3 rounds.
Three to four sessions per week, 15-20 minutes each. That’s it. You can absolutely add these to the end of your regular workouts or do them as standalone sessions on rest days. Either approach works.
Want a more structured day-by-day approach? This 7-day flat stomach workout plan maps out an entire week so you don’t have to think about programming at all.
The nutrition factor (because we can’t ignore it)
I’d be lying to you if I said these workouts alone will give you a flat stomach. Your diet plays an enormous role, probably 60-70% of the equation. You cannot out-train a consistently poor diet. Trust me, I’ve tried.
You don’t need to count every calorie or go keto or do anything extreme. Focus on these fundamentals:
- Eat enough protein. Aim for roughly 0.7-1 gram per pound of bodyweight. This supports muscle recovery and keeps you full.
- Reduce bloating triggers. Excess sodium, carbonated drinks, and large amounts of cruciferous vegetables can make your stomach look puffier than it actually is.
- Stay hydrated. Ironically, drinking more water helps you retain less water. The Mayo Clinic recommends about 11.5 cups daily for women.
- Manage stress. Cortisol (the stress hormone) directly promotes fat storage around the midsection. Sleep, recovery, and stress management genuinely affect how flat your stomach looks.
None of this is groundbreaking, but it’s honest. The people who combine consistent core training with reasonable nutrition are the ones who actually see results. FYI, “reasonable” doesn’t mean perfect. It means making better choices most of the time.
Common mistakes that stall your progress
Before you start hammering these workouts, let’s address the stuff that trips most people up:
- Going too fast. Speed kills your results. Slow, controlled reps activate more muscle fibers and reduce momentum cheating.
- Forgetting to breathe. Exhale on the exertion (the hard part). Holding your breath raises intra-abdominal pressure and can make your stomach look MORE distended over time.
- Only training the front. Your obliques, lower back, and deep stabilizers need attention too. That’s exactly why workouts #5, #6, and the rotation components above exist.
- Skipping progressive overload. If you can do 15 reps easily, make the exercise harder. Add a hold, slow down the tempo, or increase resistance. Your muscles adapt, and if you don’t challenge them, they stop changing.
- Expecting overnight results. Realistic timeline? Most people start noticing visible changes in 4-6 weeks of consistent training combined with reasonable nutrition. Not 4-6 days. Weeks.
Patience combined with consistency beats intensity combined with inconsistency every single time. Show up three times a week, execute these movements properly, and the results will follow.
Your flat stomach action plan starts now
Quick recap of what actually matters. You now have seven highly effective workouts for a flat stomach that target your core from every angle: front, sides, and deep stabilizers. You know that intensity beats duration, that slow and controlled beats fast and sloppy, and that nutrition plays a massive supporting role.
The exercises (dead bugs, plank-to-pike slides, hollow body holds, bicycle crunches, cross-body mountain climbers, Pallof presses, and reverse crunches with leg lowers) cover your rectus abdominis, obliques, and transverse abdominis comprehensively. No gaps, no wasted movements.
Pick three exercises, commit to 15-20 minutes three times this week, and actually start. Not tomorrow. Not Monday. This week. The best workout program in the world means absolutely nothing if it stays on a screen instead of happening on a mat.
Your future self, the one with the stronger core, better posture, and flatter stomach, will thank you for starting today. Now go make those minutes count.