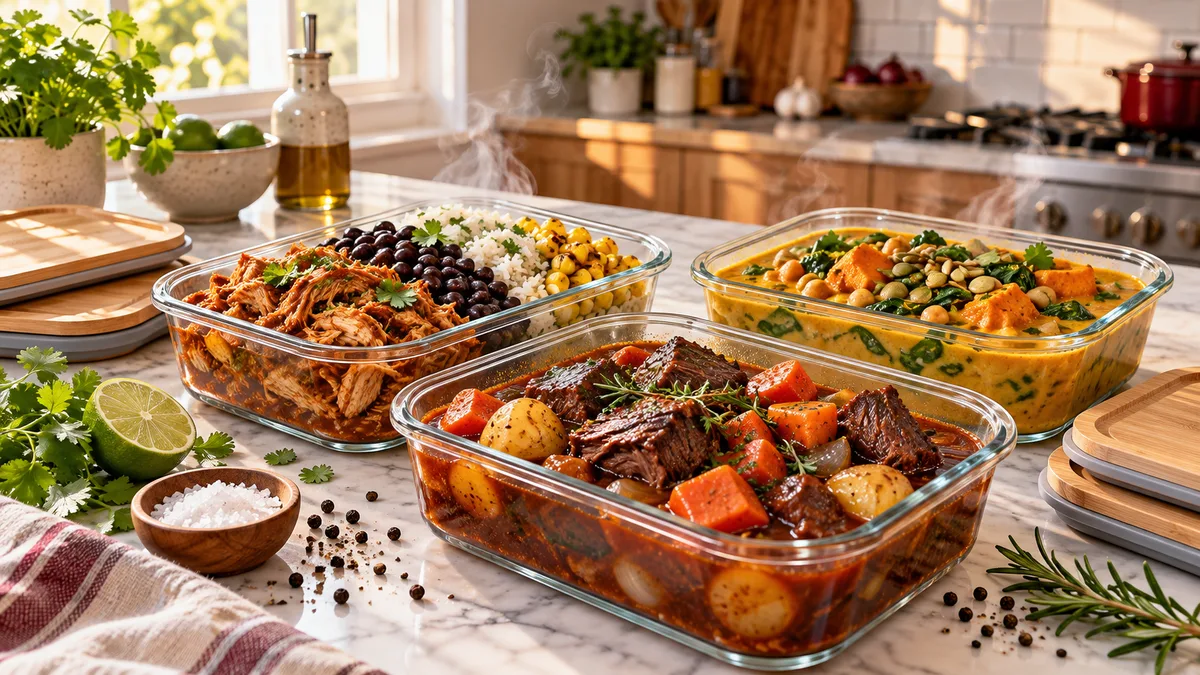
You pull a mystery container from the bottom of your freezer, pop it into the microwave, and hope for the best. Three minutes later, you stare at a bowl of rubbery chicken floating in watery sauce. You toss it in the trash and order takeout instead.
Most cooks treat their freezer like a graveyard for leftovers. They freeze fragile ingredients, trap air inside cheap bags, and blast the results with uneven microwave heat. Unsurprisingly, the food tastes like damp cardboard.
Freezer meals do not need to taste miserable. When you understand basic moisture control and adjust your cooking times, frozen food keeps the rich flavor and crisp texture of a fresh dinner. You can build a reliable inventory of weeknight meals using ingredients that survive freezing without degrading.
Why most freezer meal prep fails (the science of mush)
Water expands when it freezes, forming sharp ice crystals. These microscopic crystals pierce cell walls throughout vegetables and meats, tearing apart their internal structure. A crisp bell pepper turns into soggy gray mush because those frozen crystals shredded its cells from the inside out.
When you heat that food back up, the damaged cells leak all their water onto your plate. Food scientists call this liquid loss “syneresis” or “purge.” You see it as a bland, watery puddle. As writers at Serious Eats note, rapid freezing and strict moisture control stop this breakdown before it begins.
Air causes just as much damage. Sub-zero air sucks moisture directly off unprotected food surfaces through sublimation. This severe dehydration leaves meat tough, leathery, and flavorless. If you wrap food securely and eliminate air pockets, you stop freezer burn in its tracks.
Cold temperatures also break delicate culinary emulsions. Sauces built on sour cream, fluid milk, or soft cheeses split and curdle into grainy liquid once ice forms. You need hardy legumes, stable fats, and thick, tomato-rich gravies that maintain their consistency through a freeze and reheat cycle.
The golden rules of freezer prep
Stick to four core habits whenever you batch-cook. They save you time and protect hours of kitchen prep from going to waste.
- Undercook starches and vegetables by 20 percent: Pull pasta off the burner while it still feels stiff, and keep vegetables crisp. Reheating cooks them a second time. If you cook them fully on day one, they turn to paste on day two.
- Cool dishes completely before freezing: Never pack hot food directly into cold storage. Rising steam condenses against container lids, generating large ice crystals that trigger freezer burn and dilute sauces. Cool food on your counter for 30 minutes, chill it in the refrigerator, and transfer it to the freezer only when cold to the touch.
- Strip out excess air: Press plastic film directly against the surface of stews and curries before snapping lids into place. For solid foods, use a vacuum sealer or wrap portions tightly in foil followed by heavy freezer bags.
- Increase your seasoning: Freezing mutes aromatics, salt, and citrus. Add an extra pinch of salt, more garlic, and extra dried herbs compared to your baseline recipes.
If you want a solid baseline for your everyday cooking before loading up the freezer, review our favorite strategies for healthy meal prep for the week.
5 foolproof freezer meals that reheat like freshly cooked dinners
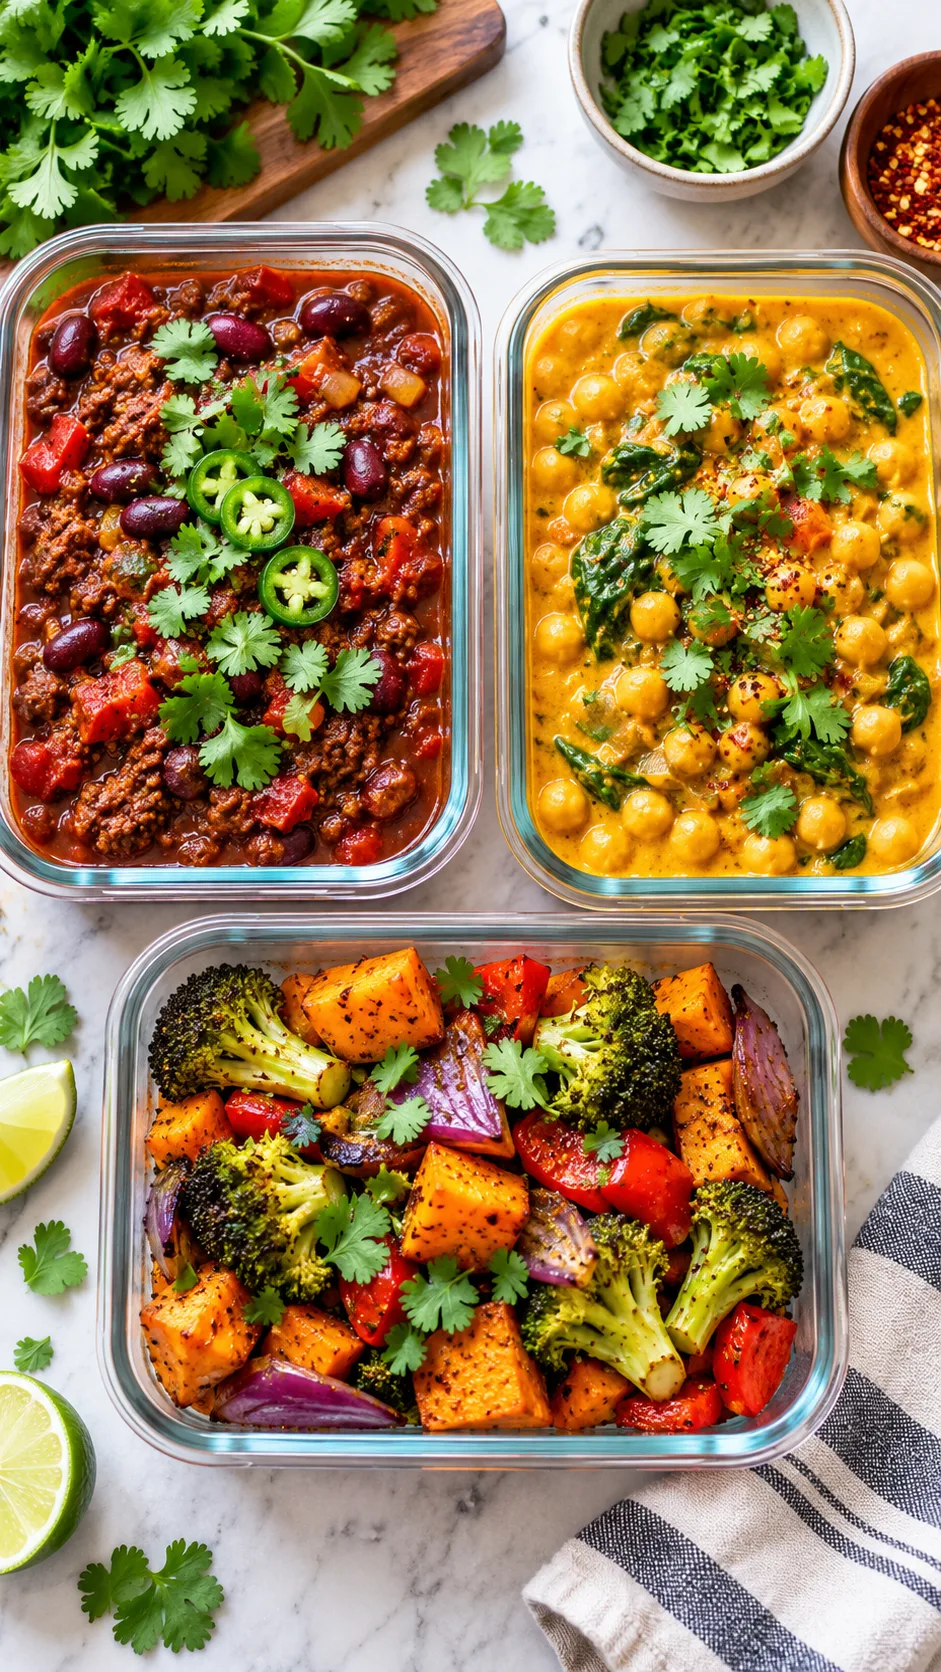
These five meals rely on ingredients that shrug off cold temperatures. Meats rich in connective tissue, sturdy beans, and slow-simmered tomato bases retain moisture far better than lean chicken breast or delicate greens. Cook double batches on a quiet afternoon and stock your shelves for hectic workdays.
1. Slow-cooker rich beef bolognese with rigatoni
Lean meat dries out in freezing temperatures, but ground beef with modest fat content (85/15) retains moisture well. Tomato paste and olive oil form an emulsion that coats the meat fibers. Ridged rigatoni also retains its shape far better than delicate angel hair or thin spaghetti.
- Yield: 6 generous servings
- Freezer Life: Up to 3 months
- Best Reheating Method: Skillet on medium-low heat with a splash of water
Ingredients:
- 2 pounds ground beef (85/15)
- 1 large yellow onion, finely diced
- 3 carrots, grated or finely minced
- 3 stalks celery, minced
- 5 cloves garlic, minced
- 2 cans (28 oz each) crushed San Marzano tomatoes
- 1/4 cup double-concentrated tomato paste
- 1 cup dry red wine (or beef bone broth)
- 1 tablespoon dried oregano
- 2 bay leaves
- 1 pound rigatoni pasta
- Olive oil, salt, and black pepper to taste
Step-by-Step Instructions:
- Heat two tablespoons of olive oil in a Dutch oven over medium heat. Add the onion, carrots, and celery, cooking until soft (about 8 minutes).
- Add the minced garlic and tomato paste, stirring constantly for 2 minutes until fragrant and deep red.
- Add the ground beef, breaking it into small pieces with a wooden spoon until browned. Drain excess fat if desired, but leave a thin layer for flavor.
- Pour in the red wine to deglaze the pot, scraping up any browned bits stuck to the bottom. Let the wine simmer until it reduces by half.
- Stir in the crushed tomatoes, dried oregano, bay leaves, 2 teaspoons of salt, and 1 teaspoon of cracked black pepper. Reduce heat to low, cover, and simmer for at least 60 minutes.
- Meanwhile, cook your rigatoni in heavily salted boiling water for 3 minutes less than the package directions. Drain and rinse briefly under cold water to stop the cooking.
- Cool both the sauce and the pasta completely. Combine them gently in single-serve glass containers to allow the pasta to absorb sauce flavor without turning soft. Freeze immediately.
2. Coconut chickpea and spinach curry
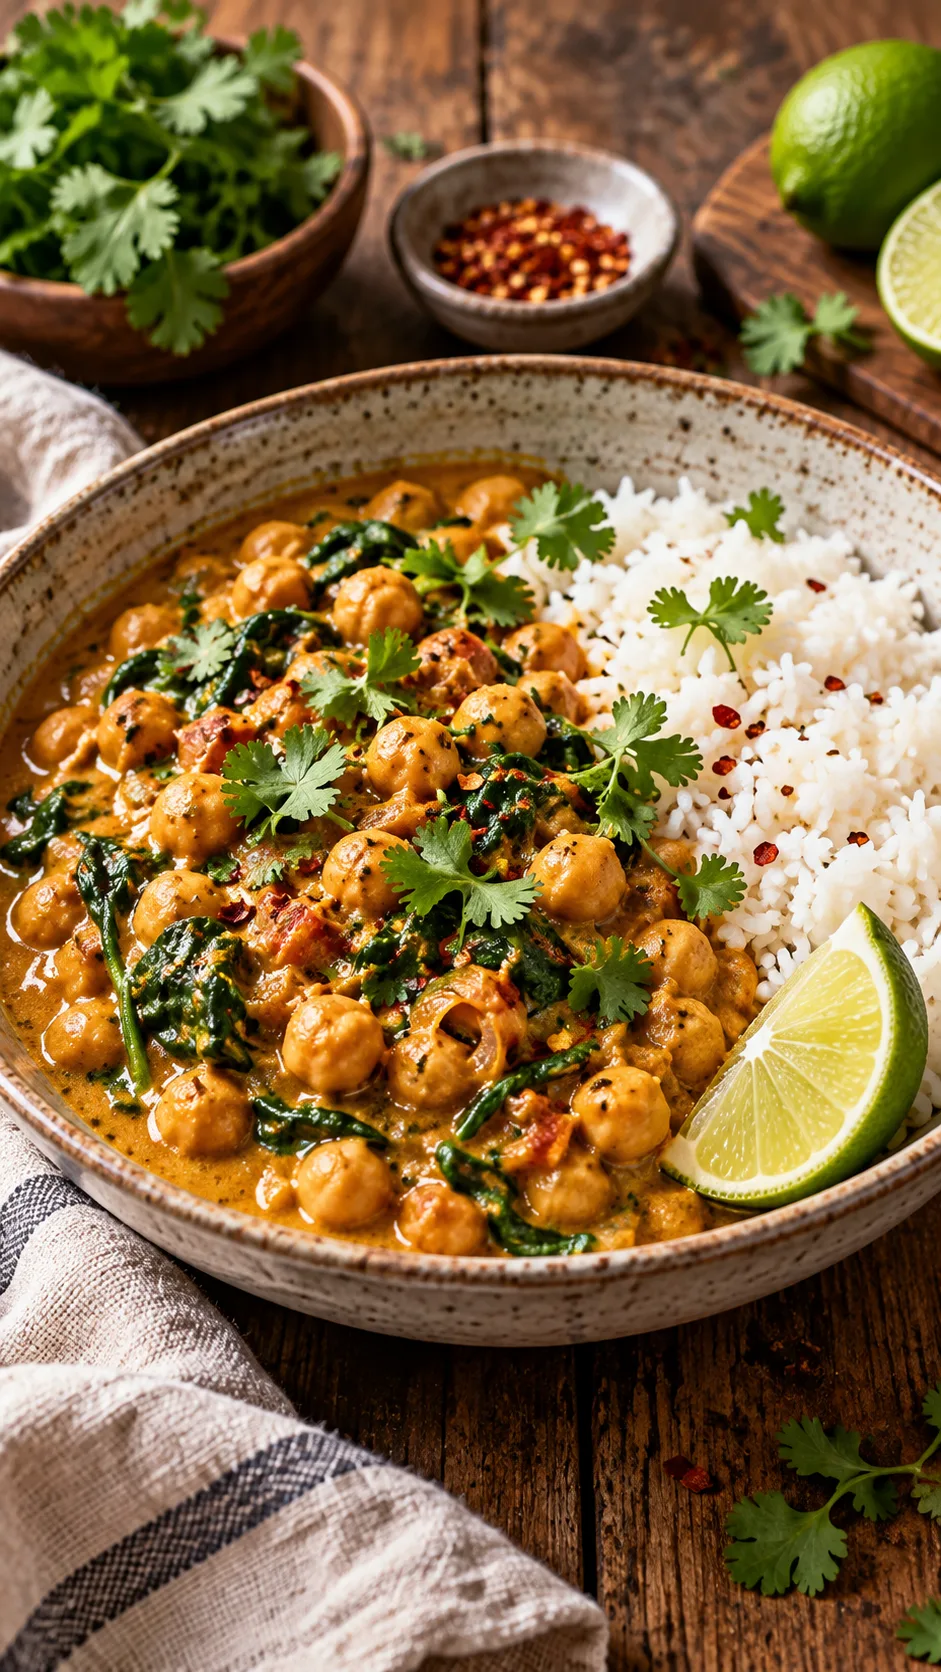
Curries improve after a few weeks on ice. The spices meld into the sauce, and firm chickpeas drink up the coconut milk without losing their bite. Full-fat coconut milk holds its velvety texture through freezing and reheating. Pack this when you need a fast dinner or want a portable lunch meal prep for the week.
- Yield: 5 servings
- Freezer Life: Up to 4 months
- Best Reheating Method: Microwave with a damp paper towel on top, stirring halfway through
Ingredients:
- 3 cans (15 oz each) chickpeas, drained and thoroughly rinsed
- 2 cans (13.5 oz each) full-fat coconut milk (avoid “light” versions)
- 1 large yellow onion, chopped
- 4 cloves garlic, grated
- 1 tablespoon fresh ginger, finely grated
- 2 tablespoons mild curry powder
- 1 teaspoon ground cumin
- 1 teaspoon garam masala
- 1/2 teaspoon ground turmeric
- 1 can (14 oz) diced fire-roasted tomatoes
- 5 ounces fresh baby spinach
- Juice of 1 fresh lime
- Cooked jasmine or basmati rice for serving
Step-by-Step Instructions:
- Sauté the chopped onion in coconut oil over medium heat until translucent.
- Add garlic, ginger, curry powder, cumin, garam masala, and turmeric. Stir constantly for 60 seconds to toast the spices.
- Pour in the fire-roasted tomatoes and full-fat coconut milk. Stir well to lift any toasted spices from the bottom of the pan.
- Add the rinsed chickpeas and bring the curry to a gentle boil. Lower the heat and simmer uncovered for 20 minutes until the sauce thickens slightly.
- Fold in the fresh baby spinach during the final 2 minutes until it just wilts. Remove from heat and stir in the fresh lime juice and salt.
- Cool the curry to room temperature. Divide into freezer-safe containers alongside pre-cooled, slightly undercooked jasmine rice. Seal tightly and freeze.
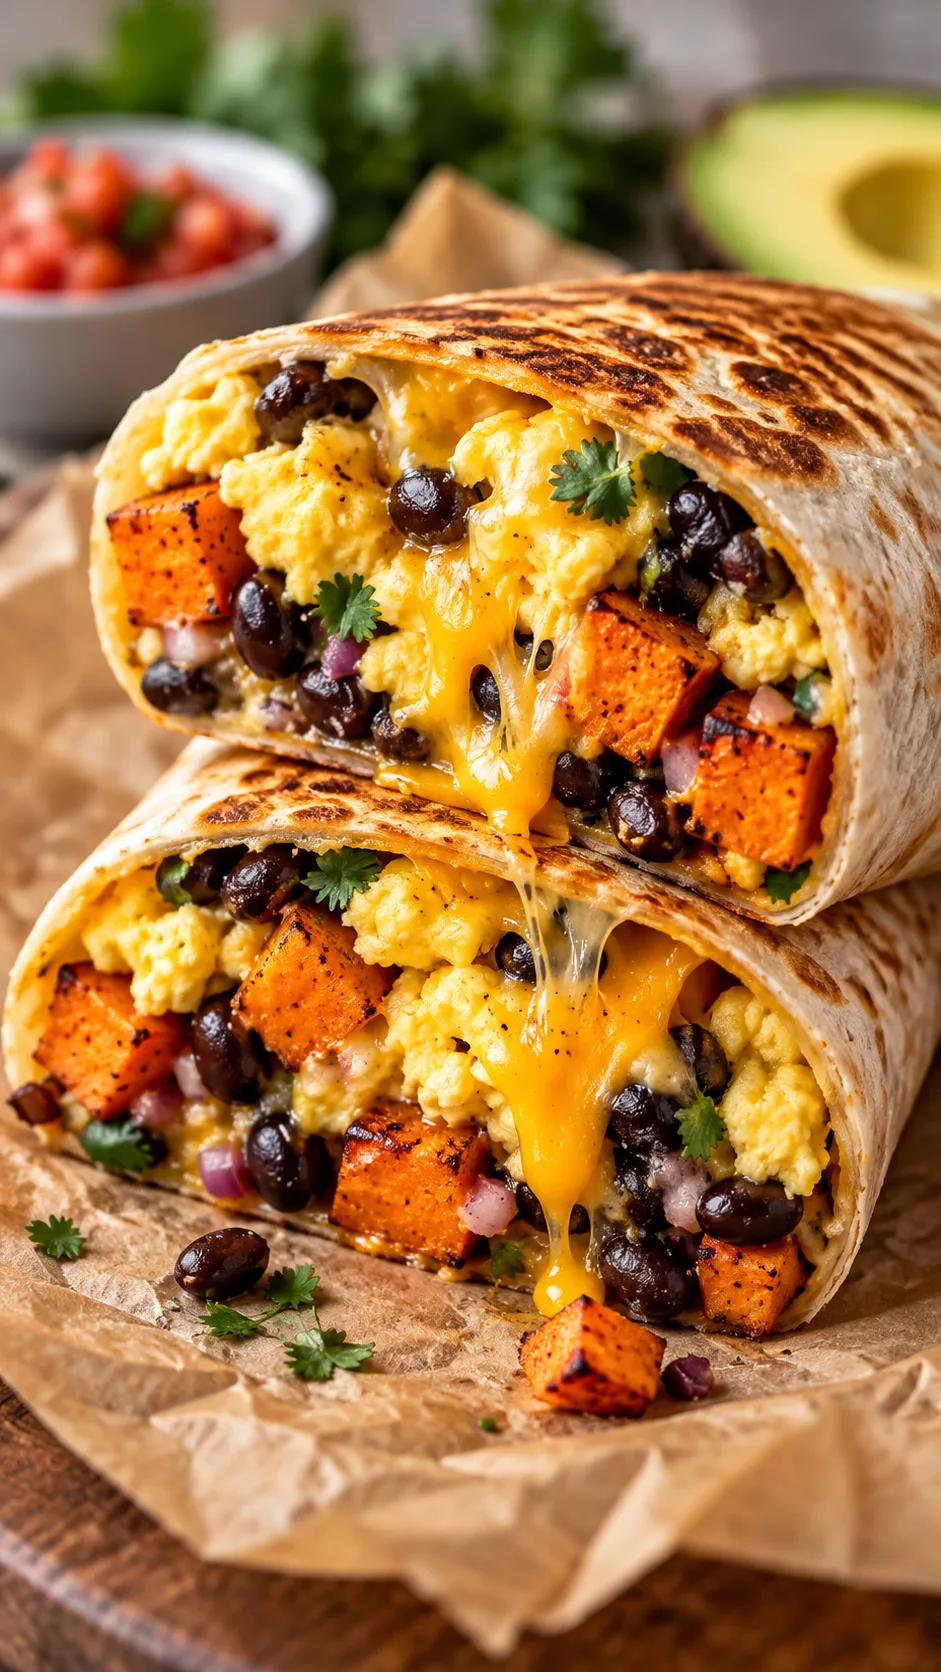
3. Crispy sweet potato, black bean, and chorizo breakfast burritos
Commercial frozen burritos leave you with soggy tortillas and icy centers. Homemade wraps solve this issue. Roasting the sweet potatoes drives off excess surface water, which keeps the tortillas dry and pliable during weeks in the freezer.
- Yield: 8 large burritos
- Freezer Life: Up to 2 months
- Best Reheating Method: Air fryer at 375°F (190°C) for 12-14 minutes directly from frozen
Ingredients:
- 8 large burrito-size flour tortillas (choose high-pliancy brands)
- 8 large eggs, lightly beaten
- 8 ounces Mexican pork or soy chorizo
- 2 medium sweet potatoes, peeled and diced into 1/2-inch cubes
- 1 can (15 oz) black beans, drained and rinsed
- 1 cup shredded sharp cheddar or Monterey Jack cheese
- 1 teaspoon smoked paprika
- 1/2 teaspoon garlic powder
- Salt and olive oil to taste
Step-by-Step Instructions:
- Toss diced sweet potatoes with olive oil, smoked paprika, garlic powder, and salt. Roast at 400°F (200°C) for 25 minutes until caramelized and tender. Cool completely.
- Cook the chorizo in a skillet over medium heat until crispy. Transfer to a paper-towel-lined plate to drain excess grease.
- Scramble your eggs in the same skillet on low heat. Pull them off the stove while they still look slightly wet, as overcooked eggs turn spongy in the freezer.
- Warm each tortilla in a dry skillet for 10 seconds to make it pliable and crack-resistant.
- Layer each burrito with black beans, roasted sweet potatoes, crispy chorizo, soft scrambled eggs, and shredded cheese. Keep fillings completely room-temperature before rolling.
- Tuck in the sides and roll each tortilla tightly. Wrap each burrito individually in parchment paper, then wrap securely in aluminum foil. Place all wrapped burritos inside a gallon freezer bag.
For more early morning inspiration that survives busy mornings, check out our favorite healthy breakfast meal prep ideas.
4. Lemon garlic herb marinated chicken thighs with root vegetables
Skip skinless chicken breasts here. Lean white meat turns chalky when reheated twice. Chicken thighs contain enough intramuscular fat to stay tender and juicy across the entire freeze-thaw cycle.
- Yield: 4 hearty servings
- Freezer Life: Up to 3 months
- Best Reheating Method: Preheated oven at 375°F (190°C) for 20 minutes
Ingredients:
- 2 pounds boneless, skinless chicken thighs
- 1 pound baby red potatoes, halved
- 4 large carrots, peeled and cut into thick 1-inch chunks
- 1/4 cup extra virgin olive oil
- Zest and juice of 2 fresh lemons
- 5 cloves garlic, crushed
- 1 tablespoon dried oregano
- 1 tablespoon fresh rosemary, finely minced
- 1 teaspoon sea salt
- 1/2 teaspoon freshly cracked black pepper
Step-by-Step Instructions:
- Whisk olive oil, lemon zest, lemon juice, crushed garlic, oregano, rosemary, salt, and pepper together in a large bowl.
- Toss chicken thighs, potatoes, and carrots into the marinade until coated thoroughly.
- Spread vegetables and chicken across a large baking sheet in a single layer. Roast at 400°F (200°C) for 35 minutes until the chicken reaches an internal temperature of 165°F and potatoes yield to a fork.
- Allow the entire tray to cool down completely on the kitchen counter.
- Divide portions into airtight glass meal prep dishes. Spoon the pan juices over the chicken thighs before sealing to create an icy flavor barrier that hydrates the meat when reheated.
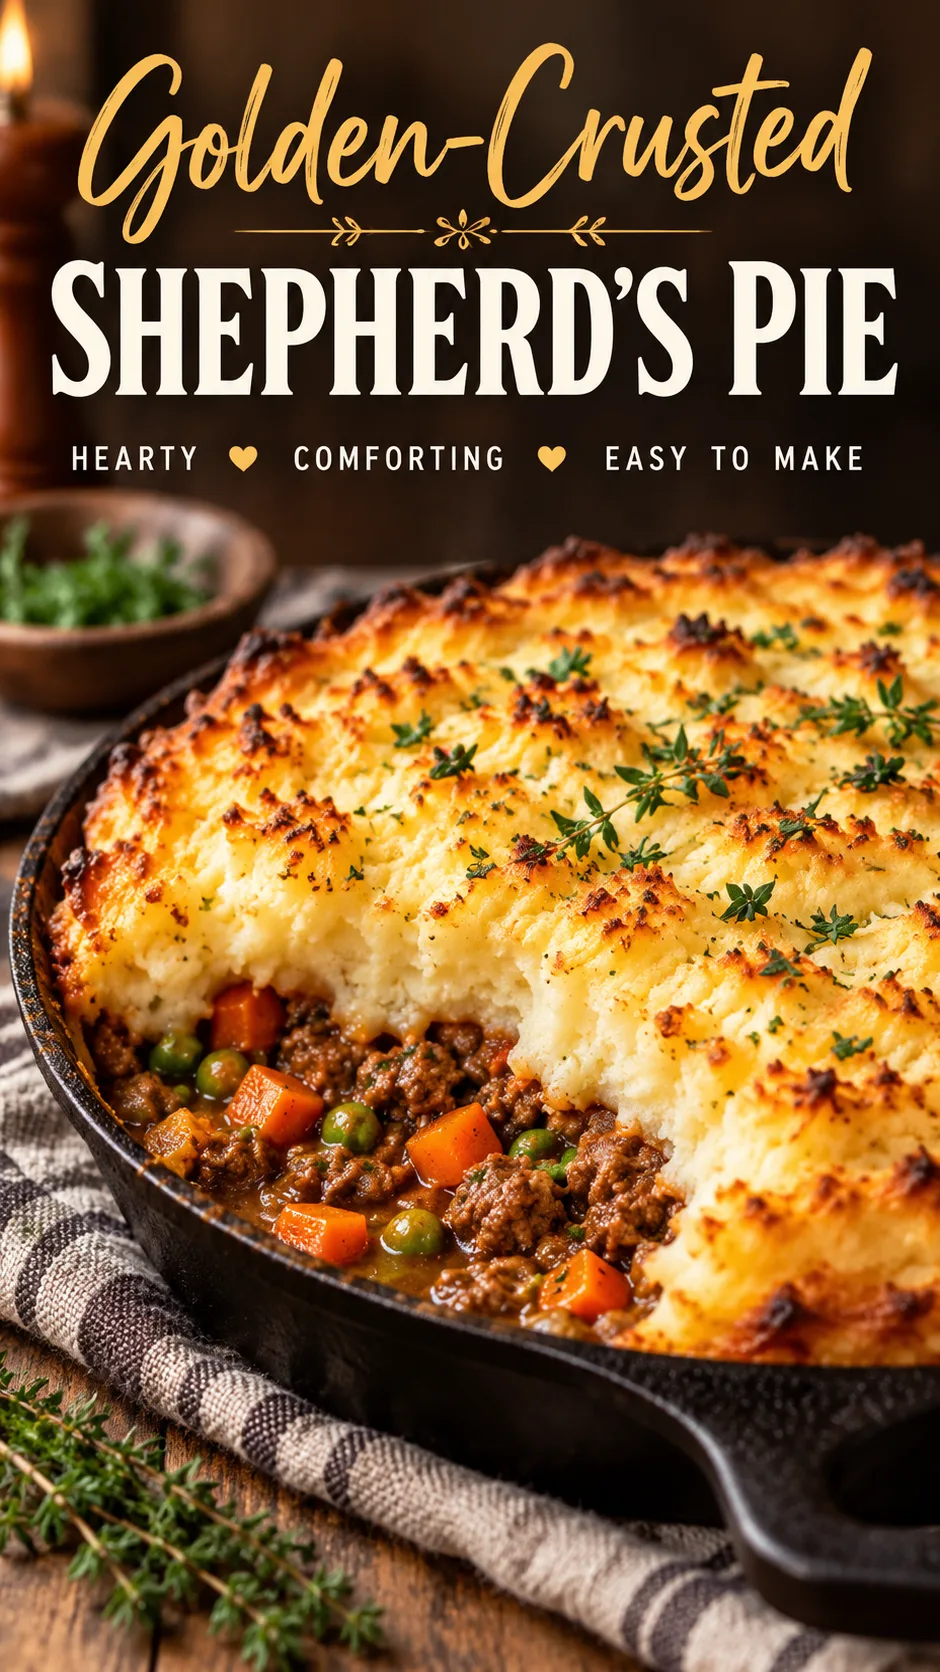
5. High-protein turkey and lentil shepherd’s pie
Ground turkey often dries out and loses flavor on its own. Brown lentils and a concentrated stock gravy solve that problem. Lentils absorb the meat juices, and a dense cap of mashed Yukon Gold potatoes shields the meat underneath so it never loses moisture.
- Yield: 6 portions
- Freezer Life: Up to 3 months
- Best Reheating Method: Toaster oven or standard oven at 350°F (175°C) until bubbly
Ingredients:
- 1.5 pounds lean ground turkey (93/7)
- 1 cup cooked brown lentils (canned or pre-boiled)
- 1 cup frozen peas and diced carrots
- 1 medium yellow onion, diced
- 2 tablespoons all-purpose flour (or cornstarch)
- 2 cups low-sodium beef or poultry bone broth
- 2 tablespoons Worcestershire sauce
- 2 pounds Yukon Gold potatoes, peeled and cubed
- 3 tablespoons butter
- 1/4 cup warm whole milk
- Salt, pepper, and garlic powder to taste
Step-by-Step Instructions:
- Boil the Yukon Gold potatoes in salted water until fork-tender. Drain thoroughly, then mash with butter, warm milk, garlic powder, salt, and pepper. Set aside to cool.
- Brown the ground turkey and diced onion in a deep skillet over medium-high heat. Season generously with salt and pepper.
- Sprinkle the flour over the turkey mixture and cook for 1 minute while stirring to coat the meat evenly.
- Pour in the bone broth and Worcestershire sauce. Bring the mixture to a simmer, stirring continuously until a rich gravy thickens around the meat.
- Fold in the brown lentils and the frozen peas and carrots. Turn off the heat and let the mixture drop to room temperature.
- Divide the savory turkey filling into freezer-safe foil pie tins or oven-safe glass containers. Spread the mashed potatoes evenly over the top, scoring the surface with a fork to create ridges that crisp up later.
- Cover with a layer of parchment paper, wrap tightly in heavy-duty aluminum foil, and store flat in the freezer.
Visualizing the prep: how to freeze for freshness
Want to see this process in real-time? Watch how smart packaging and fast cooling techniques transform frozen dinners from rubbery leftovers into weeknight lifesavers:
The reheating playbook: ditch the microwave death trap
Many home cooks ruin great prepped meals at the very last step. They blast the microwave on high, step away, and pull out a dish with boiling edges and a frozen center. Reheating accounts for half of your dining experience. Use these targeted techniques to keep textures intact.
1. The low-and-slow microwave technique
Never run your microwave on default high power for frozen meals. High power boils the exterior moisture immediately while the center remains rock hard. Instead, set your microwave to 50 percent power for double the duration.
Always place a damp paper towel over your container. This traps circulating steam, keeping tortillas soft, meats juicy, and rice delightfully fluffy. Stir curries, chilis, and sauces every two minutes to distribute heat evenly through the core.
2. The oven or toaster oven method
Use dry oven heat for anything featuring pastry, roasted potatoes, or melted cheese. Casseroles, burritos, and baked pasta dishes crisp up properly under direct bake or convection heat.
Tent aluminum foil loosely over the container for the first 15 minutes to warm the center without drying the food out. Remove the foil for the final 5 minutes so the cheese bubbles and the edges turn crisp.
3. The skillet refresh (for saucy dishes)
A stovetop skillet works wonders on frozen stews, chilis, and pasta bakes. Slide the frozen block into a nonstick or stainless pan over medium-low heat. Add two tablespoons of water or broth and clamp a lid on top.
Steam thaws the center while gentle bottom heat warms the sauce. Once the dish thaws completely, remove the lid and simmer for two minutes so the sauce reduces to a glossy consistency.
Food safety and storage guidelines you must follow
The USDA Food Safety and Inspection Service notes that food held at 0°F (-18°C) remains safe indefinitely. Even so, delicate flavor compounds evaporate and cell walls break down over extended storage. For the best plate quality, consume your frozen stock within four months.
Keep your freezer clean, efficient, and safe by following this quick reference schedule:
- Breakfast Burritos & Sandwiches: 2 months max (tortillas dry out after 60 days)
- Soups, Stews, and Chili: 3 to 4 months (liquid bases preserve proteins exceptionally well)
- Cooked Casseroles & Pasta Bakes: 2 to 3 months (starches soften over time)
- Cooked Poultry & Meat Dishes: 3 months (use airtight wrap to stop fat oxidation)
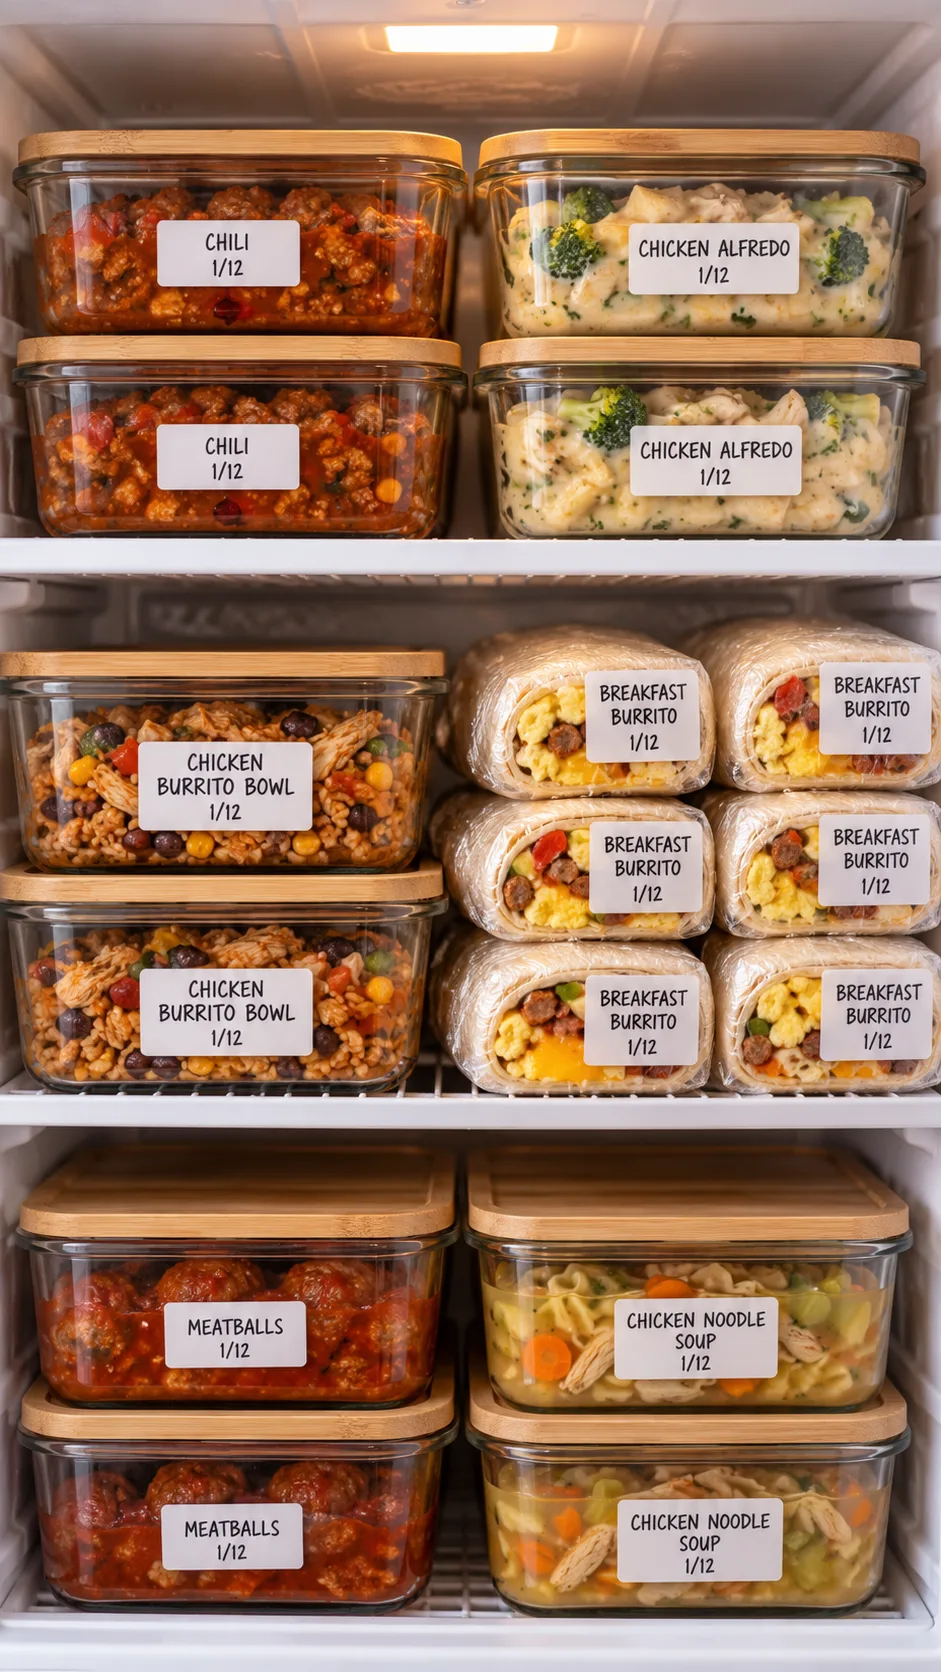
Always label your containers using blue painter’s tape and a permanent marker. Write the recipe name and the date prepared clearly on every package. Rotate your stock using the First In, First Out (FIFO) method so you never abandon meals to the dark corners of your freezer.
Final thoughts: take control of your busy evenings
Chaotic work schedules do not have to force you into expensive takeout or bland processed meals. Once you manage moisture, pick hearty ingredients, and reheat with moderate heat, your freezer works like a personal culinary vault.
Pick two recipes from this guide, grab the ingredients on your next shopping trip, and spend two hours cooking this weekend. When a long, tiring workday ends, you can pull a hot, flavorful dinner out of your freezer in minutes.