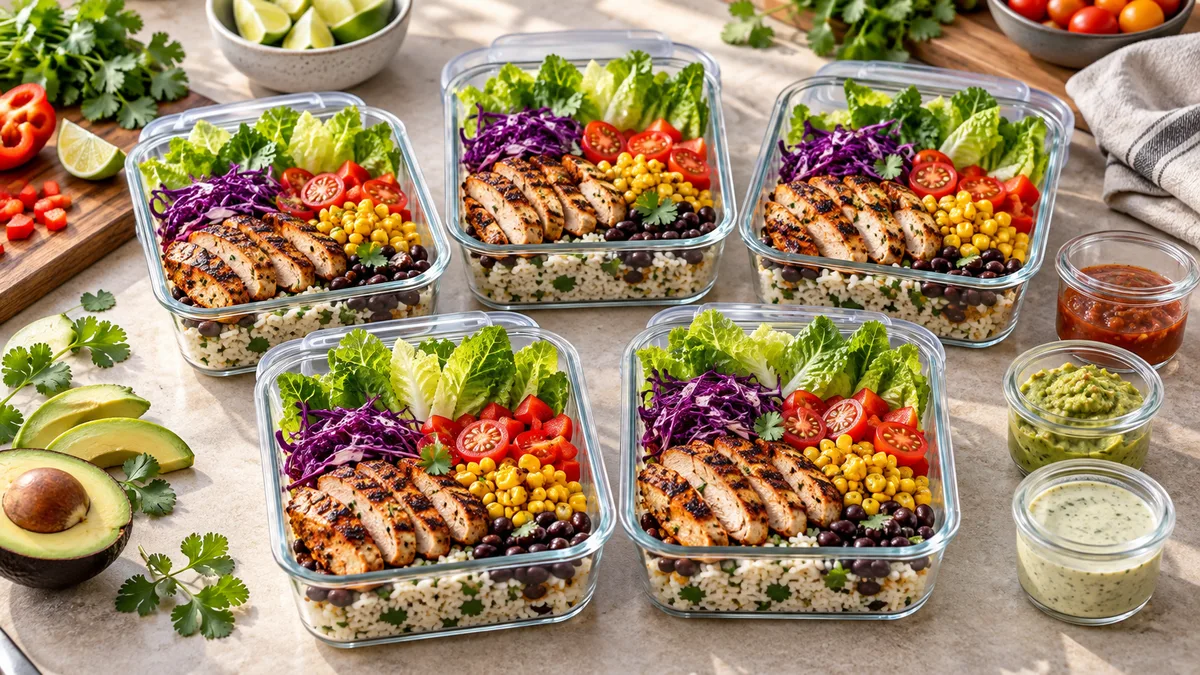
You know that Wednesday sinking feeling at lunchtime. You open the office fridge, pull out your glass meal container, and look down at watery brown salsa floating over limp cilantro and soggy rice. You spent two hours on Sunday cooking what felt like a restaurant feast, yet by midweek you get cold mush. Most people know this disappointment well.
Most cooks ruin their burrito bowls before they even snap the lids shut. They toss piping hot grilled chicken over delicate salad greens. They dump watery pico de gallo straight onto fluffy rice. By day three, lunch looks like cold vegetable soup.
Burrito bowls can survive (and stay delicious) in your refrigerator from Monday through Friday. You just need to respect basic kitchen physics, moisture barriers, and proper ingredient separation. If you want meal prep recipes that hold up all week without going soggy by Thursday, this structural approach will fix your weekday lunches permanently.
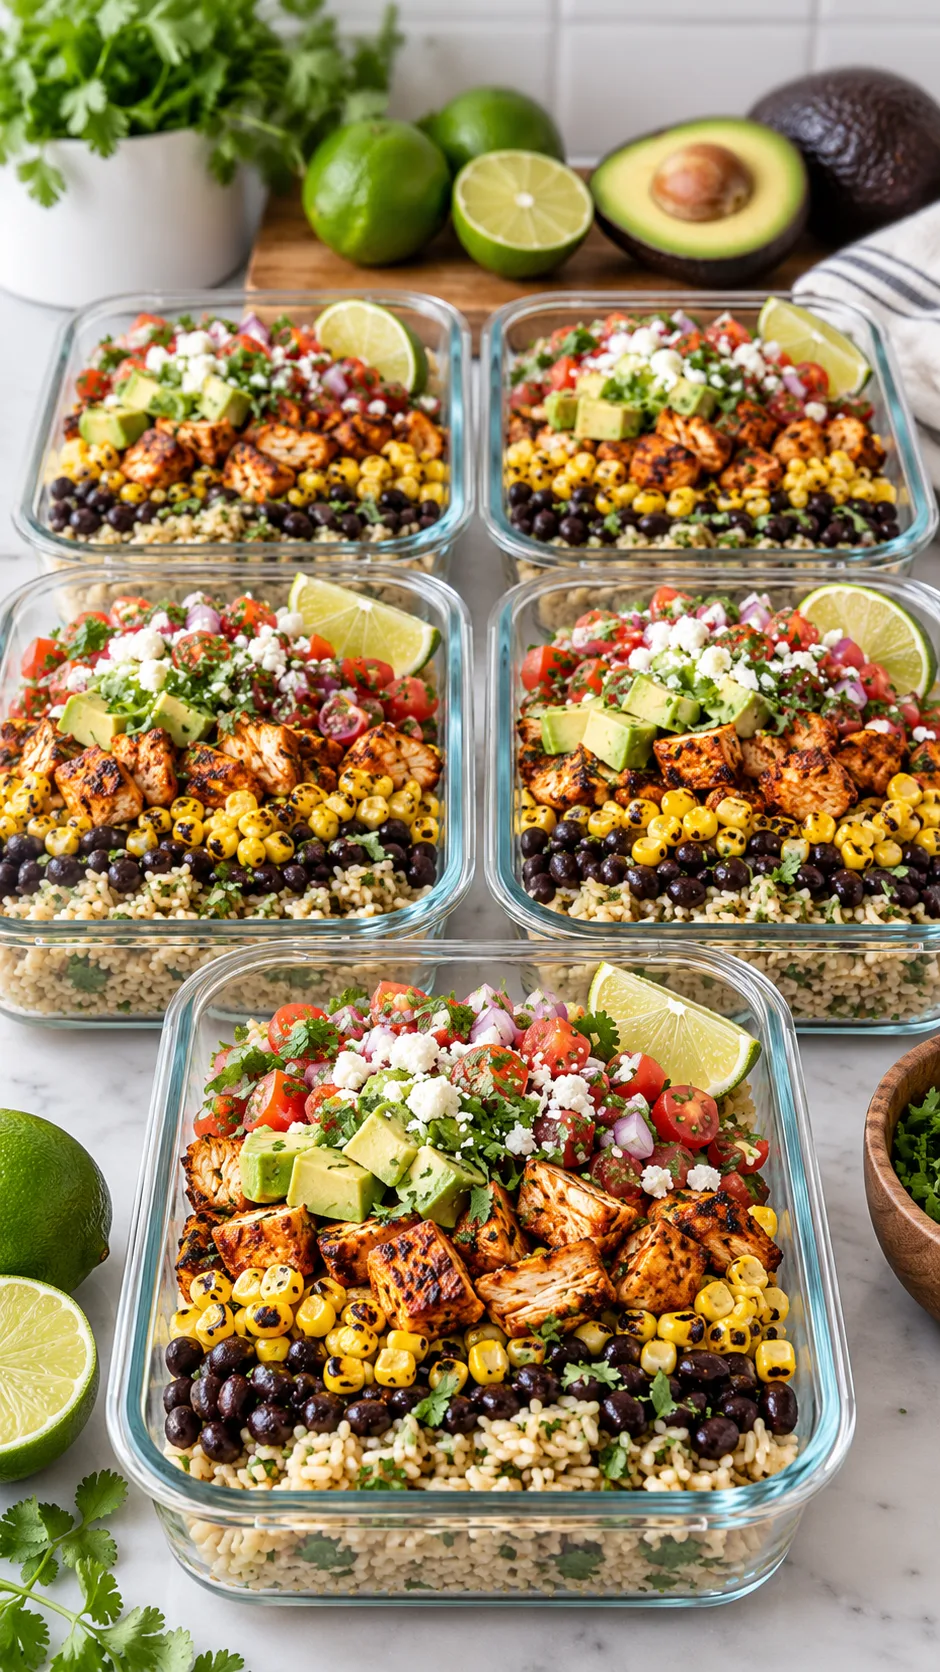
The science of the soggy bowl: why midweek slime happens
Why do restaurant takeout bowls stay crisp while home meal prep falls apart within two days? Commercial kitchens manage temperature control and moisture migration. When you pack lunch at home, three culprits destroy texture while the food sits in the fridge.
1. The condensation trap
Trapped steam ruins texture faster than anything else. When you scoop warm cilantro lime rice into an airtight container and clamp the lid down immediately, steam rises. That hot moisture hits the cold lid, condenses into water droplets, and drips straight back onto the food. You essentially steam your own lunch inside the sealed box.
2. The osmotic salsa explosion
Raw tomatoes hold a massive amount of water. The moment you add salt from seasoning blends, that salt pulls water straight out of the tomato cells. When you spoon fresh salsa directly over grains on Sunday night, those tomatoes leak liquid all week. The rice drinks that liquid like a sponge and turns to mush.
3. Thermal shock to fresh greens
Fresh shredded romaine hearts need cold air to stay crunchy. When you lay hot fajita peppers or freshly seared meat directly over crisp greens, heat immediately breaks down the plant cell walls. You get translucent, slimy greens that spoil the whole dish.
The USDA Leftovers and Food Safety guidelines state that cooked poultry, meats, and grains stay safe in home refrigeration for three to four days. Food safety alone does not promise good texture, though. Smart moisture control protects the crisp bite that makes lunch enjoyable.
The golden architecture: how to layer for five-day longevity
Treat your meal prep container like a small construction project. Build from the bottom up, putting sturdy, moisture-resistant ingredients at the foundation and saving delicate toppings for the top.
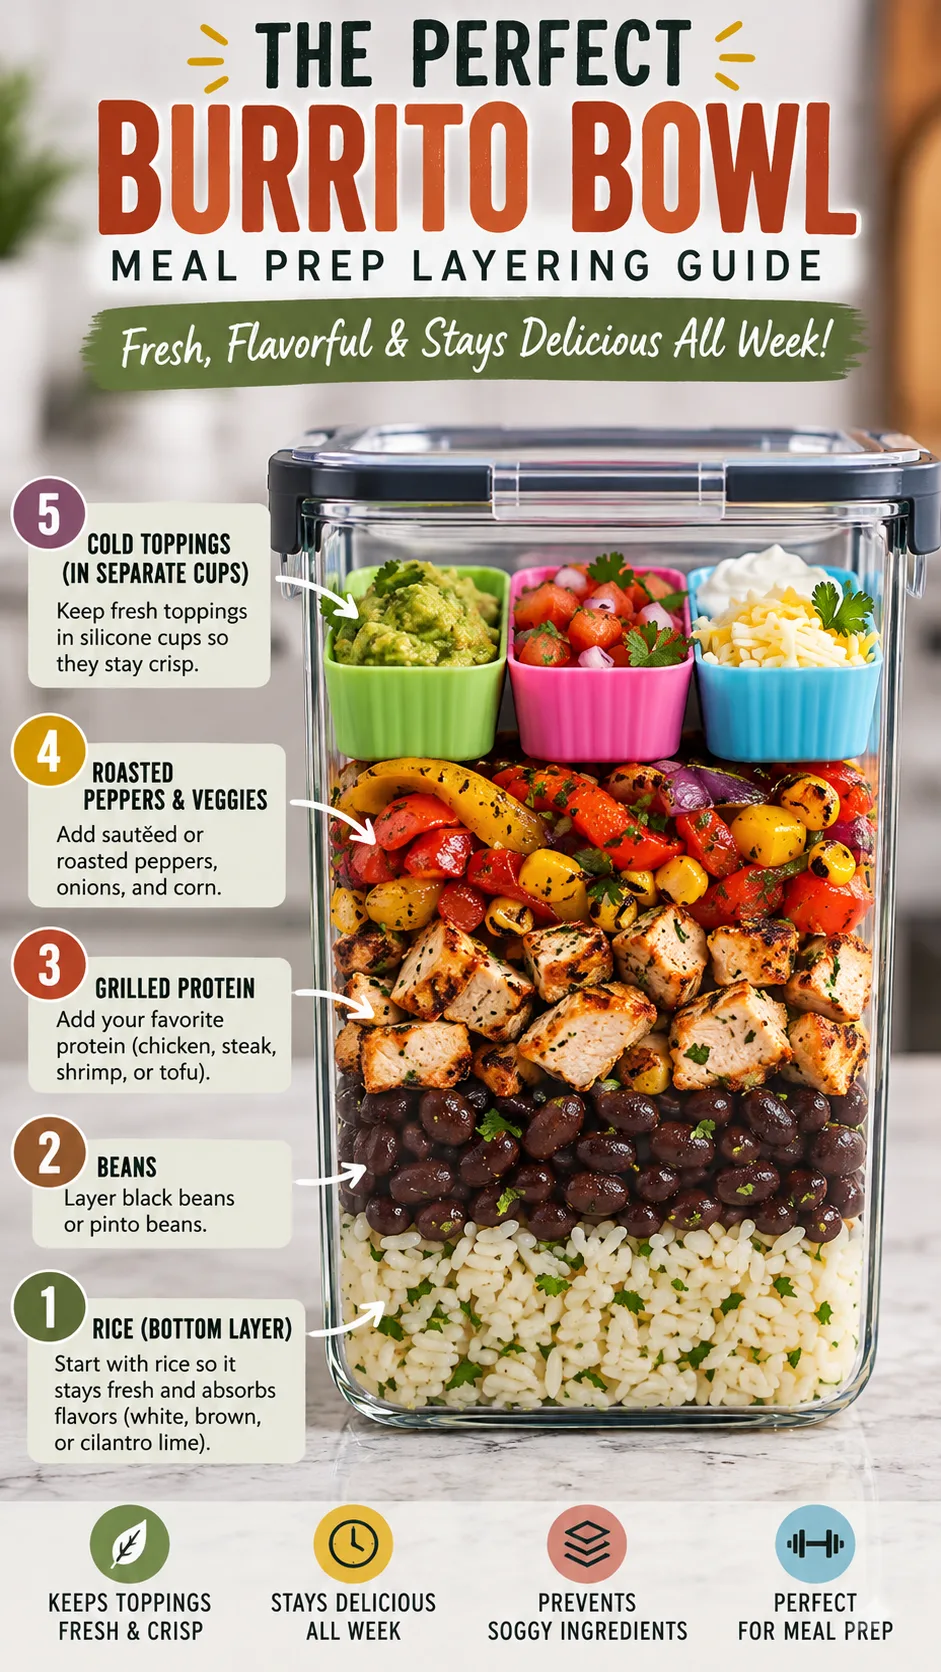
Follow this exact structural blueprint every single time you assemble a bowl:
- Layer 1 (The Foundation): Cooled Grains or Roasted Sweet Potatoes. Place your carbohydrate base at the bottom. The grains anchor the bowl and carry the weight of other foods without collapsing.
- Layer 2 (The Barrier): Drained and Pan-Dried Beans. Black or pinto beans create a buffer between your rice and your meat. Never dump wet canned beans straight into the bowl.
- Layer 3 (The Protein Core): Grilled or Braised Meats. Place diced chicken, shredded beef, or seasoned tofu in the center. The surrounding ingredients absorb any stray juices.
- Layer 4 (The Cooked Veggies): Charred Fajita Peppers and Onions. Hot charred vegetables rest on top of the protein, keeping their smoky flavor clean.
- The Strictly External Tier: Fresh Produce and Sauces. Keep crisp lettuce, sour cream, guacamole, and chunky salsa completely separate if you plan to reheat the main bowl. Pack these elements in individual small containers.
This extra separation takes maybe twenty seconds on Sunday, but it saves your lunch from turning into mush. If you want variety during the week, check out our favorite chicken meal prep recipes for seasonings that stay delicious for five days straight.
Component masterclass: prepping each element for durability
You cannot just toss Sunday dinner leftovers into a plastic tub and expect great lunches all week. Cook each element specifically to survive the refrigerator.
The rice: master the dry-steam method
Wet, sticky white rice turns gummy by day three. You want separate grains that keep a pleasant chew. Long-grain jasmine or basmati holds shape far better than short-grain rice.
Cook your rice with slightly less liquid than the package directs, reducing the water ratio by roughly ten percent. Once the pot finishes cooking, spread the grains across a rimmed baking sheet in a thin layer. Let room-temperature air dry the surface moisture for fifteen minutes before you stir in fresh lime juice, salt, and minced cilantro. Hot rice wilts fresh cilantro into black specks and traps moisture. Cool the rice first.
Want lunch that keeps you full without an afternoon crash? Our guide on healthy lunch meal prep covers simple carbohydrate swaps that keep your energy steady through the afternoon.
The protein: marinades that seal, not weep
Chicken breast easily dries out in the fridge, while cheap ground meat leaves greasy pools as it chills. Pick boneless, skinless chicken thighs or lean flank steak for better texture. If you prefer white meat, soak chicken breasts in salted water for thirty minutes before you grill them.
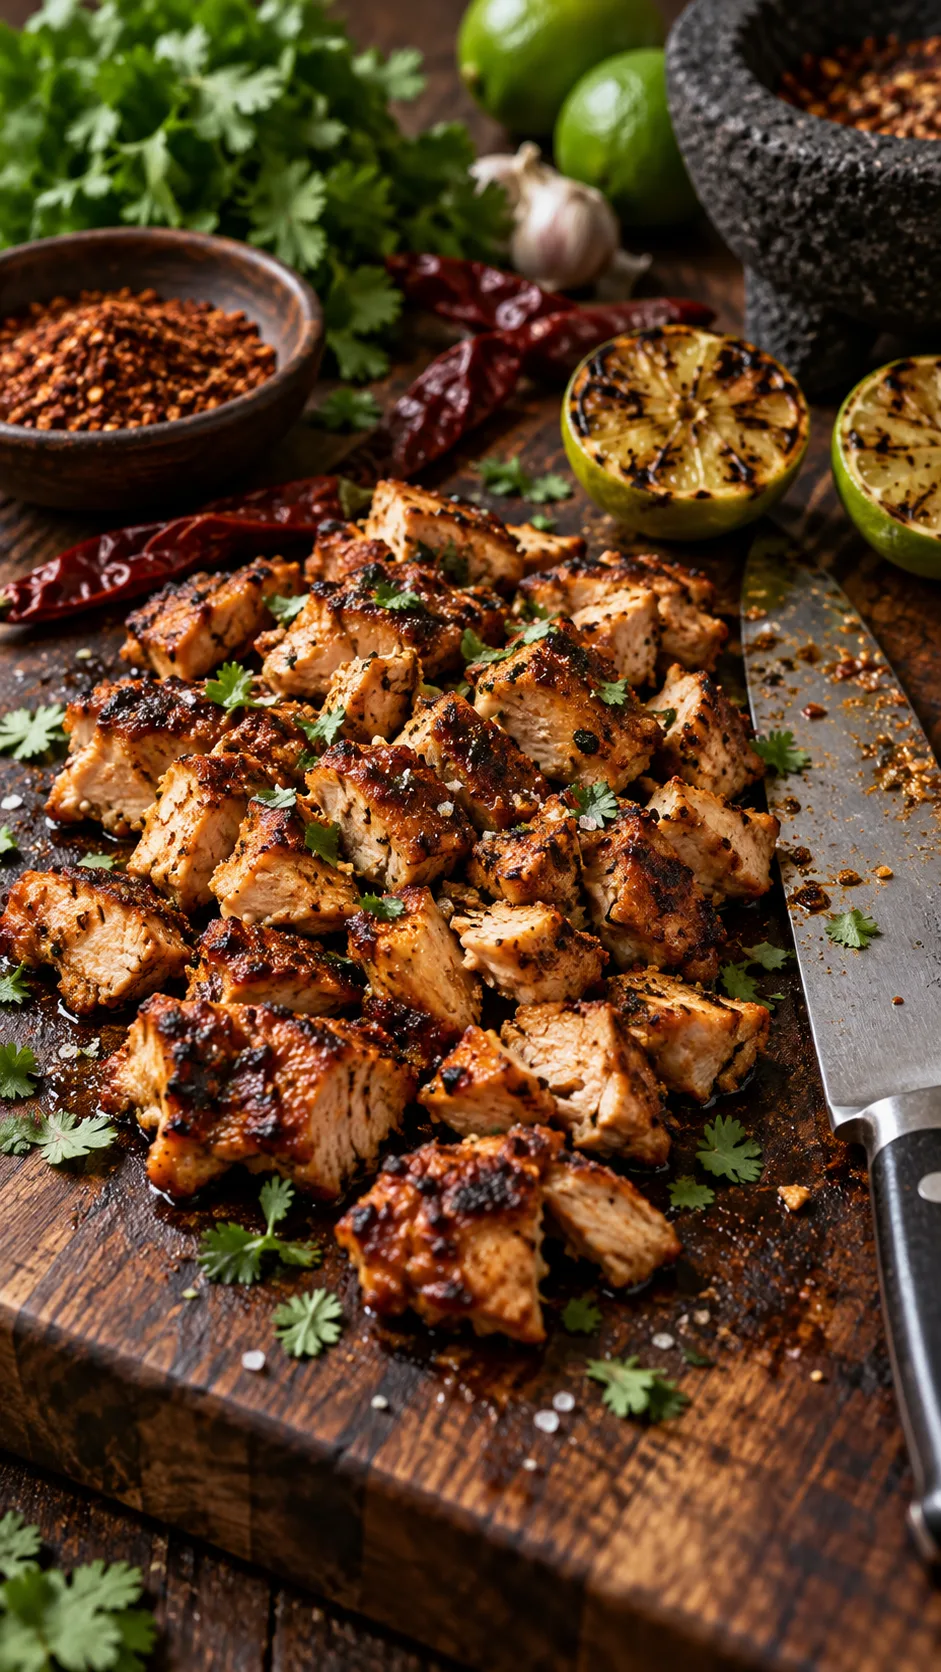
Sear meat over high heat to create a deep, caramelized crust. That crust seals natural juices inside the muscle fibers. Once cooked, let the meat rest on a cutting board for ten full minutes before slicing. Slicing steaming-hot chicken immediately spills flavorful juice across the cutting board. When you let the meat rest, that moisture stays locked inside.
The beans: eliminate the can slime
Starchy canning liquid ruins bowl texture faster than almost anything else. Pour canned black beans into a fine-mesh colander and rinse them under cold tap water until the liquid runs completely clear.
Take one extra step: dump the rinsed beans into a dry non-stick skillet. Toss them over medium heat for four minutes with a pinch of cumin, garlic powder, and sea salt. This quick toss on the stove evaporates leftover surface water and bakes the spices directly onto the beans. They stay firm instead of turning into mush.
The fajita veggies: high heat, zero stewing
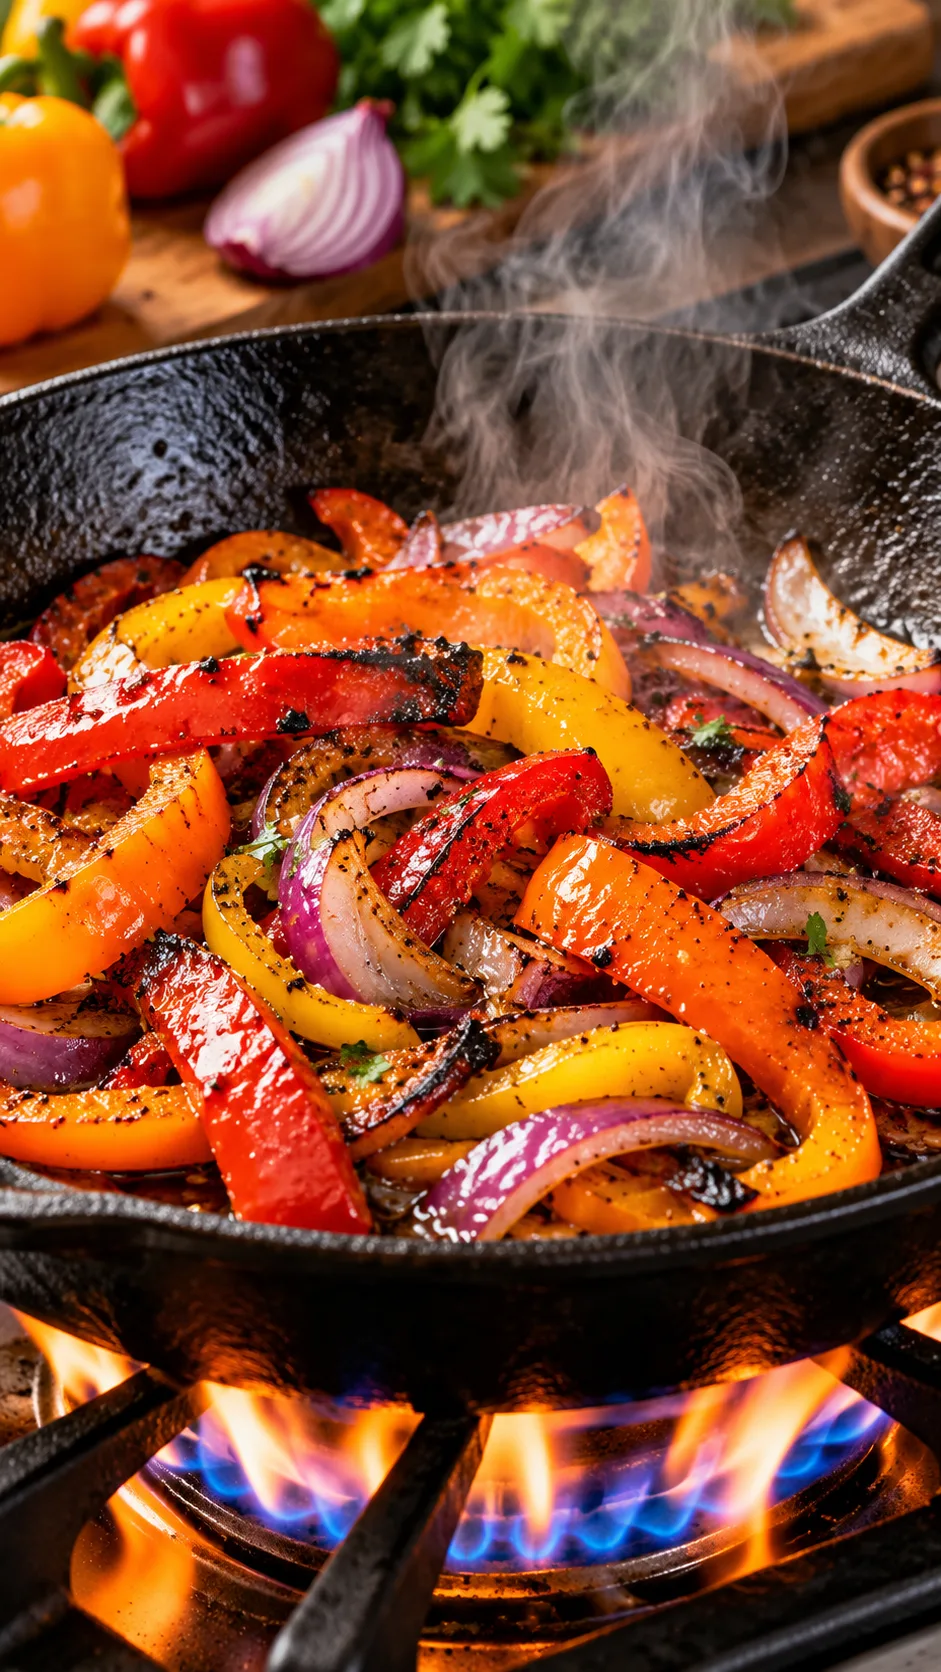
Bell peppers turn limp and slimy when you crowd them into a lukewarm frying pan. Crowding makes the slices steam in their own juices instead of charring. Heat a cast-iron skillet until you see wisps of smoke. Add a high-heat oil like avocado oil, drop the sliced peppers and onions into the hot pan, and let them sit untouched for two full minutes.
Allow the hot pan to scorch dark blisters onto the vegetables. Toss once, cook for two more minutes, and pull the pan off the burner. The peppers should still have a distinct crunch. They soften naturally in the fridge during the week, so pulling them off the heat while slightly undercooked gives you great texture by Thursday.
The corn salsa: char it sweet and dry
Skip canned corn if you want lasting crispness. Pick frozen sweet corn instead. Thaw the kernels completely, pat them dry with clean paper towels, and char them in a hot cast-iron skillet without any oil. The dry skillet heat caramelizes sugars and blisters the kernels without adding liquid. Toss the charred corn with diced jalapenos, fresh lime juice, and smoked paprika. Because you removed surface water in the hot pan, the corn will not seep moisture into your meal containers.
The 5-day meal prep master recipe
This reliable burrito bowl formula yields five generous lunch portions that hold their shape and flavor all week long.
Ingredients list
- The Grain: 1.5 cups dry long-grain brown rice or basmati rice (cooked in low-sodium chicken broth).
- The Protein: 2.5 lbs boneless, skinless chicken thighs (trimmed of excess fat).
- The Marinade: 2 tbsp avocado oil, 2 tbsp fresh lime juice, 1 tbsp chili powder, 1 tsp ground cumin, 1 tsp garlic powder, 1 tsp onion powder, 1 tsp smoked paprika, 1 tsp kosher salt, 1/2 tsp dried Mexican oregano.
- The Beans: Two 15-ounce cans black beans (rinsed, drained, and skillet-dried).
- The Peppers: 3 large bell peppers (assorted colors, sliced into thin strips) and 1 large red onion (sliced).
- The Corn Crunch: 2 cups frozen corn kernels (thawed and patted dry).
- The Separate Toppings: Crisp shredded romaine hearts, your favorite salsa verde, lime wedges, and cotija cheese.
Cooking and assembly instructions
- Cook and Chill the Rice: Prepare your rice using chicken stock instead of water. Spread hot rice on a sheet pan. Let the grains cool to room temperature before mixing in cilantro and lime juice.
- Marinate the Protein: Whisk the avocado oil, lime juice, chili powder, cumin, garlic powder, onion powder, smoked paprika, salt, and oregano in a large bowl. Toss the chicken thighs in the mixture until coated. Let the meat rest at room temperature for fifteen minutes while your grill preheats.
- Grill the Meat: Cook the chicken thighs over medium-high heat for 6 to 8 minutes per side until a meat thermometer reads 165°F (74°C). Move the cooked meat to a cutting board, let it rest for 10 minutes, and dice into cubes.
- Char the Veggies and Corn: Wipe out the skillet. Turn the burner to high. Sear the dry corn kernels until charred spots form (about 4 minutes), then pour the corn onto a plate. Add one tablespoon of oil to the hot skillet, drop in sliced peppers and onions, and sear for 4 minutes until blistered. Remove from heat immediately.
- Pan-Dry the Beans: Pour drained, rinsed black beans into the hot skillet. Add a pinch of salt and cumin. Shake the pan over medium heat for 3 to 4 minutes until surface water disappears completely.
- Cool Everything Completely: Never pack warm ingredients. Let every cooked element sit at room temperature until completely cool to the touch.
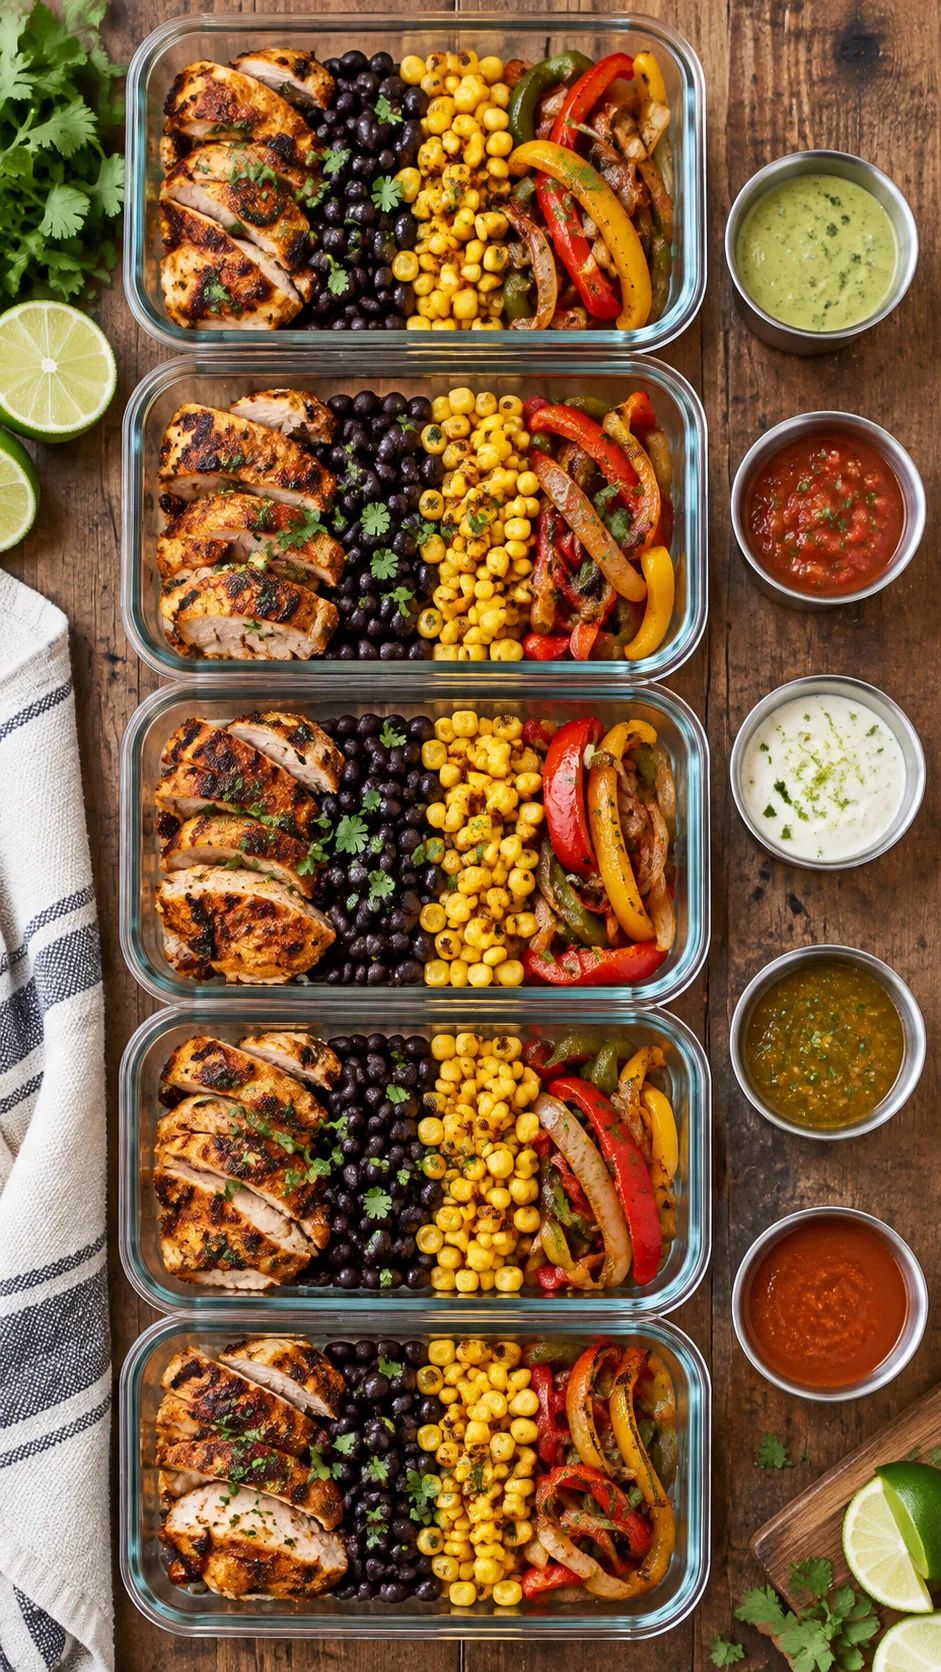
- Pack with Precision: Divide cooled rice among five glass containers. Spread dried beans over the rice. Add diced grilled chicken on one side, then spoon blistered peppers, onions, and charred corn next to the meat. Snap the lids shut securely. Pack greens, salsa, and cheese in separate small containers.
The cold condiment vault: solving the guacamole problem
Can you pack fresh avocado or guacamole on Sunday and eat it Friday without finding a brown, unappetizing mess? Yes, but you have to block oxygen. Exposure to air turns avocados brown, not time alone.
If you like sliced avocado, keep whole avocados on your desk and cut a fresh quarter each day right before you eat. If you prepare guacamole ahead of time, use a citrus barrier. Pack the guacamole into small, airtight sauce containers. Smooth the top with the back of a spoon to remove air pockets. Pour a thin layer of fresh lime juice across the flattened surface. The acidic liquid barrier shields the avocado from air. At lunchtime, pour off the extra lime juice or stir it straight into the guacamole for extra citrus flavor.
For salsa, swap watery pico de gallo for salsa verde or a thick roasted tomato salsa. Cooked salsas contain broken-down tomato cells that release far less runny juice than raw chopped tomatoes. Store salsas in separate two-ounce stainless steel or plastic condiment cups right next to your main container.
Container technology: ditch cheap plastic
Flimsy takeout containers will always ruin your meal prep. Thin plastic warps under microwave heat and hot dishwasher cycles, breaking seals and letting humid refrigerator air sneak inside. Cheap plastics also absorb spice oils and grease, staining the containers and trapping stale odors.
Buy borosilicate glass containers with four-latch locking lids and silicone seals. Borosilicate glass handles rapid temperature swings, so you can pull a container straight from the fridge and microwave it without cracking the base. Glass also chills hot food faster than plastic on Sunday, stopping residual cooking quickly.
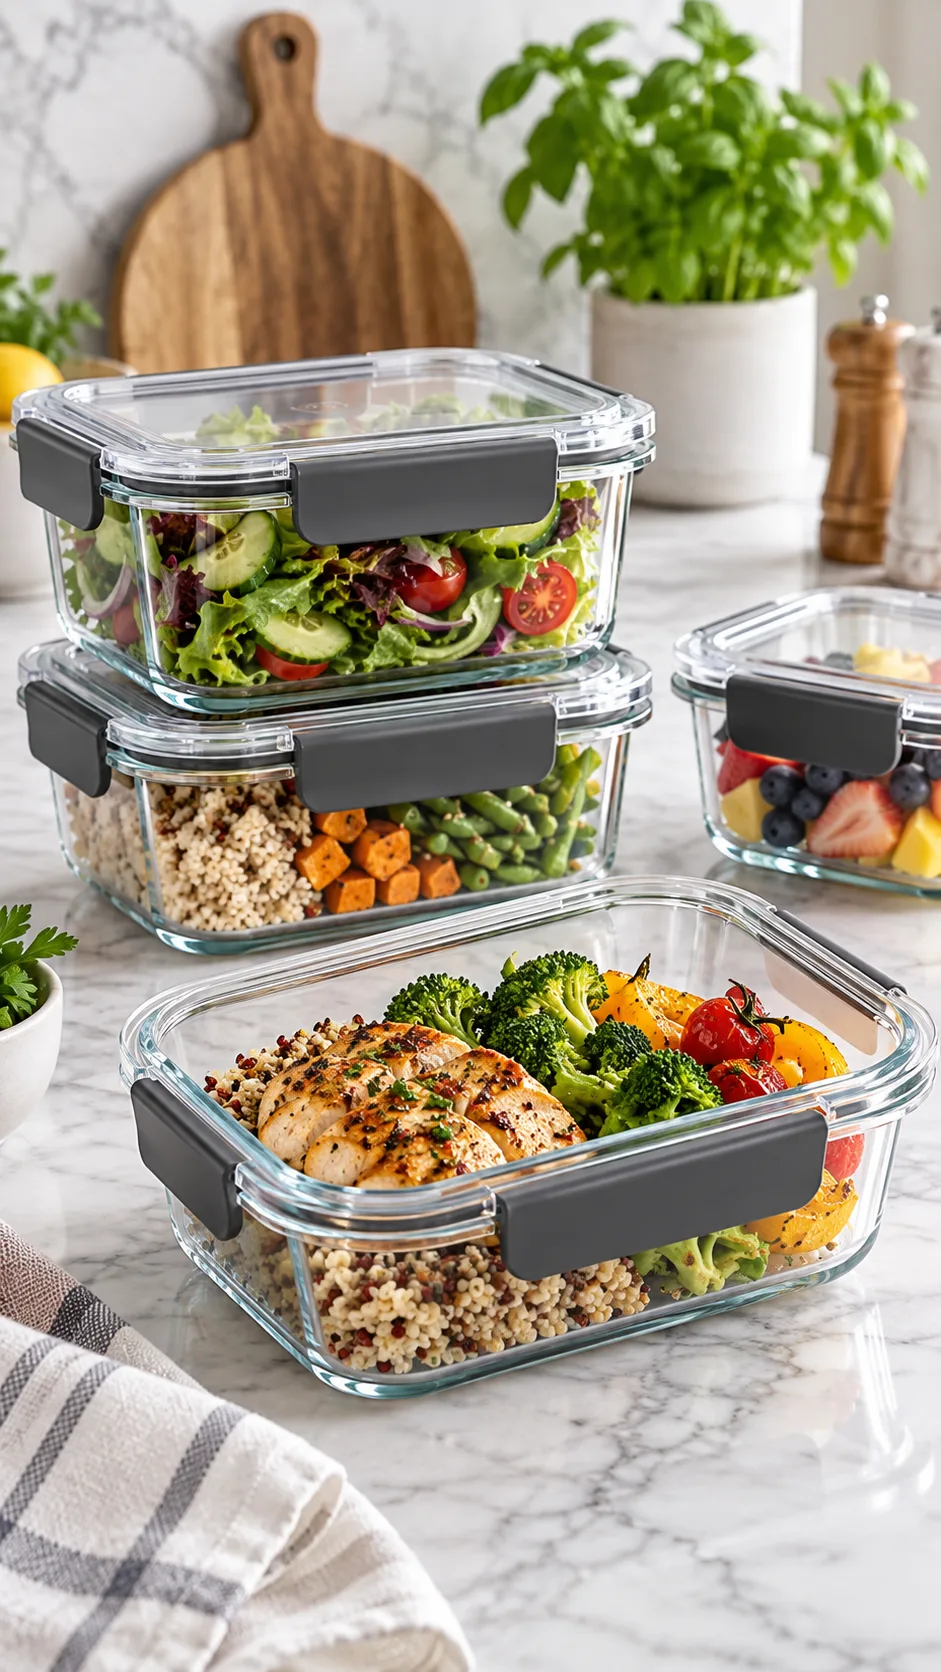
Dual-compartment glass containers simplify your routine even more. Two compartments let you keep hot elements like rice, meat, and beans away from cold items like tortilla strips, pickled onions, or grated cheese inside a single dish.
Reheating protocol: don’t microwave your salad
Everyone knows the classic breakroom disaster: someone microwaves a bowl piled with cold lettuce, guacamole, and sour cream. The food comes out with warm, wilted salad and separated dairy. Great results take a quick two-step routine instead.
Follow these steps for reliable reheating:
- Unpack the Cold Items: Pull your sauce cups, limes, and fresh greens out of the main container.
- Vent the Lid: Set the lid loosely over the glass bowl so steam escapes freely while blocking splatters.
- Revive the Rice with Steam: Drape a damp paper towel over the meat and rice. As heat builds, the towel releases steam that softens cold rice without turning it to mush. Writers at Serious Eats show that rapid steam reheating quickly resets cold starch structures, bringing back a tender, fluffy bite.
- Heat in Two Steps: Run the microwave on high for 90 seconds. Stir the rice and meat to distribute heat, then microwave for another 30 to 45 seconds until thoroughly hot.
- Add Cold Garnishes: Top the hot bowl with cold romaine, cool salsa verde, guacamole, and crispy tortilla strips. Squeeze fresh lime juice over everything right before eating.
You get hot, savory rice and chicken paired against cold, crunchy greens and creamy salsa. That temperature contrast matches a restaurant bowl built thirty seconds earlier.
Flavor variations to keep your week exciting
Eating the exact same lunch five days in a row gets old fast. You do not need five separate recipes on Sunday. Change your sauces and finishing toppings to give each day a fresh profile.
The Baja shrimp and citrus bowl
Swap chicken thighs for peeled shrimp. Sear the shrimp in a hot pan with chipotle powder, cumin, and lime zest for three minutes total. Keep food safety in mind: cooked shrimp stays fresh for only three days in the fridge. Eat shrimp bowls Monday through Wednesday, then make quick black bean bowls for Thursday and Friday. Drizzle with a cilantro-lime crema made from Greek yogurt.
The smoky barbacoa beef bowl
Cook a chuck roast or brisket in your slow cooker with chipotle peppers in adobo, beef broth, garlic, and cider vinegar until the meat falls apart. Shred the beef and pack it with a spoonful of the braising juices. Beef holds moisture throughout the week, making it one of the easiest proteins to reheat without drying out.
The crispy tofu chipotle bowl
Tofu easily turns spongy and soggy in meal prep bowls if you skip prep steps. Press extra-firm tofu under a heavy cast-iron skillet for twenty minutes to squeeze out water. Cube the pressed block, toss the pieces in cornstarch, smoked paprika, and nutritional yeast, and bake at 425°F (218°C) for twenty-five minutes until crisp. The cornstarch coating keeps the tofu firm even when sitting next to black beans in the container.
The ultimate troubleshooting cheat sheet
Run into texture trouble? Use this quick troubleshooting guide to solve the issue on your next prep day.
| The Problem | The Root Cause | The Easy Fix |
|---|---|---|
| Rice turns hard and chalky. | Starch retrogradation in cold fridge air. | Microwave under a damp paper towel for 90 seconds to revive starch bonds. |
| Pool of liquid at the bottom of the bowl. | Trapped steam condensed after sealing hot food. | Cool every ingredient to room temperature before snapping the lids shut. |
| Salsa tastes fizzy or looks bubbly. | Wild yeasts began fermenting raw tomato sugars. | Switch to cooked tomatillo salsas; keep salsa containers cold. |
| Chicken tastes stale (“warmed-over flavor”). | Lipid oxidation from high-polyunsaturated fats. | Use chicken thighs instead of breasts, and season generously with spices like oregano and cumin. |
Reclaim your weekday lunches
Meal prep should make your weekdays easier, not feel like a chore you tolerate just to save a few dollars. People quit meal prepping when soggy, mushy food ruins lunchtime. When you manage moisture, separate hot and cold elements, and let steam escape before sealing lids, you get lunches that taste fresh and crisp all the way through Friday afternoon.
Grab your glass containers, heat up your cast-iron skillet, and build burrito bowls that go the distance. Your Friday self will thank you for every crisp, flavorful bite.