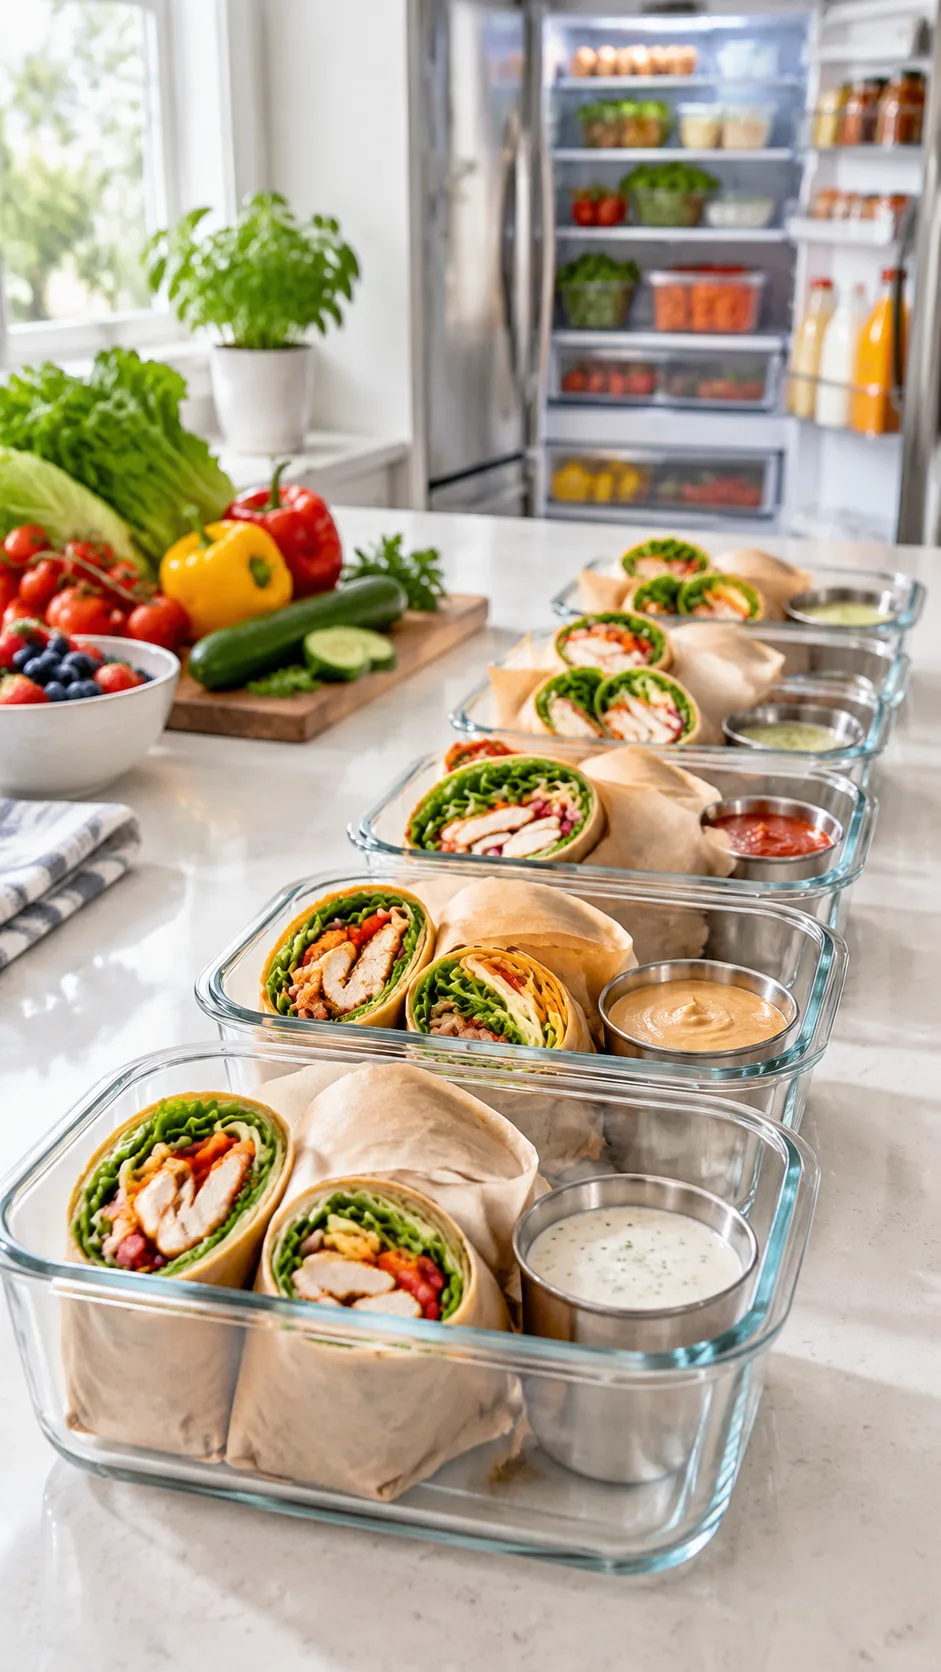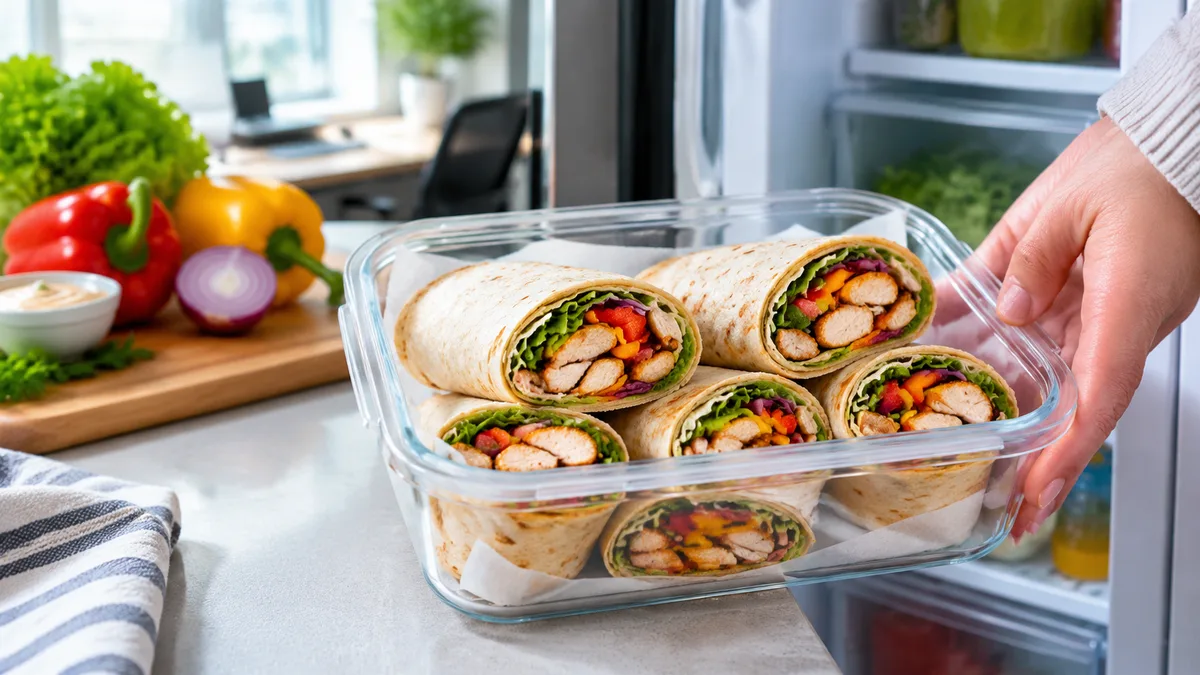
You pull your lunch container out of the office fridge on Thursday afternoon with high hopes. You spent two hours on Sunday grilling chicken, chopping vegetables, and rolling neat burritos. When you peel back the foil, however, you find a mess. The bottom of the tortilla turned into a translucent, slimy paste that tears open before the wrap reaches your mouth.
Most people quit meal prepping wraps after one soggy disaster and switch back to plain salads. You do not need to give up handheld meals, though. You only need to understand how moisture moves through food.
With fat barriers, dry vegetables, and tight wrapping techniques, your wraps will stay firm, crisp, and fresh from Monday straight through Friday. A few simple culinary adjustments will protect your lunch routine permanently.
The Anatomy of a Soggy Tortilla: Why Your Lunch Fails by Wednesday
Tortillas soak up liquid like dry sponges. Flour tortillas contain starch granules that pull in any loose water molecules around them. When warm steam, juicy dressings, or wet vegetables touch that starch, capillary action pulls the liquid deep into the tortilla wall, destroying its gluten network.
Food scientists call this process moisture migration. Water always moves from wet ingredients (like fresh tomatoes or warm meat) toward dry areas (your dry tortilla). Without a barrier, that moisture ruins the structure of the wrap within six hours.
Condensation creates another serious hazard. When you roll warm ingredients into a cold wrap and seal it inside a container, trapped steam hits the cold container walls. That steam turns into water droplets and drips back onto your food, essentially steaming the wrap in its own trapped moisture.
To keep tortillas crisp for five days, stop that moisture transfer before it starts. Control ingredient temperatures, remove surface water from produce, and spread an impermeable fat barrier between wet foods and the tortilla.
The Ironclad 5-Layer System: Engineering a Moisture-Proof Wrap
Never toss ingredients onto a tortilla at random. Follow a deliberate structural plan every time you build a wrap. This sequence keeps the wrap crisp across a full workweek.
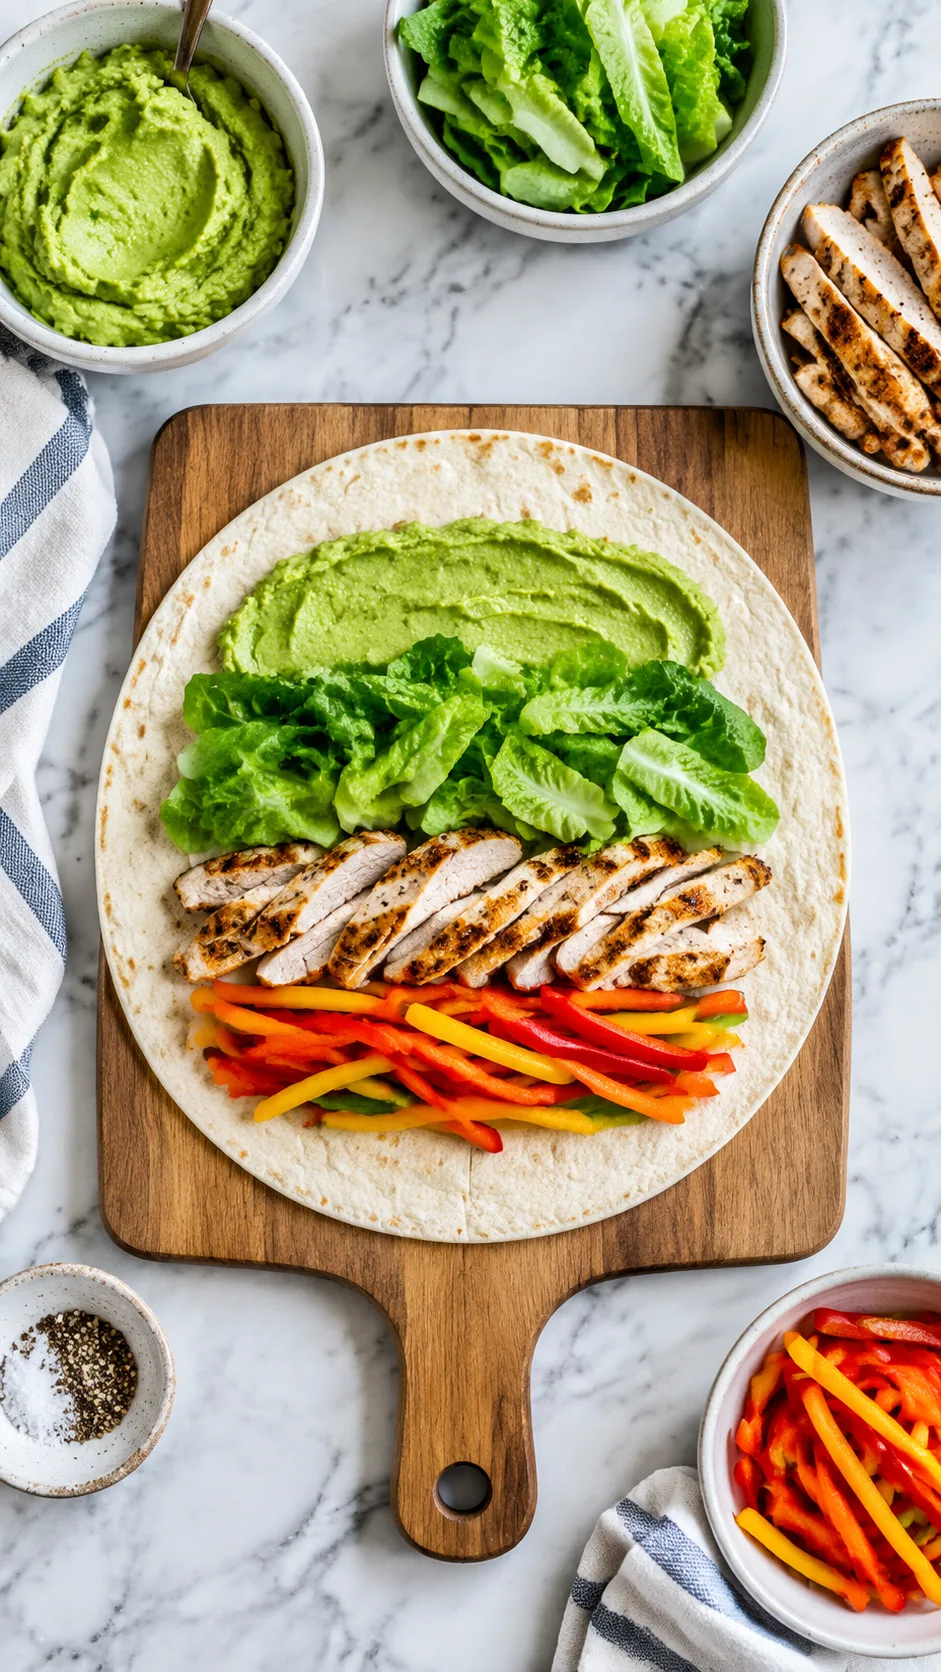
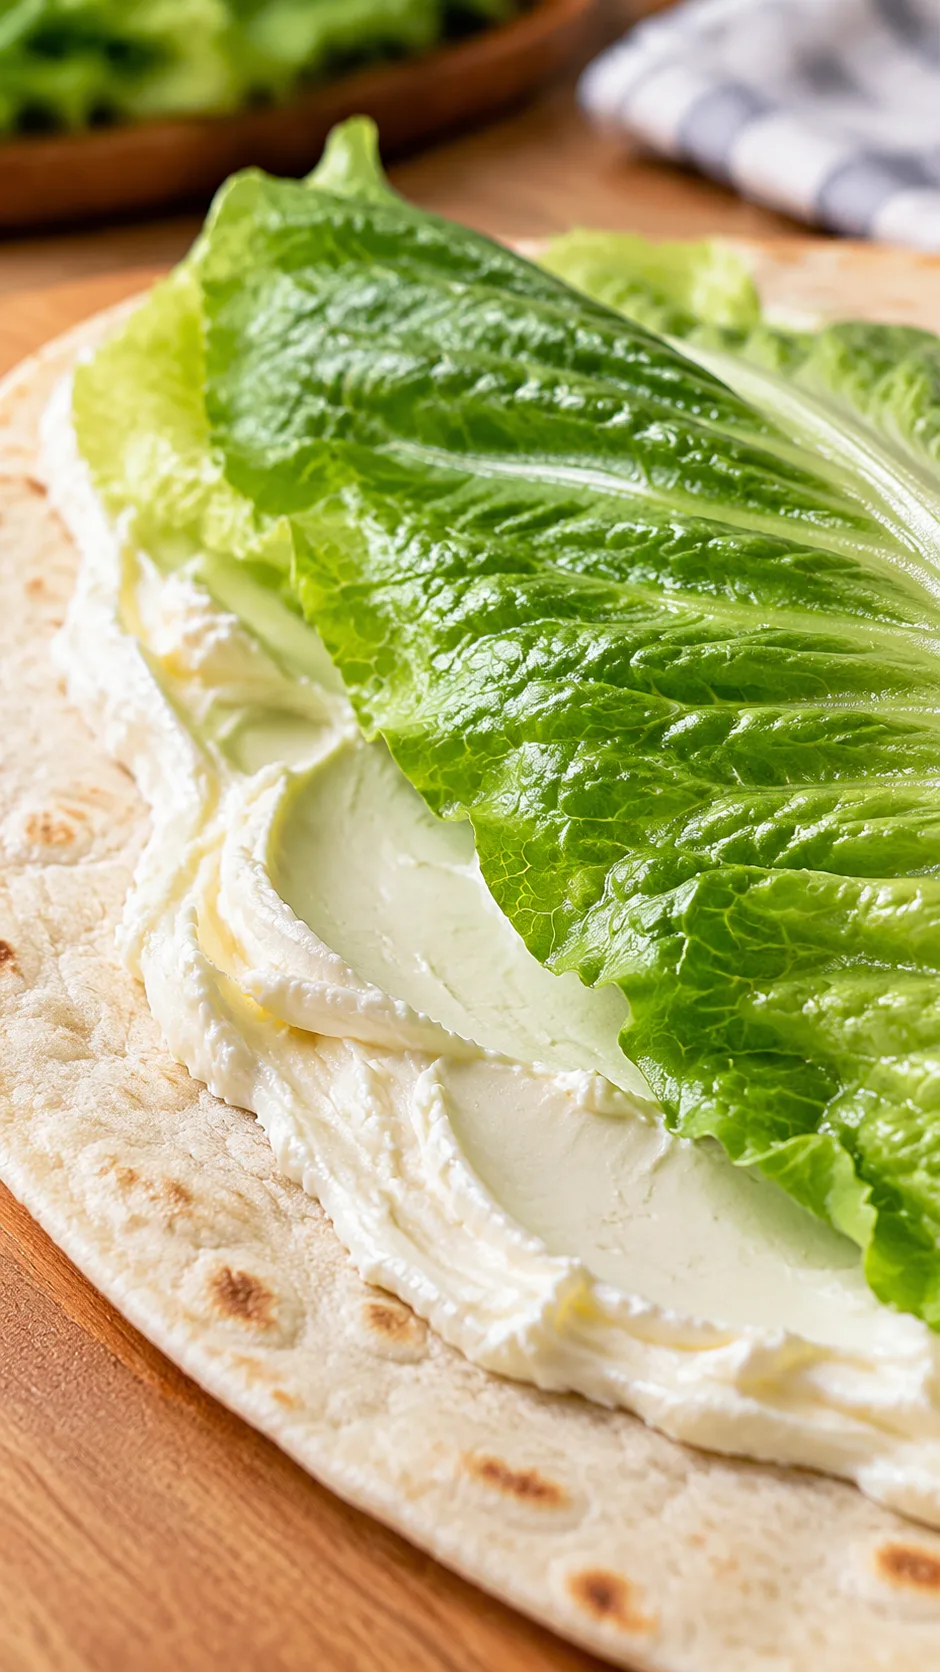
- Layer 1: The Fat Shield (Directly on the Tortilla). Pure fat repels water. Spread a thin layer of cream cheese, butter, mayonnaise, hummus, or mashed avocado directly across the center of the tortilla. This fat barrier prevents juices from reaching the starch.
- Layer 2: The Leafy Green Armor. Lay large, dry leaves of romaine, green leaf lettuce, or whole collard leaves directly over the fat layer. This layer acts as an internal shield. Any juice from the fillings above hits the waxy surface of the lettuce leaf instead of the wrap.
- Layer 3: The Cold Protein Core. Place sliced deli turkey, chilled grilled chicken, seasoned tofu, or cold flank steak directly on top of the greens. Never place hot meat into a wrap. Chill cooked meats in the fridge for at least an hour before assembly. Pair these tactics with our high protein weekly meal plan to reach your fitness goals while keeping lunches simple.
- Layer 4: Prepped and Dried Vegetables. Slice bell peppers, cucumbers, and cabbage thin, then pat them dry with clean paper towels before adding them to the protein. Scoop the watery seeds and gel out of your tomatoes, or skip fresh tomatoes until lunch day.
- Layer 5: Seasonings and Dry Toppings. Finish with dry cheeses like sharp cheddar, shredded provolone, or cotija, plus toasted seeds or dry spices. Keep dressings, salsas, and vinegars out of the wrap itself. Pack sauces into small condiment cups and dip each bite at your desk.
Which Wraps Survive 5 Days in the Fridge?
Flatbreads handle moisture differently. Some crumble quickly, while others last a full week in cold storage. Here is how popular options hold up during refrigeration tests.
- Standard Flour Tortillas: Thin store-bought flour tortillas break down fast. If you prefer flour, buy thick, burrito-sized restaurant-style tortillas around 10 to 12 inches across. They contain extra shortening, which naturally repels moisture better than budget brands.
- Low-Carb High-Fiber Wraps: Low-carb brands, such as Mission Carb Balance or Tumaro’s, hold up well during meal prep. Their dense insoluble oat fiber, wheat gluten, and flaxseed form a tight structure that resists moisture far better than plain white flour. If you follow a low-carb routine, check out our guide on meal prep high protein low carb ideas.
- Lavash and Flatout Breads: Thin rectangular lavash dries out around the edges and turns soft in the middle. Skip delicate lavash for multi-day prep, though thicker whole-wheat flatbreads work well when you wrap them tightly in foil.
- Collard Green Leaves: Fresh collard greens make an exceptional moisture-proof wrap. Large leaves never turn soggy, provide valuable micronutrients, and contain no refined starches. Shave down the thick central stem with a knife so the leaf rolls without breaking.
- Egg White and Cheese Wraps: Folios and Egglife wraps contain no starch, eliminating typical soggy reactions. Still, they release moisture if you leave them in trapped condensation. Pat them dry before rolling and wrap them in parchment paper.
Packaging That Works: Ditch the Flimsy Plastic Baggy
Throwing your wrap into a sandwich bag produces a crushed, damp lunch. Plastic bags trap humidity directly against the surface of the tortilla. Use these reliable packaging methods instead.
Start with unbleached parchment paper. Roll your wrap into a tight cylinder, then wrap it in parchment paper just like a deli cook would. Parchment paper lets the wrap breathe slightly while holding the structure firm. Tape the seam shut or tuck the edges inward.
Next, wrap a sheet of heavy-duty aluminum foil over the parchment. The foil blocks oxygen and refrigerator odors while maintaining the tight shape. This double layer creates a neat roll that slices cleanly down the middle with a chef’s knife.
Finally, set your wrapped rolls inside an airtight glass container on the middle shelf of your refrigerator. According to the USDA Food Safety and Inspection Service, maintaining a refrigerator temperature at or below 40°F (4°C) prevents bacterial growth and preserves food texture. Glass containers hold steady temperatures far better than thin plastic tubs.
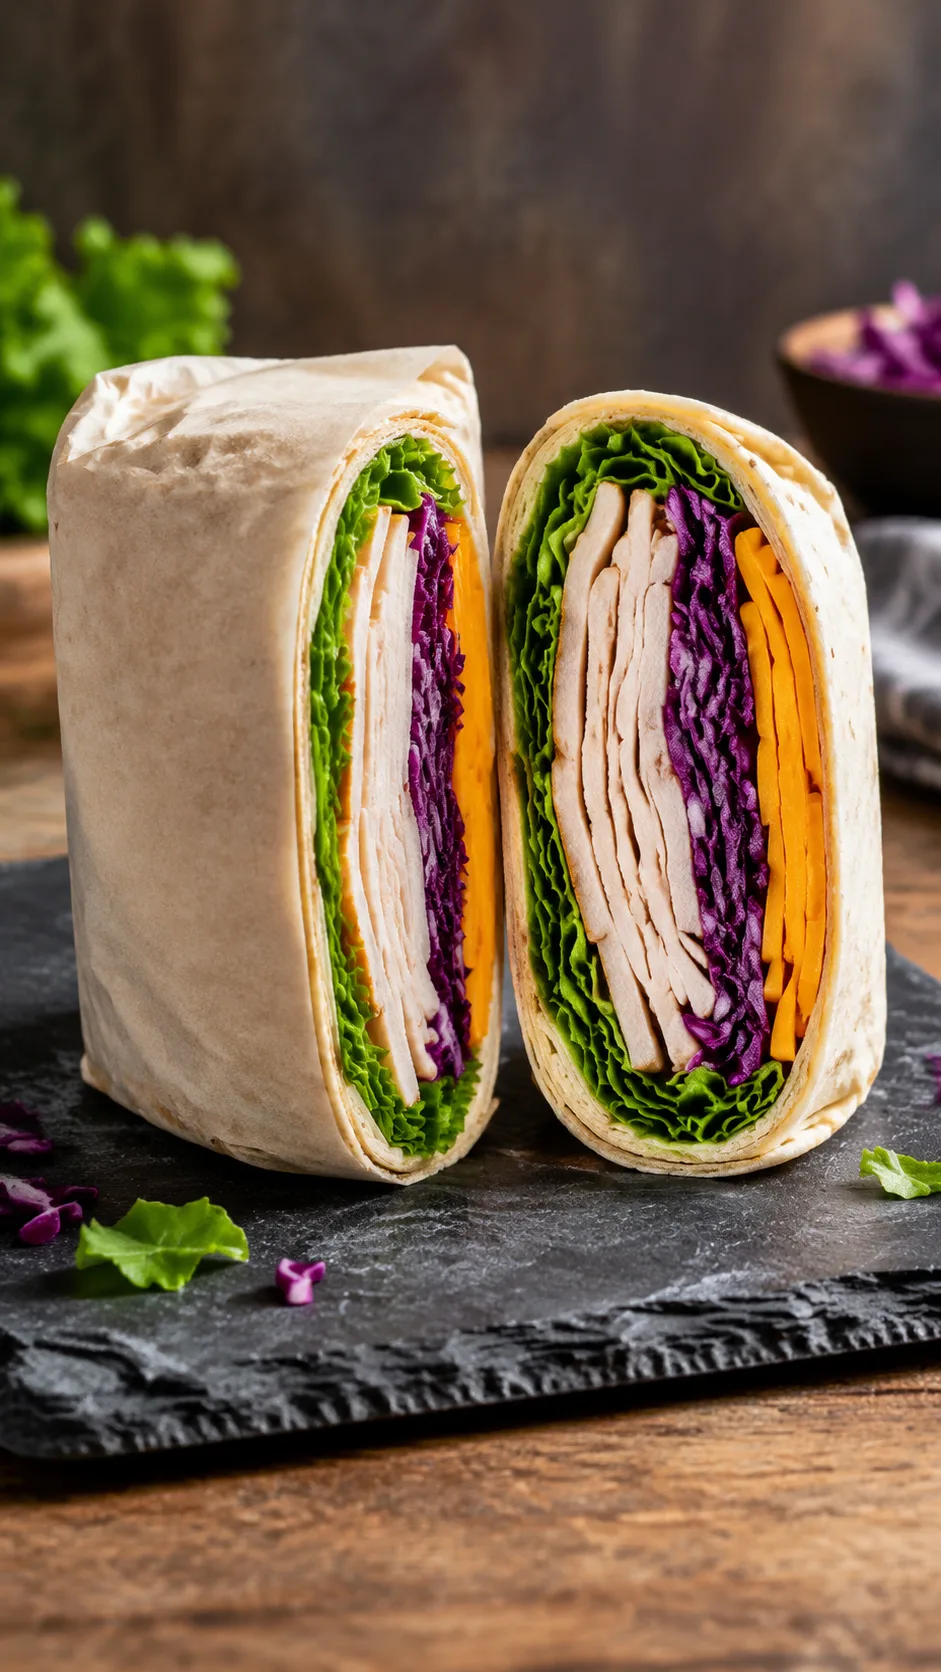
5 Foolproof Meal Prep Wrap Recipes That Stay Crisp
Each recipe relies on dry ingredients, strategic layering, and dipping sauces packed on the side. Prep five of these on Sunday to enjoy a firm, crisp lunch through Friday.
1. Buffalo Chicken Crunch Wrap
Skip the wet bottled dressing inside the roll. Season the shredded chicken breast with dry ranch powder and buffalo spices, then pair it with crisp slaw that holds its texture for days.
- Wrap Base: 10-inch high-fiber or large flour tortilla
- Barrier Layer: 1 tablespoon whipped cream cheese mixed with chopped chives
- Greens: 2 large, dry romaine lettuce leaves
- Protein: 4 oz chilled shredded chicken breast tossed with 1 tablespoon buffalo hot sauce and 1 teaspoon dry ranch powder
- Veggies: 1/4 cup shredded purple cabbage and 2 tablespoons finely diced celery (pat completely dry)
- Cheese: 2 tablespoons crumbled blue cheese or shredded mozzarella
- On the Side: 2 oz light blue cheese or Greek yogurt ranch dip
Assembly: Spread the cream cheese over the tortilla, stopping one inch from the edges. Press the romaine flat against the spread. Place the cold buffalo chicken over the lettuce, followed by the dry cabbage and celery. Scatter the cheese over the top. Fold the sides inward, pull the bottom edge over the filling, and roll tightly. Wrap the roll in parchment and foil.
2. Mediterranean Turkey and Feta Pinwheel Wrap
Cucumbers often flood lunch wraps with liquid. This recipe solves the problem: scoop out the watery cucumber seeds and use salty feta cheese to absorb stray moisture.
- Wrap Base: 10-inch spinach-herb flour wrap
- Barrier Layer: 2 tablespoons thick garlic hummus without excess oil on top
- Greens: 1 cup fresh baby spinach, stems removed, spun dry in a salad spinner
- Protein: 4 oz roasted deli turkey breast, sliced thick
- Veggies: 1/4 cup English cucumber (seeds scraped out, diced, and drained on paper towels for 10 minutes) and 2 tablespoons sun-dried tomatoes (oil drained and patted dry)
- Cheese: 2 tablespoons crumbled feta
- On the Side: Lemon-tahini dressing or classic tzatziki
Assembly: Spread the hummus across the entire wrap. Lay the dry spinach leaves flat over the hummus like shingles. Place the turkey slices across the lower third of the wrap. Scatter the drained cucumber cubes, sun-dried tomatoes, and crumbled feta over the turkey. Roll tightly, slice into rounds or leave whole, and package securely.
3. Cold-Seared Flank Steak and Roasted Pepper Wrap
Flank steak stays tender when cold, making it a dependable choice for weekday lunches. Pair this option with our other healthy lunch meal prep ideas to bring variety to your rotation.
- Wrap Base: 10-inch whole wheat tortilla
- Barrier Layer: 1 tablespoon mashed avocado mixed with 1 teaspoon lime juice and a pinch of salt
- Greens: 2 leaves of crisp butter lettuce
- Protein: 4 oz grilled flank steak, cooked medium-rare, chilled completely, and sliced thin across the grain
- Veggies: 1/3 cup jarred roasted red bell peppers (rinsed and pressed dry between paper towels)
- Cheese: 2 tablespoons shredded pepper jack cheese
- On the Side: Chimichurri sauce or salsa verde
Assembly: Spread the seasoned avocado over the wrap. Press the butter lettuce leaves firmly onto the avocado. Lay the cold steak strips evenly along the center. Top the steak with the dry roasted pepper strips and shredded pepper jack. Roll tightly from bottom to top and seal in parchment.
4. Sesame-Crusted Crispy Tofu and Slaw Wrap
Plant-based wraps often turn soft because tofu holds substantial water. Press extra-firm tofu, bake it into crisp cubes, and add raw cruciferous vegetables for crunch that lasts until Friday.
- Wrap Base: Large lavash sheet or 10-inch multigrain wrap
- Barrier Layer: 1.5 tablespoons thick peanut butter mixed with 1 teaspoon sesame oil and 1 teaspoon soy sauce
- Greens: 1 collard green leaf (thick center stem shaved flat with a knife)
- Protein: 4 oz extra-firm tofu cubes (pressed for 30 minutes, tossed with cornstarch and soy sauce, and baked at 400°F until golden and firm)
- Veggies: 1/3 cup shredded broccoli slaw and 2 tablespoons matchstick carrots
- Crunch Topping: 1 teaspoon toasted sesame seeds and 1 tablespoon crushed roasted peanuts
- On the Side: Spicy peanut dipping sauce or sweet chili vinaigrette
Assembly: Spread the sesame peanut mixture across the tortilla. Lay the trimmed collard leaf on top. Place the baked, chilled tofu nuggets along the edge. Top with broccoli slaw, carrots, sesame seeds, and crushed peanuts. Roll the wrap tightly, wrap it in foil, and chill.
5. The Ultimate Deli Turkey Club (Anti-Soggy Edition)
A classic club sandwich combines bacon, turkey, cheese, and tomato. Traditional club wraps fall apart quickly because tomato seeds saturate the tortilla. This assembly method keeps your wrap firm and fresh through the end of the week.
- Wrap Base: 10-inch flour tortilla
- Barrier Layer: 1 tablespoon mayonnaise mixed with 1/2 teaspoon Dijon mustard
- Greens: 2 large leaves of green leaf lettuce, dried thoroughly
- Protein: 3 oz smoked turkey breast and 2 slices thick bacon (cooked crisp and drained on paper towels)
- Tomato Alternative: 2 tablespoons dried sun-dried tomatoes, or whole grape tomatoes packed on the side
- Cheese: 1 slice sharp white cheddar, cut in half to line the wrap
- On the Side: Honey mustard dipping sauce
Assembly: Spread the mayonnaise mixture over the tortilla. Lay the cheddar slices down the center. Place the lettuce leaves over the cheese. Stack the cold smoked turkey, crisp bacon, and dried tomatoes on top of the greens. Roll tightly, wrap in parchment, and label with the date.
Pro Heating Hacks: How to Revive Your Wraps at Work
Microwaving a cold wrap inside a sealed container creates a soft, rubbery crust. High microwave heat turns the water in cooked meat into steam, breaking down the tortilla. Better heating options exist.
If your office kitchen has a toaster oven or air fryer, use it. Remove the foil and parchment paper, then place the wrap in the air fryer at 360°F (182°C) for 4 to 5 minutes. The hot circulating air crisps the exterior while heating the center evenly.
Without an air fryer, try a dry microwave method. Wrap the cold wrap in a dry paper towel. Microwave at 70% power for 60 to 90 seconds. The lower power level warms the protein without boiling moisture out of the vegetables, and the paper towel absorbs surface moisture immediately.
The Seven Deadly Sins of Make-Ahead Wraps
Avoid these common mistakes to protect your weekly prep from moisture damage:
- Adding Wet Condiments Inside the Wrap: Keep mustard, ranch, vinaigrette, and salsa out of the roll. Pack sauces in separate small cups instead. Dipping each bite preserves the crunch.
- Wrapping Warm Ingredients: When you cook meat or roasted vegetables on Sunday, cool them in the fridge before rolling your wraps. Warm ingredients release steam that quickly softens cold tortillas.
- Using Wet Greens: Washing spinach or lettuce and adding it straight to a wrap ruins the tortilla within two days. Spin the greens dry, then press the leaves between clean cloth towels.
- Leaving Tomato Pulp Intact: The seed gel inside a slicing tomato contains mostly water. If you want fresh tomatoes, choose Roma tomatoes, slice them open, scrape out the seeds, and pat the pulp dry.
- Rolling Too Loosely: Loose rolls let air and moisture pass between ingredients. Roll your wraps firmly: pull the bottom edge back over the filling before tucking in the sides and finishing the cylinder.
- Skipping the Parchment Paper: Wrapping cold tortillas straight in aluminum foil often causes the tortilla surface to stick to the metal. Parchment paper absorbs surface dampness and prevents tears.
- Storing in the Warmest Part of the Fridge: Refrigerator door shelves experience frequent temperature swings whenever someone opens the door. Store your glass containers near the back of the bottom or middle shelf where temperatures remain cold and steady.
Prep Schedule: How to Knock Out 5 Days of Lunches in 45 Minutes
A fast workflow makes weekly meal prep easy to sustain. Assemble your wraps together in an assembly line rather than building them one by one:
- Minutes 0-20 (Cook & Chill): Cook your chicken breast, steak, or tofu on a sheet pan or in a skillet. Place the cooked protein in a shallow dish in the freezer for 15 minutes to chill it rapidly without freezing it solid.
- Minutes 20-30 (Wash & Dry Veggies): Wash your greens and spin them dry twice. Slice your celery, cabbage, and peppers. Spread clean kitchen towels across your counter, lay the cut vegetables out flat, and blot them dry.
- Minutes 30-35 (Set Up the Assembly Line): Place five sheets of parchment paper side by side. Set a 10-inch tortilla on each sheet. Grab your fat spreads, such as hummus, cream cheese, or mayonnaise, from the fridge.
- Minutes 35-42 (Build the Layers): Spread your fat barriers onto all five wraps. Add dried greens across each one. Divide the chilled meat evenly among the wraps. Top with prepped crunchy vegetables and dry cheeses.
- Minutes 42-45 (Roll & Wrap): Roll each wrap under firm tension. Wrap each roll in parchment paper, cover with foil, and pack all five into an airtight glass container. Label each wrap with tape and a marker to identify each variety.
Frequently Asked Questions About Meal Prepping Wraps
Can I freeze meal prep wraps for later?
Yes, provided you choose the right fillings. You can freeze cooked breakfast burritos containing meat, cheese, beans, and potatoes. Never freeze wraps containing raw vegetables like lettuce, cucumbers, or cabbage. Freezing bursts plant cell walls, turning crisp greens into brown liquid during thawing. Thaw frozen breakfast burritos overnight in the fridge and toast them in a dry skillet before serving.
How long do prepped wraps truly stay good in the fridge?
When you use the moisture barrier system and maintain a fridge temperature at 38°F, cooked poultry and beef wraps remain fresh for 4 to 5 days. Seafood wraps with tuna or shrimp should be eaten within 2 to 3 days. Check the official storage guidelines on FoodSafety.gov for additional safety windows.
What if I want to use dressings without carrying separate containers?
If you prefer not to carry separate sauce cups, blend your dressing into your fat barrier. Whisk vinaigrette, hot sauce, or pesto into full-fat cream cheese or thick Greek yogurt until smooth. Dairy fats hold acidic liquids together, keeping liquid away from the wrap starches.
Can I make gluten-free meal prep wraps without them snapping in half?
Gluten-free tortillas lack the elasticity of wheat, so they crack when cold. Warm gluten-free tortillas in a dry skillet or microwave for 10 seconds before assembly. The heat softens the starches so you can roll them tightly. Once wrapped in parchment, they hold their shape in the fridge without splitting.
Take Back Your Lunch Break
You do not have to accept soggy wraps, and you do not need to spend money at takeout counters every afternoon. Crisp meal-prep wraps depend on clear kitchen habits: stop moisture migration, apply a fat barrier, dry your produce thoroughly, and carry sauces on the side.
Take forty-five minutes this Sunday. Select two recipes, roll out your parchment paper, and build an assembly line of durable weekday wraps. When lunchtime arrives on Thursday and your wrap holds its firm crunch, you will never return to soggy lunches again.