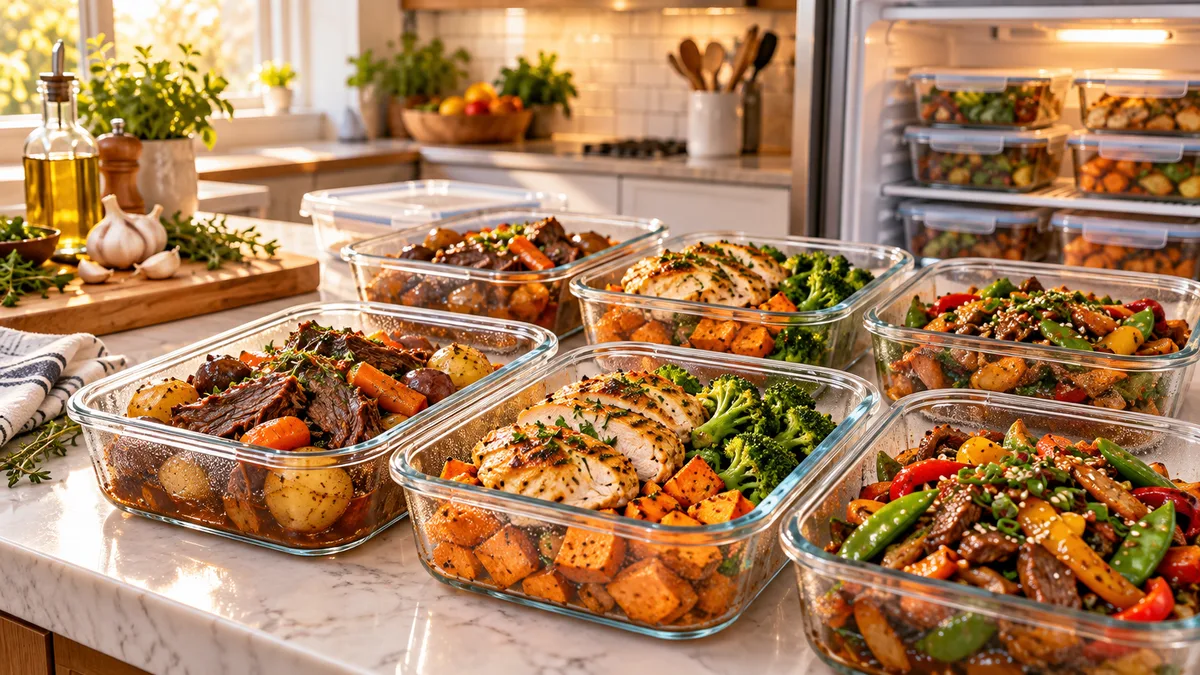
You stumble into your kitchen at 6:30 PM after a grueling workday, open the refrigerator door, and stare blankly into the cold void. You have two limp carrots, half a jar of crusty salsa, and zero willpower left to cook. You pull out your phone, spend forty dollars on greasy takeout, and wait forty-five minutes for lukewarm food. Does this nightly horror show sound familiar?
Most working adults spend over ten hours every single week deciding what to eat, driving to grocery stores, chopping vegetables, cooking dinners, and washing greasy pans. That totals over twenty full days a year standing over a cutting board or a sink. Standard meal prepping promised to fix this problem, but eating rubbery, four-day-old refrigerator chicken breast feels like a culinary punishment. Nobody wants to eat sad, soggy broccoli on Thursday night.
Freezer meal prep changes the game entirely. When you freeze complete meals correctly, you capture flavors at their peak freshness and lock them in stasis. You spend two focused hours on Sunday knocking out high-flavor bases, and then you reclaim over an hour every single weeknight. Let us revamp your dinner routine so you eat like royalty all week without spending your entire life in the kitchen.
The science of freezing: how to stop food from tasting like cardboard
Why do so many homemade freezer meals taste flat, watery, or metallic? People usually blame the freezer, but simple human mistakes cause most of that damage. Once you understand how freezing affects food, you can lock in rich sauces, tender meats, and crisp textures without any trouble.
Ice crystals cause the most damage in food storage. Slow freezing forms large, jagged crystals that puncture cell walls inside meat and vegetables. When you thaw that food, the damaged cells leak their moisture onto the plate, leaving dry meat in a pool of water. Rapid freezing builds microscopic crystals instead. Those tiny crystals leave cell walls intact, so your food keeps its natural moisture and texture.
Air causes the second major problem. Sublimation, which we call freezer burn, occurs when air inside the storage bag pulls moisture straight from the food surface. The USDA Food Safety and Inspection Service notes that freezer burn destroys food quality, even though food frozen at zero degrees Fahrenheit stays safe to eat indefinitely. Air pockets around chicken or beef expose fats to oxygen, which turns flavors stale and ruins dinner.
You can stop both issues with three simple rules:
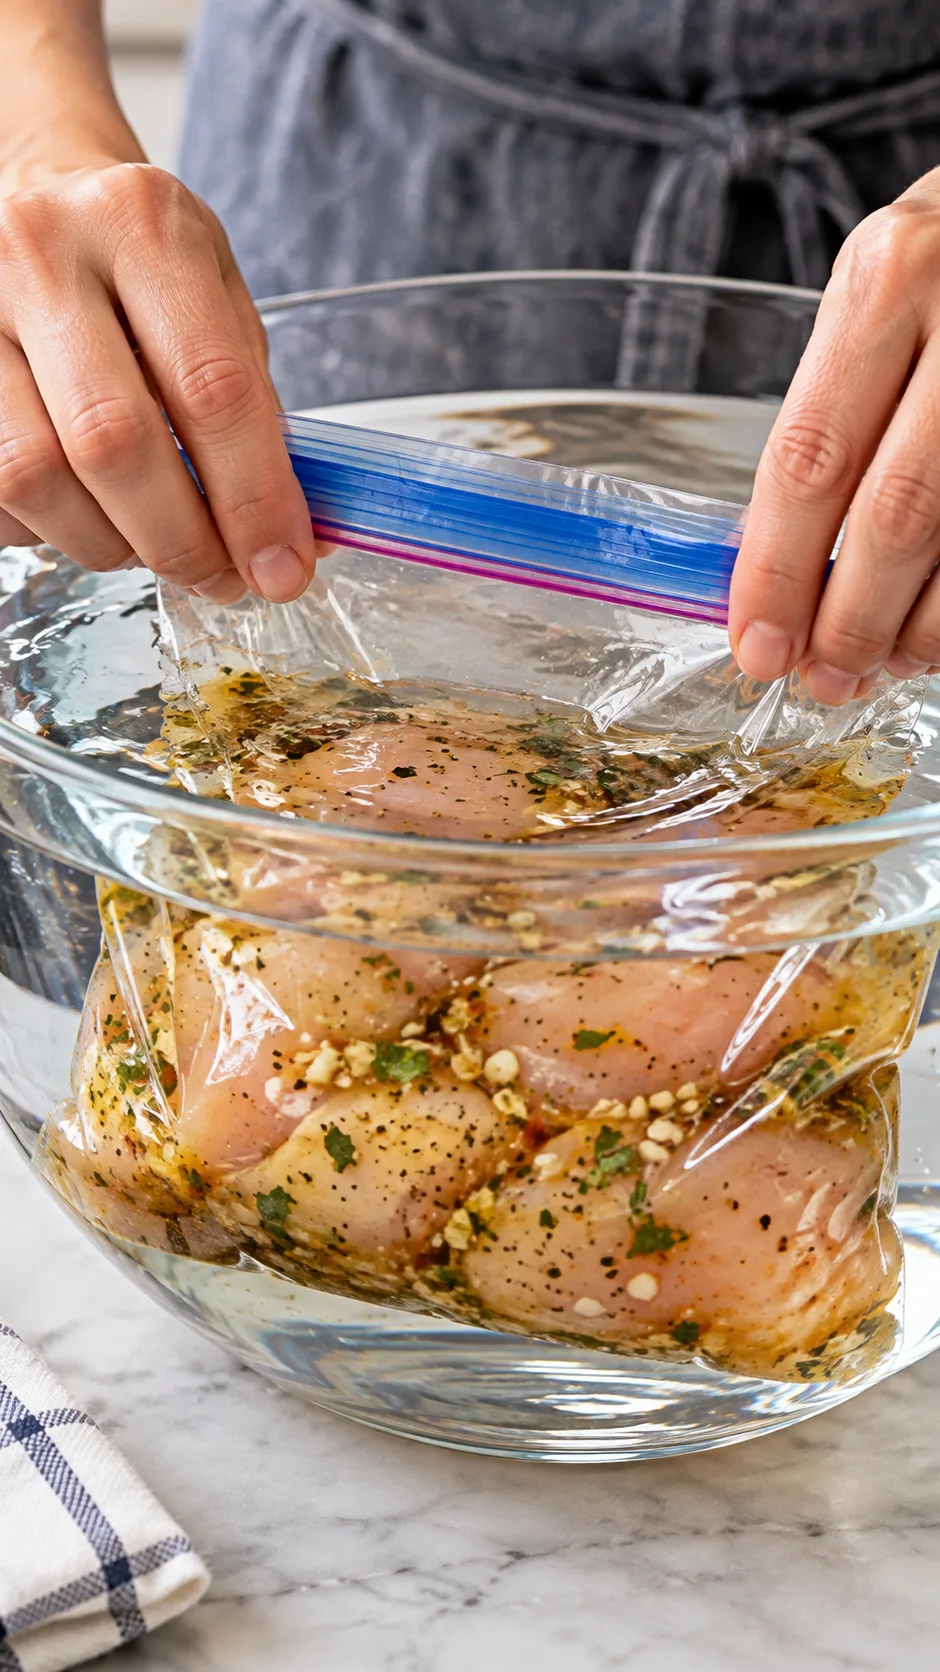
- Squeeze out every molecule of air: Invest twenty dollars in a manual handheld vacuum sealer or use the water displacement method with heavy-duty freezer bags.
- Cool your cooked foods completely before freezing: Never throw steaming-hot chili into the freezer! Steam condenses inside the lid, forms massive ice sheets, and ruins the dish. Chill hot pots in an ice water bath first.
- Boost your seasoning by 15 percent: Freezing dulls aromatic compounds and salt perception. Add extra garlic, ginger, spices, and citrus zest to your freezer batches to maintain bold flavors.
If you want to master the foundational mechanics of batch cooking before tackling advanced techniques, check out our guide on freezer meal prep recipes designed specifically for busy households.
Ingredients that freeze like champions (and what to never put on ice)
Have you ever thawed potato soup only to discover a grainy, curdled mess that looked like wet sand? Certain ingredients handle the cold with ease, while others break down the moment temperatures drop below freezing.
Fatty meats like chicken thighs, pork shoulder, and ground chuck hold up remarkably well in the freezer. Braised meats, bean stews, tomato sauces, coconut milk curries, and unbaked doughs keep their rich flavor for months. In fact, complex sauces often taste better after a few weeks on ice because the spices meld together over time.
Keep these ingredients out of your freezer:
- Raw Russet and Idaho potatoes: These starchy tubers turn into mealy, black sponges in the freezer. Use waxy baby red potatoes or Yukon Golds instead, or par-cook them before freezing.
- Dairy-heavy cream sauces: Heavy cream, sour cream, and milk break and curdle when thawed. Stir dairy into your dishes during the final reheat on the stove instead.
- Water-dense raw vegetables: Cucumbers, celery, lettuce, and raw tomatoes turn into mush. If you want vegetables in your freezer meals, select sturdy candidates like bell peppers, onions, carrots, butternut squash, and kale.
- Fully cooked regular pasta: Boiled wheat pasta absorbs liquid, swells up, and turns to glue in the freezer. Freeze your pasta sauces separately and boil fresh noodles in seven minutes on weeknights.
The 2-hour Sunday workflow: assemble 14 dinners fast
Smart freezer prepping does not mean cooking for eight consecutive hours like an exhausted line cook. Professional kitchens rely on dump-and-freeze assembly methods. You chop raw ingredients, whisk marinades, drop raw components into heavy-duty bags, and freeze them immediately. You skip Sunday cooking entirely and let your slow cooker, pressure cooker, or sheet pan handle the heat on weeknights.
Use this streamlined sequence to pack two weeks of dinners in under two hours:
- Clear your workspace (Minutes 0 to 10): Empty your sink, wipe your counters, and set out storage containers, cutting boards, measuring spoons, and a sharp chef knife. Pull all spices and pantry liquids from your cabinets onto the counter.
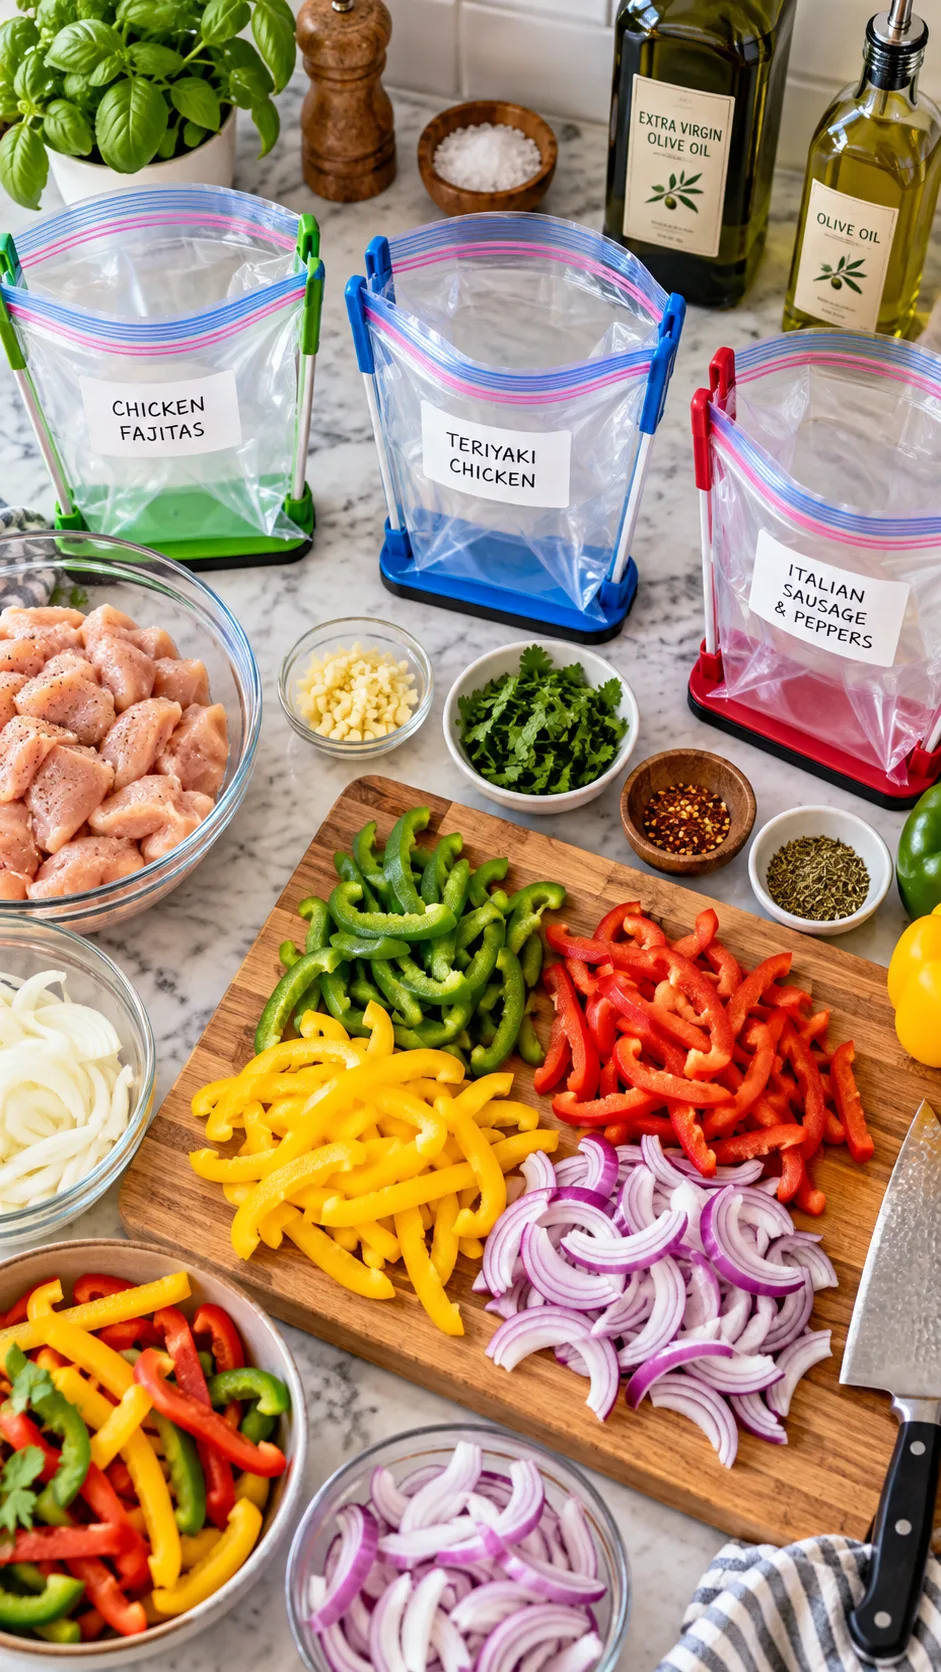
- Chop all produce first (Minutes 10 to 35): Never chop an onion for recipe one, then chop another onion for recipe three. Dice all onions, mince all garlic, slice all peppers, and grate all ginger for every single recipe in one focused chopping block.
- Mix marinades in glass measuring cups (Minutes 35 to 55): Whisk together your sauces, seasonings, oils, and broths in bulk. This assembly-line flow keeps your hands clean and your cutting board sanitized.
- Process and bag meats (Minutes 55 to 85): Open all meat packages at the same time. Divide raw chicken, beef, or pork straight into your pre-labeled freezer bags. Pour your sauces over the raw meat, press out the air, and massage the marinade through the bag.
- Flatten and freeze (Minutes 85 to 100): Lay your filled bags completely flat on metal baking sheets and slide them into the freezer. Freezing bags flat maximizes surface area, speeds up freeze times, and lets you store them upright like file folders.
- Cleanup (Minutes 100 to 120): Sanitize your prep surfaces, wash your knife and cutting board, and relax. You just eliminated ten hours of chaotic mid-week dinner prep.
5 high-flavor freezer meal prep recipes that never disappoint
These recipes rely on punchy marinades, stable fats, and reliable cooking methods. Put these practical winners into your rotation this weekend.
1. Sheet-pan chipotle lime chicken fajitas (raw dump pack)
I always pick boneless, skinless chicken thighs over dry chicken breasts for this recipe. Chicken thighs contain enough intramuscular fat to stay juicy under intense oven heat. This dump pack requires zero Sunday cooking.
- The protein: 2 pounds boneless, skinless chicken thighs, sliced into 1/2-inch strips.
- The veggies: 3 large bell peppers (red, yellow, green), sliced thin, plus 1 large red onion, sliced into half-moons.
- The flavor engine: 3 tablespoons olive oil, juice of 2 fresh limes, 2 minced chipotle peppers in adobo sauce, 1 tablespoon ground cumin, 1 tablespoon smoked paprika, 1 teaspoon garlic powder, 1 teaspoon onion powder, and 1.5 teaspoons kosher salt.
Freeze strategy: Place the raw chicken strips, sliced vegetables, and marinade ingredients directly into a one-gallon freezer bag. Squeeze out all excess air, seal the bag tightly, and massage the bag thoroughly to coat the chicken and vegetables evenly. Lay flat and freeze.
Cook night instructions: Thaw the bag overnight in your refrigerator. Preheat your oven to 425°F (220°C). Dump the contents onto a large, rimmed metal baking sheet in an even layer. Roast for 20 to 22 minutes until the chicken reaches 165°F and the pepper edges show dark, blistered char marks. Wrap warm corn tortillas around the meat, squeeze fresh lime juice over top, and serve.
If you love high-protein poultry preps that never feel dry or boring, explore our catalog of chicken meal prep recipes.
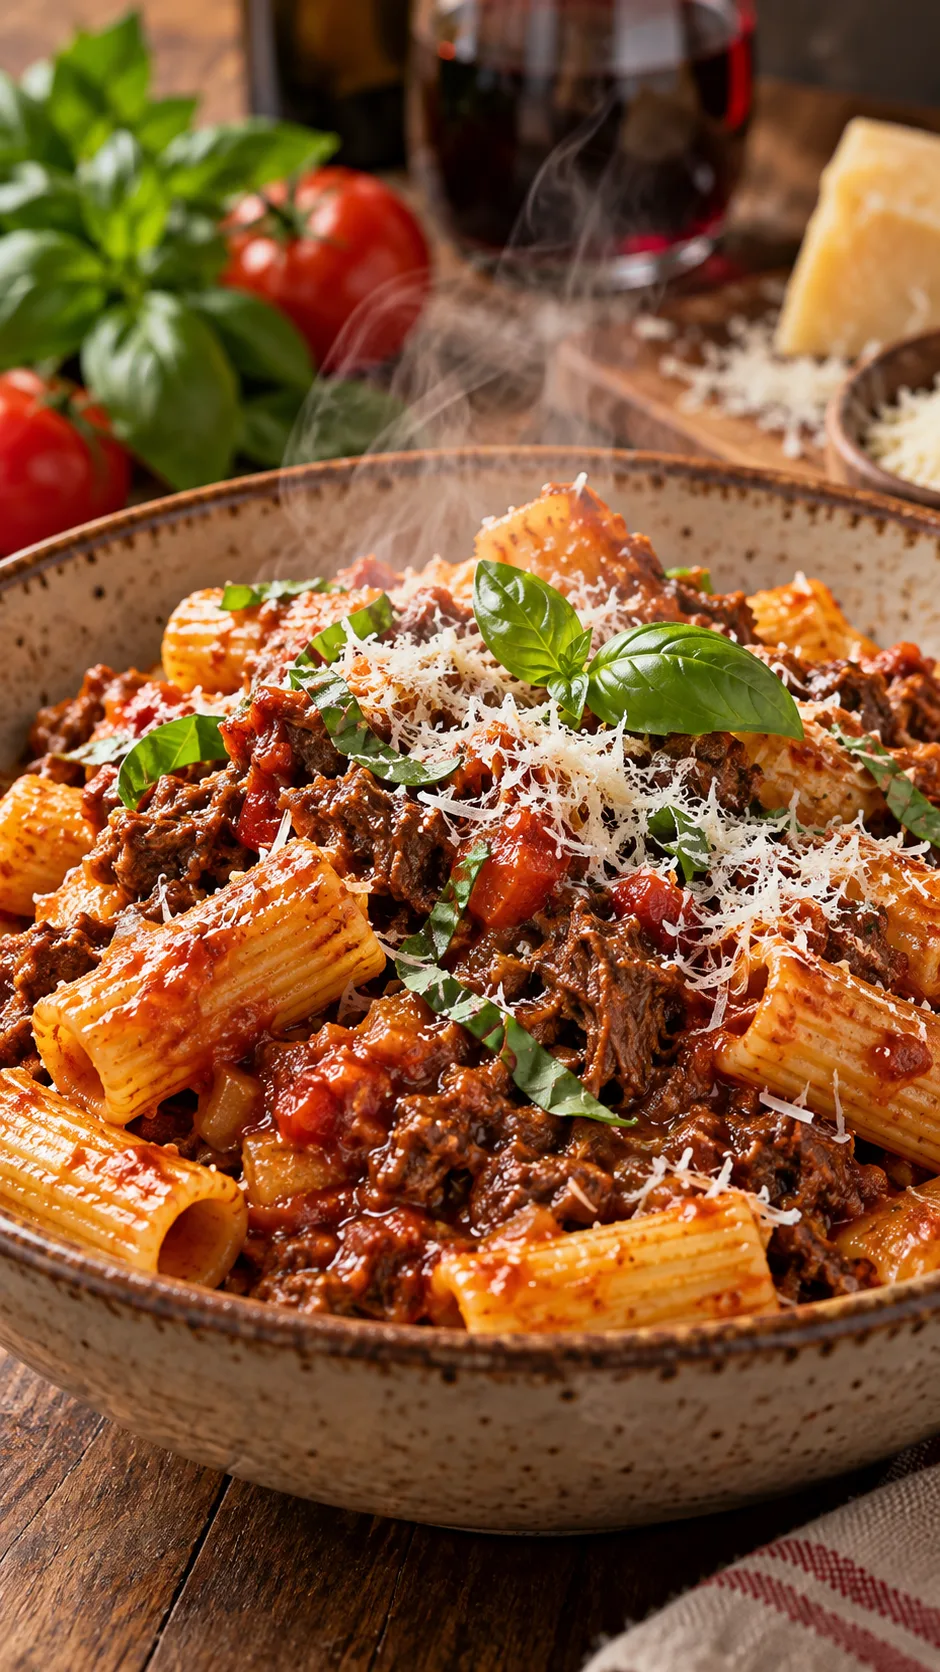
2. Slow-simmered Tuscan beef ragu (cook-ahead base)
Nothing hits the spot on a rainy Wednesday like a rich beef ragu. Ground beef makes an exceptional freezer base because the meat absorbs braising liquid without losing texture during long storage.
- The meat: 2 pounds 85/15 ground beef or ground chuck.
- The aromatics: 1 large yellow onion (finely diced), 2 medium carrots (finely minced), 2 stalks celery (finely minced), 6 cloves garlic (minced).
- The liquids and seasonings: 1 cup dry red wine (Cabernet or Chianti), two 28-ounce cans crushed San Marzano tomatoes, 3 tablespoons tomato paste, 2 bay leaves, 1 tablespoon dried oregano, 1 teaspoon red pepper flakes, 2 teaspoons kosher salt, and 1 parmesan rind.
Sunday prep: Brown your beef in a large Dutch oven over medium-high heat until deep brown crumbles form. Drain half the rendered fat. Toss in your minced onions, carrots, and celery; cook for 6 minutes until soft. Stir in your garlic and tomato paste for 2 minutes. Pour in the red wine, scraping up every single caramelized browned bit from the bottom of the pan. Pour in the crushed tomatoes, drop in the bay leaves, oregano, salt, and parmesan rind. Simmer over low heat for 90 minutes until the sauce turns thick and dark mahogany.
Freeze strategy: Discard the bay leaves and parmesan rind. Chill the sauce completely in an ice bath. Divide the sauce between two quart-sized freezer containers or heavy-duty flat bags. Freeze for up to four months.
Cook night instructions: Drop the frozen sauce block directly into a skillet over medium-low heat with two tablespoons of water. Cover with a lid for 10 minutes until bubbling and hot. Toss with freshly boiled tagliatelle or rigatoni and top with shaved Pecorino Romano. For more weeknight dinner shortcuts using minced beef, browse our collection of ground beef meal prep recipes.
3. Golden coconut curry turkey meatballs (flash-frozen raw)
Lean ground turkey often turns dry and bland when you bake ordinary meatballs. We solve that by mixing grated zucchini directly into the ground turkey for moisture, then simmering the meatballs in a rich coconut curry sauce.
- The meatballs: 2 pounds ground turkey (93/7 blend), 1 medium zucchini (finely grated and squeezed dry with a towel), 1/2 cup panko breadcrumbs, 1 large egg, 3 cloves minced garlic, 1 tablespoon freshly grated ginger, 1 teaspoon salt.
- The curry sauce: 2 cans full-fat coconut milk (never use light coconut milk here!), 3 tablespoons Thai red curry paste, 1 tablespoon fish sauce, 1 tablespoon brown sugar, 1 cup frozen green peas, and the juice of 1 lime.
Sunday prep: Mix your ground turkey, grated zucchini, panko, egg, garlic, ginger, and salt in a large bowl with clean hands. Shape into twenty uniform meatballs. Place the raw meatballs on a parchment-lined baking sheet and slide them into the freezer for 45 minutes until solid. Flash-freezing keeps them from fusing into a massive clump.
Freeze strategy: Whisk your coconut milk, curry paste, fish sauce, and brown sugar in a large bowl. Drop your flash-frozen meatballs into a gallon freezer bag, toss in the frozen peas, and pour the coconut sauce directly over the meatballs. Seal out the air, lay flat, and freeze.
Cook night instructions: Thaw overnight in the fridge. Empty the contents into your slow cooker on LOW for 4 hours, or simmer in a covered deep skillet over medium-low heat on the stovetop for 20 minutes until the meatballs reach an internal temperature of 165°F. Spoon over warm jasmine rice and shower with chopped cilantro.
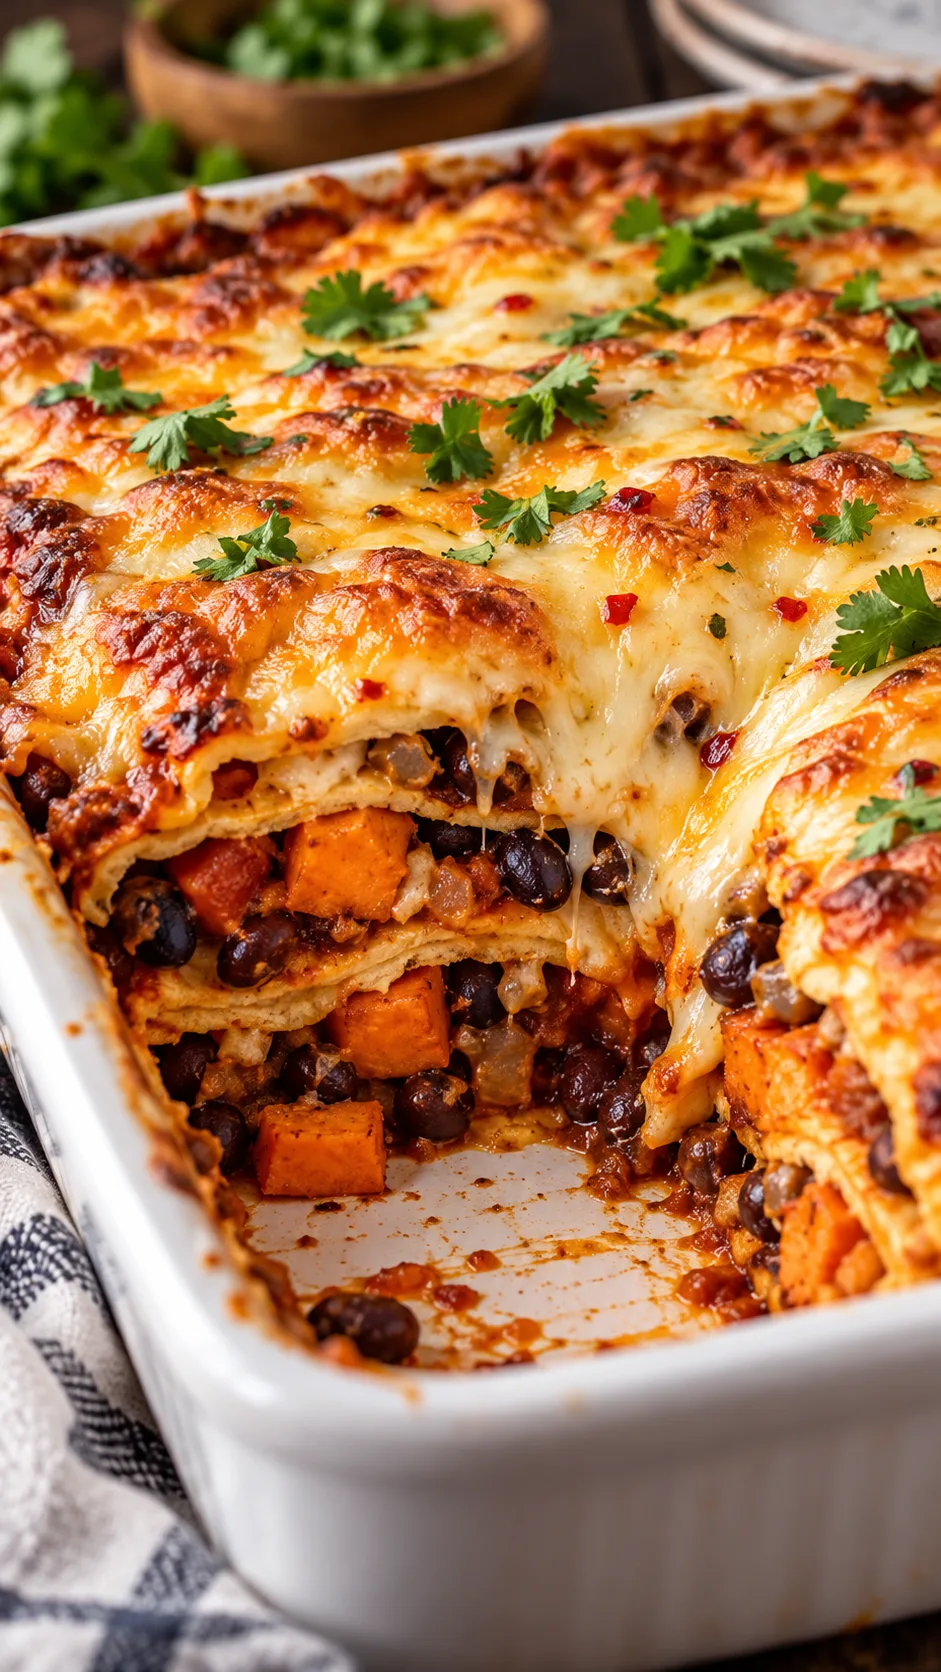
4. Smoky black bean and sweet potato enchilada casserole
Looking for a hearty meatless freezer dinner that fills you up? Many vegetarian freezer meals turn watery, but roasted sweet potatoes keep a rich texture that drinks up chili spices.
- The filling: 3 medium sweet potatoes (peeled and diced into 1/2-inch cubes), 2 cans black beans (rinsed and drained), 1 cup frozen sweet corn kernels, 4 ounces diced green chiles, 1 tablespoon chili powder, 1 teaspoon ground cumin, 1/2 teaspoon smoked sea salt.
- The base and layers: 12 small corn tortillas (quartered), 28 ounces red enchilada sauce, and 2.5 cups shredded Monterey Jack or pepper jack cheese.
Sunday prep: Roast the diced sweet potatoes on a baking sheet with a drizzle of oil at 400°F (200°C) for 20 minutes until just fork-tender. Cool completely. In a large bowl, combine the cooled sweet potatoes, rinsed black beans, corn, green chiles, and spices.
Freeze strategy: Grab an 8×8-inch disposable aluminum baking tin. Spread 1/2 cup of enchilada sauce across the bottom. Layer four quartered tortillas, one-third of your sweet potato filling, 1/2 cup of sauce, and a handful of shredded cheese. Repeat this layering pattern twice more, finishing with tortillas, sauce, and the remaining cheese on top. Wrap the entire aluminum pan tightly with two layers of plastic wrap followed by heavy-duty aluminum foil. Label and freeze flat.
Cook night instructions: Remove the plastic wrap, but leave the top foil layer on. Bake directly from frozen at 375°F (190°C) for 50 minutes. Remove the foil and bake for an additional 15 minutes until the cheese bubbles furiously and develops golden-brown crust spots around the edges. Rest for 10 minutes before slicing so the layers set cleanly.
5. Korean-style sticky garlic ginger pork chops
Thick-cut pork chops dry out quickly when you cook them in an ordinary skillet. Letting pork chops sit in a sweet and savory soy marinade tenderizes the meat fibers while the bag rests in the freezer. This recipe rivals restaurant pork chops any night of the week.
- The pork: 4 bone-in, thick-cut pork chops (roughly 1-inch thick each).
- The marinade: 1/2 cup low-sodium soy sauce, 1/4 cup pure maple syrup or honey, 2 tablespoons toasted sesame oil, 1 tablespoon rice vinegar, 5 cloves minced garlic, 2 tablespoons fresh grated ginger, 1 tablespoon gochujang (Korean chili paste), and 1 bunch green onions (sliced).
Freeze strategy: Whisk the soy sauce, maple syrup, sesame oil, rice vinegar, garlic, ginger, gochujang, and green onions in a medium bowl. Place your four thick pork chops into a gallon-sized freezer bag in a single, non-overlapping layer. Pour the marinade over the pork. Press out the air, seal, and freeze flat. The meat marinates during the freezing process and continues marinating as it thaws.
Cook night instructions: Thaw the pork chops completely in your refrigerator for 24 hours. Heat a heavy cast-iron skillet over high heat with one tablespoon of neutral avocado oil. Pull the chops from the bag, saving the excess marinade, and sear the pork for 4 minutes per side until a deep caramelized mahogany crust develops. Transfer chops to a plate. Pour the remaining marinade from the bag directly into the hot skillet, bring it to a rolling boil for 3 minutes to kill bacteria, and reduce it to a sticky syrup. Drizzle the reduced glaze over the pork chops and serve with steamed broccoli.
The defrost and reheat protocol (where most people ruin dinner)
How many times have you ruined a solid freezer meal by blasting it on full power in the microwave? Defrost cycles heat food unevenly, leaving frozen pockets in the middle and tough, overcooked edges along the perimeter. Give your reheated meals the same care you give fresh food.
Follow these professional kitchen strategies for thawing and reheating:
- The 24-hour refrigerator thaw: This method works better than anything else. Moving your meal bag from the freezer to the bottom shelf of your refrigerator 24 hours before cooking protects meat texture and preserves moisture. Keep the bag inside a rimmed bowl or tray to catch condensation.
- The cold water express method: Did you forget to pull dinner out last night? Never leave meat sitting on your kitchen counter at room temperature. Submerge your sealed freezer bag in a large bowl of cold tap water. Change the water every thirty minutes. A one-pound bag of chicken or pork will thaw completely in under 45 minutes without entering the danger zone for food safety.
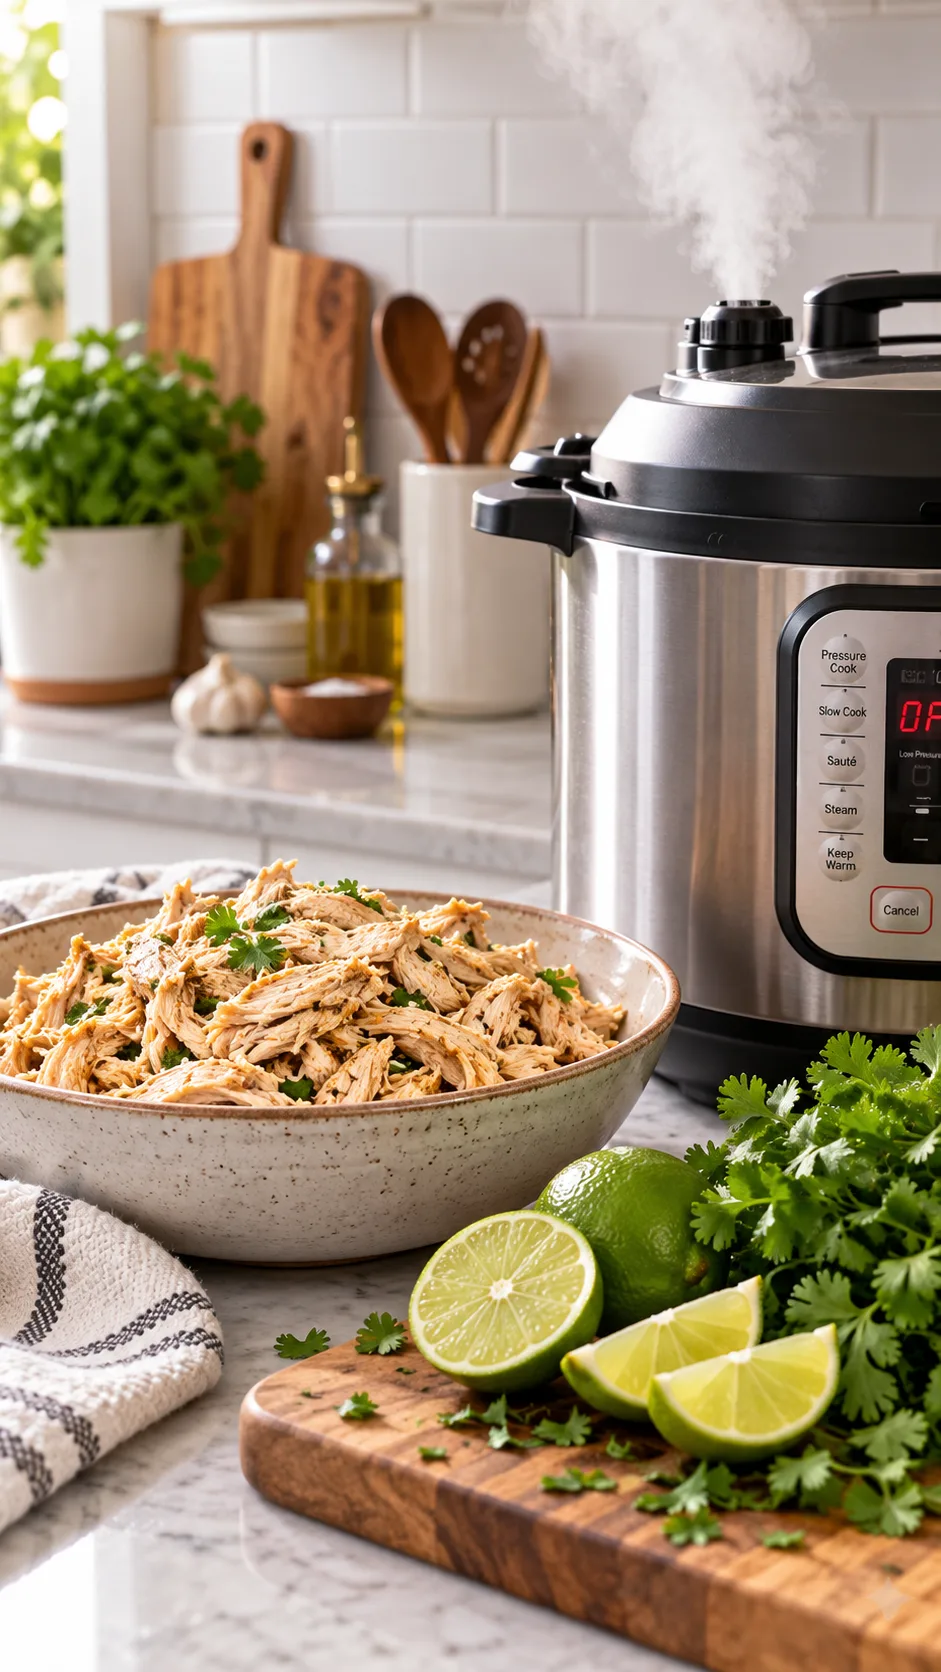
- The Instant Pot direct-from-frozen strategy: You can cook unthawed freezer blocks straight in your electric pressure cooker. Add one cup of chicken or vegetable broth to the inner pot so the cooker builds steam pressure. Lock the lid, seal the valve, and add 50 percent more cooking time than the standard recipe requires. High pressure cuts through frozen meat fast without drying out the surface.
The secret weapon: the “fresh touch” finishing rule
Do you want to know the biggest difference between a disappointing frozen dinner and a restaurant plate? Professional cooks always finish with fresh ingredients. Freezing and reheating dulls sharp aromas and acidity. The dish tastes warm and comforting, but it lacks contrast.
You can brighten any thawed dinner in five seconds by adding two simple elements right before you eat: Acid and Crunch.
Never freeze these finishing elements. Store them in your pantry or crisper drawer, and drop them on top of your plated reheats:
- Acids: Squeeze fresh lime or lemon juice over your curries and fajitas. Drizzle a splash of red wine vinegar or balsamic glaze over ragu and beef stews. Spoon a little pickled jalapeño brine over casseroles. Acid cuts through rich fats and wakes up sleepy seasonings.
- Fresh herbs: Scatter chopped flat-leaf parsley, fresh cilantro, basil ribbons, or sliced green onions over your hot food. The rising steam warms the herbs and releases fragrant oils across your plate.
- Crunch: Frozen meals often come out soft. Sprinkle toasted sesame seeds, chopped roasted peanuts, crispy fried onions, or crushed tortilla chips over your serving. That crisp crunch makes every bite feel fresh from the stove.
How to organize your freezer like a professional kitchen
A disorganized freezer turns into a graveyard for good food. You shove bags into dark corners, lose track of dates, and pull out mysterious foil packages a year later that look like fossils. Stop wasting money on forgotten groceries.
Implement these simple organization rules today:
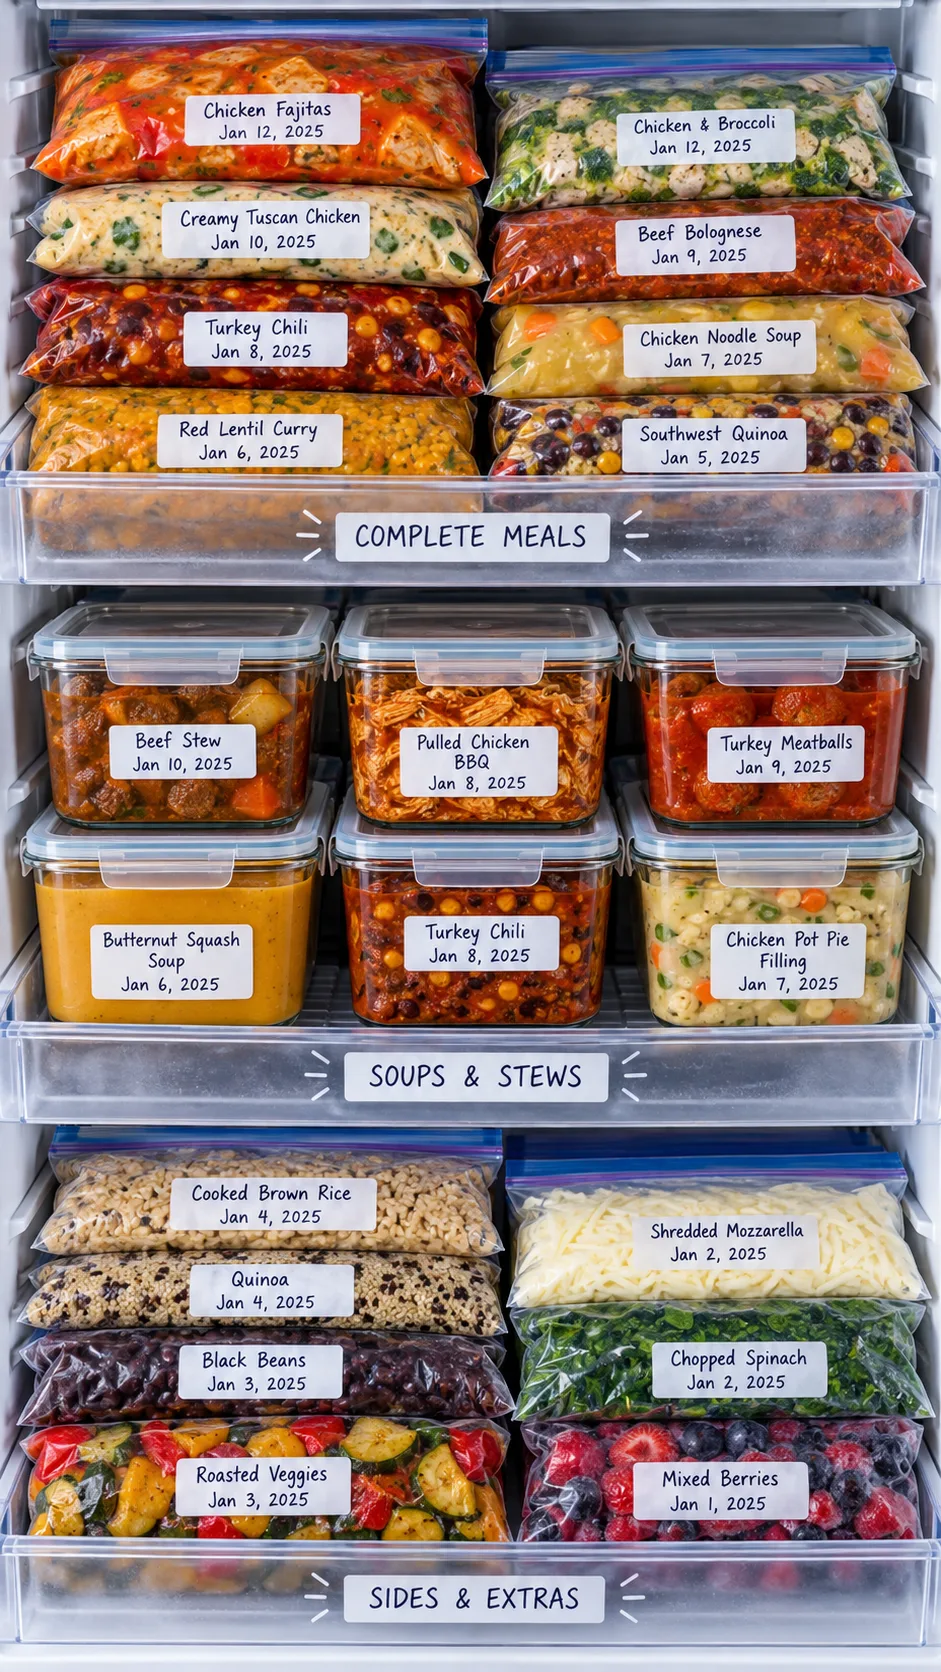
- The filing cabinet method: Freeze every soup, sauce, and dump bag completely flat on a sheet pan first. Once frozen solid, stack them upright in clear storage bins inside your freezer. You can flip through your meals like files in a cabinet.
- The two-tape labeling standard: Grab a roll of blue painter’s tape and a permanent marker. Label every bag with three details: recipe name, prep date, and cooking instructions (such as “Bake at 425°F for 20 min”). You should never have to search your phone to remember how to cook dinner.
- The three-month timeline: Eat your frozen meals within three to four months. Food stored at 0°F remains safe to eat much longer according to resources like The National Center for Home Food Preservation, but spices and textures start to fade after twelve weeks. Rotate your stock by eating older meals first.
If you have zero meal prep experience and feel intimidated by large batch cooking sessions, start smaller with our beginner tutorial on meal prep recipes for beginners.
Take back your free time starting this weekend
Stop letting weeknight cooking drain your wallet and consume your evenings. You do not have to choose between cooking for an hour every night or eating dry leftovers from the fridge. A little planning changes the entire equation.
Pick two recipes from this guide today. Add the ingredients to your shopping list. Set a timer for two hours this Sunday, put on some music, and knock out ten to fourteen servings of satisfying dinners in one go.
When Wednesday night arrives, you will ignore the delivery apps. You will walk into your kitchen, pull a seasoned meal straight from your freezer, pop it into the oven, and sit down to relax. That is how you win back ten hours every week without giving up great flavor.