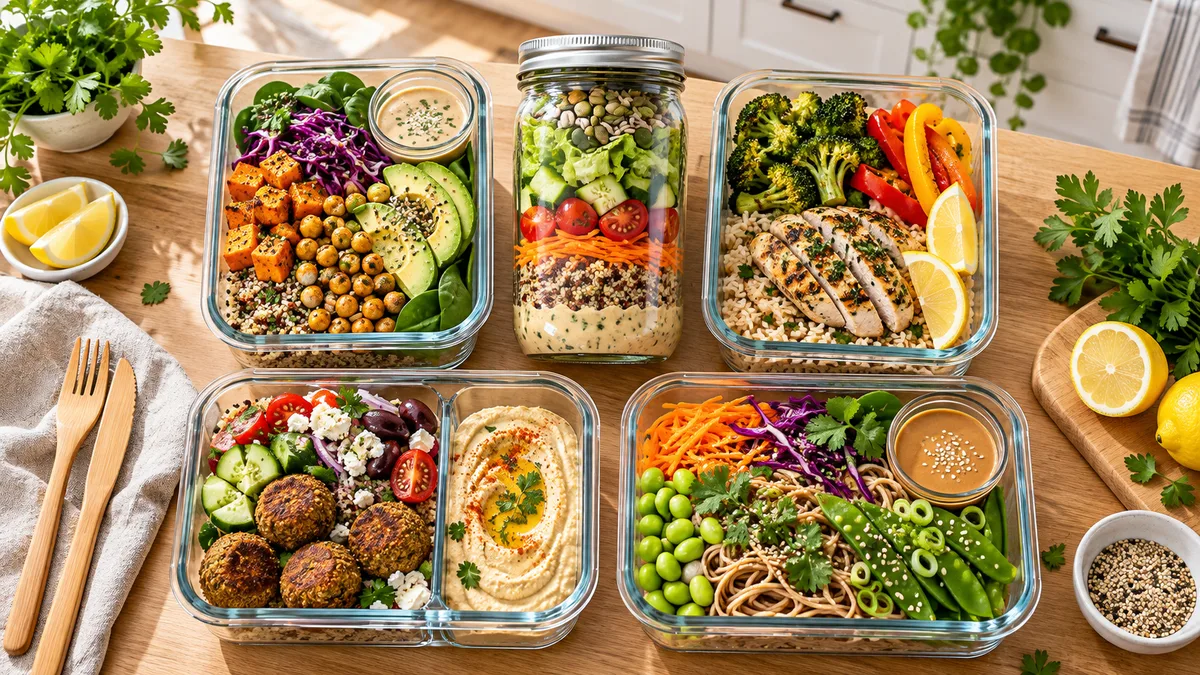
You know the feeling at 12:30 PM. You pop the lid off your plastic container, look down at a puddle of lukewarm gray liquid, and wonder how crisp romaine turned into swamp water in seventy-two hours. Defeated, you walk to the salad bar down the block and spend twenty dollars on a bowl that puts you to sleep right before your two o’clock meeting.
Break that cycle. Packing your own lunch saves serious cash and keeps your afternoon energy steady. Nobody looks forward to soggy, sad leftovers that taste like cardboard by Thursday.
You can prep meals on Sunday that hold their crunch and flavor straight through Friday. You just need a practical kitchen strategy, the proper assembly order, and better alternatives to dry chicken breast. Take control of your work lunches starting this week.
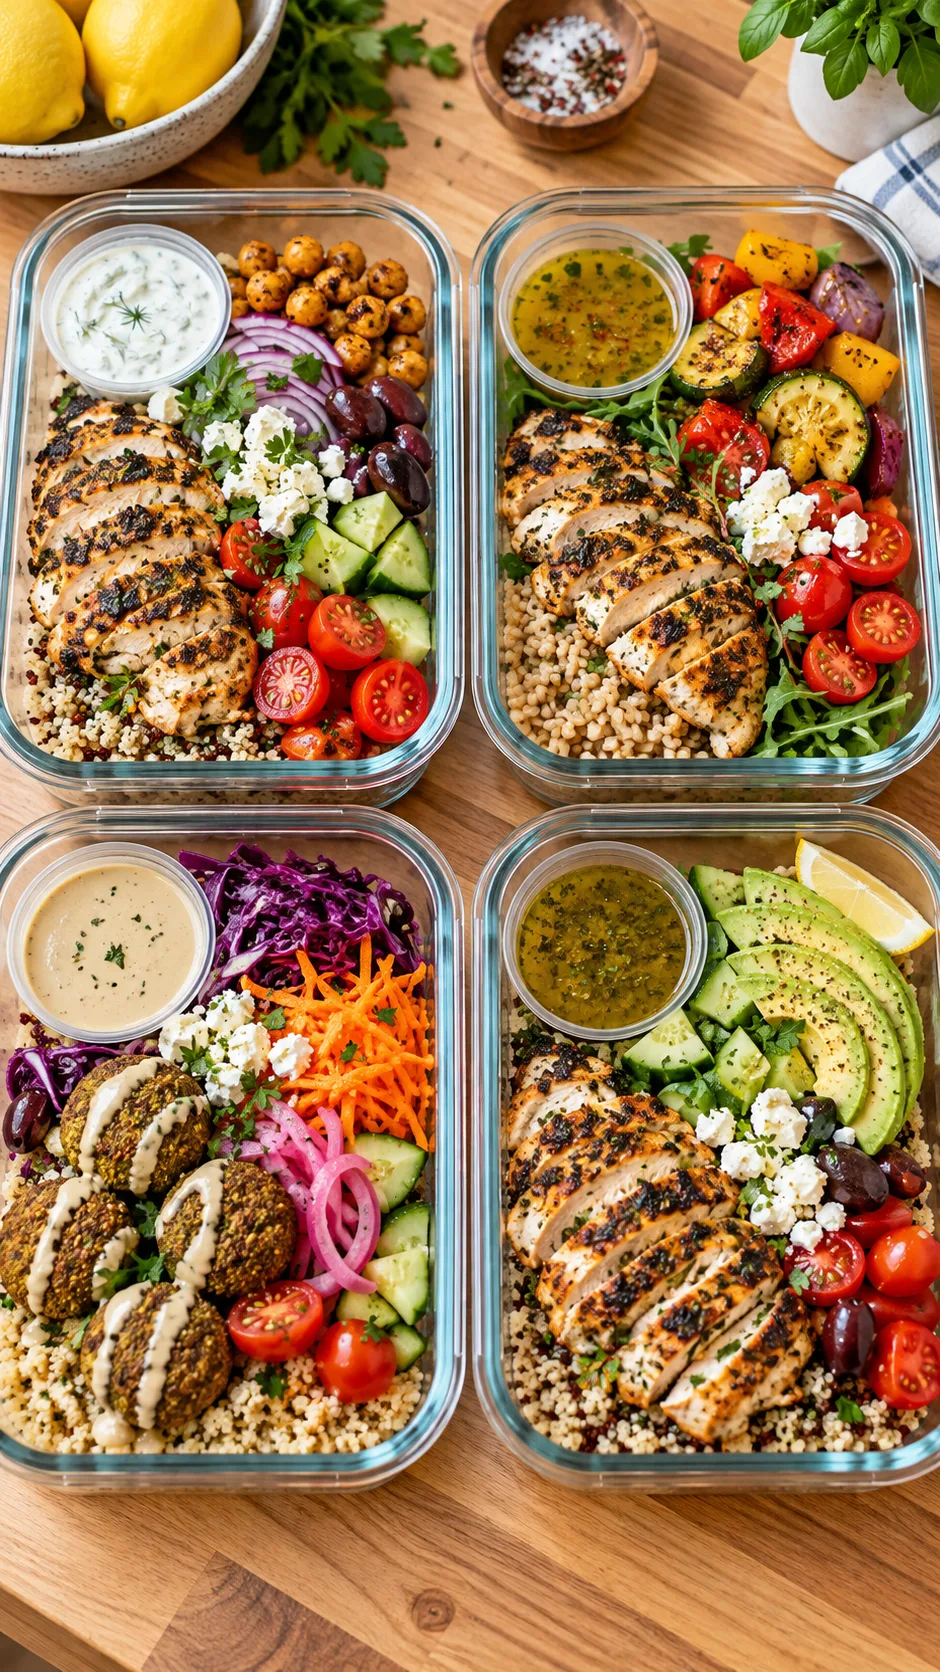
The anti-sog golden rules: why most meal preps fail by Wednesday
Why do most make-ahead lunches turn into mush after forty-eight hours? The problem comes down to kitchen physics: moisture migration. When you trap warm moisture against raw produce or crunchy toppings inside a sealed container, condensation destroys texture within hours.
Prevent this disaster by following four basic rules:
- Cool every cooked ingredient completely before you snap the lid shut. Hot quinoa releases steam inside an airtight container. That steam condenses on the underside of your lid, drips back onto your food, and creates soggy mush. Spread hot roasted vegetables and grains across a flat sheet pan for fifteen minutes before you pack them.
- Separate your dressings and wet ingredients. Never pour vinaigrette directly onto tender greens days in advance. Acid dissolves plant cell walls, while salt pulls moisture right out of the produce. Pack dressings in tiny leak-proof silicone condiment cups or two-ounce glass jars instead.
- Layer from dense to delicate. Put dense ingredients like whole grains, roasted root vegetables, and sturdy beans at the bottom of your container. Place delicate greens, soft herbs, and crunchy seeds at the very top, well away from any moisture below.
- Use borosilicate glass containers with locking lids. Plastic stains easily, absorbs old food odors, and allows airflow that speeds up spoilage. Glass keeps food colder, locks out air, and handles the office microwave without leaching chemicals into your lunch.
If you want to build a routine you can finish in under an hour, check out these simple meal prep routines for beginners.
The mason jar method: crisp salads that stay crunchy until Friday
People assume salads cannot survive five days in a refrigerator. A wide-mouth, quart-sized mason jar proves them wrong. The vertical shape creates a reliable moisture barrier that protects crisp greens for an entire workweek.
Gravity does the heavy lifting. Dressing sits at the very bottom of the glass, while your tender greens sit completely dry at the top.
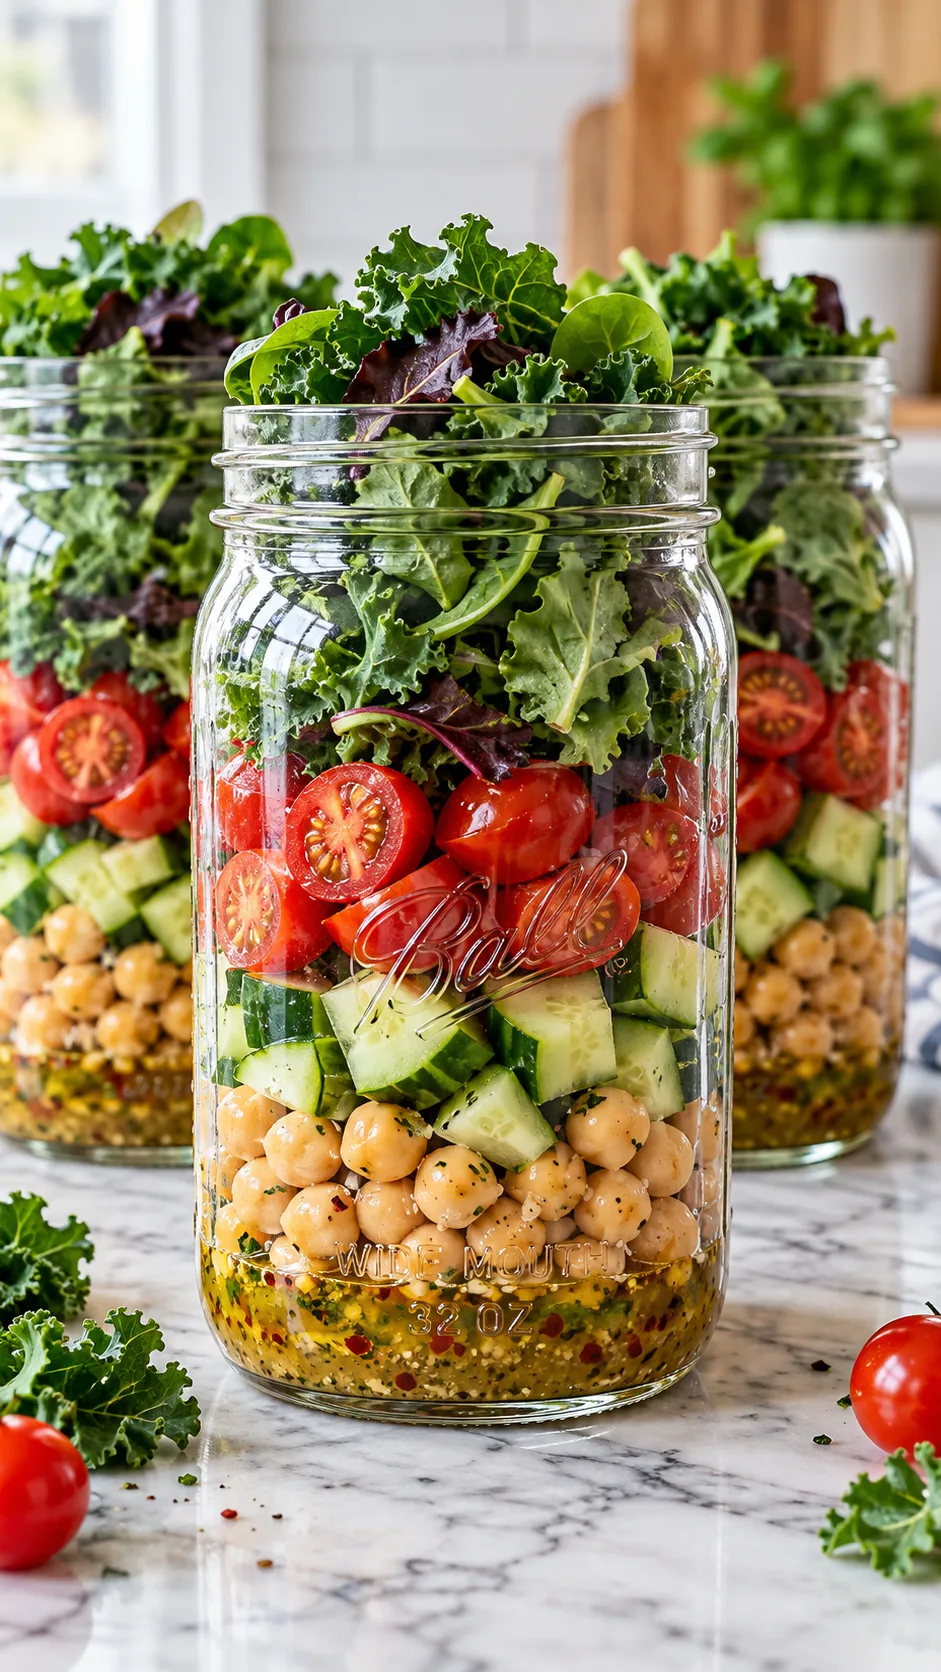
The 5-layer stack strategy
Grab five 32-ounce wide-mouth mason jars and stack your ingredients in this order:
- Layer 1 (The dressing base): Pour two to three tablespoons of vinaigrette or dressing directly into the bottom.
- Layer 2 (The sturdy vegetables): Add diced Persian cucumbers, chickpeas, red onions, shredded carrots, or cherry tomatoes. These hearty vegetables hold up well and taste better after marinating in the dressing for a few days.
- Layer 3 (Grains and beans): Add cooked brown rice, farro, black beans, or sliced bell peppers.
- Layer 4 (The protein): Add sliced grilled chicken, cubed extra-firm tofu, quartered hard-boiled eggs, or flaked salmon.
- Layer 5 (Greens and toppings): Top the jar with baby spinach, shredded kale, arugula, and toasted sunflower seeds or pumpkin seeds.
When lunch arrives, unscrew the lid, shake the jar firmly, and empty the contents into a wide bowl. The dressing coats the ingredients as they fall, giving you greens as crisp as if you chopped them five minutes ago.
Recipe idea: the Mediterranean crunch jar
Whisk olive oil, fresh lemon juice, dried oregano, minced garlic, salt, and black pepper directly in the jar for the base layer. Add canned chickpeas, chopped kalamata olives, diced cucumbers, and halved grape tomatoes. Layer diced grilled chicken breast over the vegetables, then top with crumbled feta cheese and baby arugula. Pack these jars on Sunday, and your Friday lunch will taste just as fresh as Monday’s.
Find more balanced midday recipes in our guide on lunch meal prep for the week.
Sturdy sheet-pan grain bowls with zero soggy texture
Grain bowls adapt easily to whatever ingredients you have in the pantry. Unfortunately, standard bowls turn pasty when you choose the wrong foundation. Swap out plain white rice for whole grains to fix that issue immediately.
Grains like farro, wheat berries, and quinoa hold their firm texture under refrigeration. They keep a pleasant chew through day five, unlike white rice, which dries out into hard, chalky pellets once chilled.
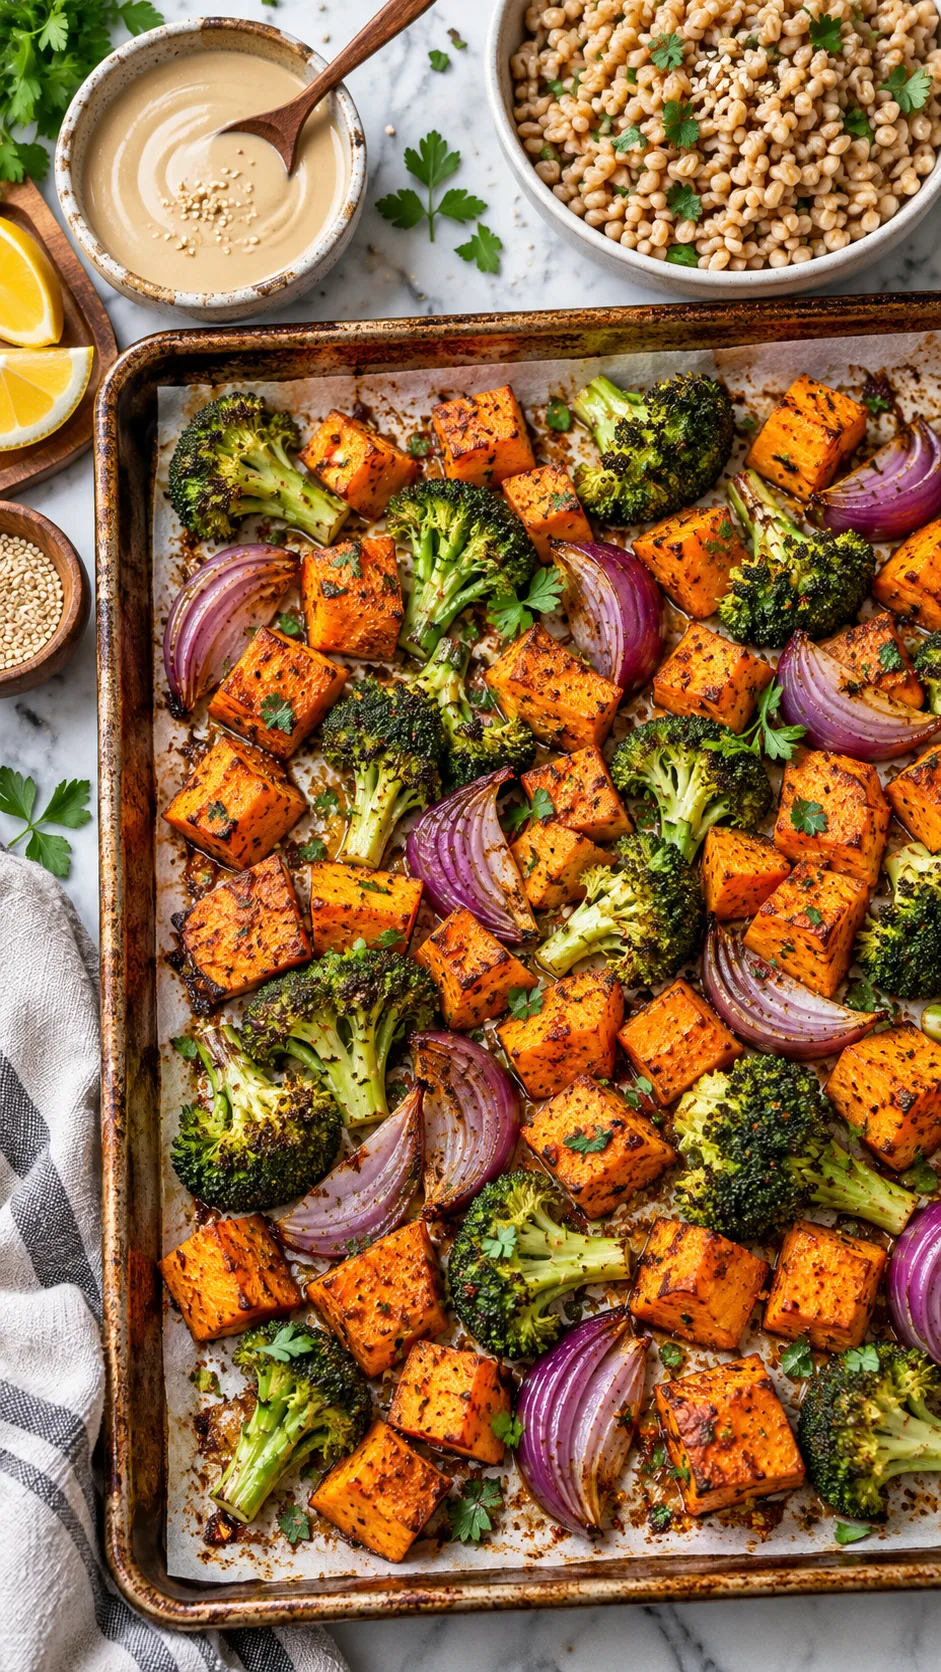
The power of hearty roasted roots
Watery vegetables like zucchini release too much moisture during weekday storage. Choose dense, fiber-packed root vegetables that brown nicely and keep their bite after reheating:
- Sweet potato cubes tossed with smoked paprika and cumin
- Butternut squash wedges seasoned with sea salt and chili powder
- Charred broccoli or cauliflower florets with garlic powder
- Roasted red onion wedges for a punch of sweet acidity
Coat your vegetables in avocado oil, spread them across two large baking sheets, and roast at 425°F (220°C) for twenty-five to thirty minutes. Let them cool completely on the counter before you divide them into containers with your grains.
Recipe idea: the harissa chicken and quinoa bowl
Coat boneless, skinless chicken thighs in spicy harissa paste and roast them alongside cubed sweet potatoes and cauliflower. Scoop half a cup of cooked quinoa into each glass container, add the chicken and vegetables, and pack a small cup of garlic tahini sauce on the side. Chicken thighs contain more moisture than white meat, preventing them from turning rubbery in the microwave.
For midday options that keep your energy steady without an afternoon sugar crash, look through our collection of high protein lunch meal prep recipes.
Cold bento boxes: skip the office microwave entirely
Microwaved leftover salmon in a shared breakroom clears out an entire floor. If you hate waiting in line or dealing with office kitchen odors, leave the microwave out of your routine.
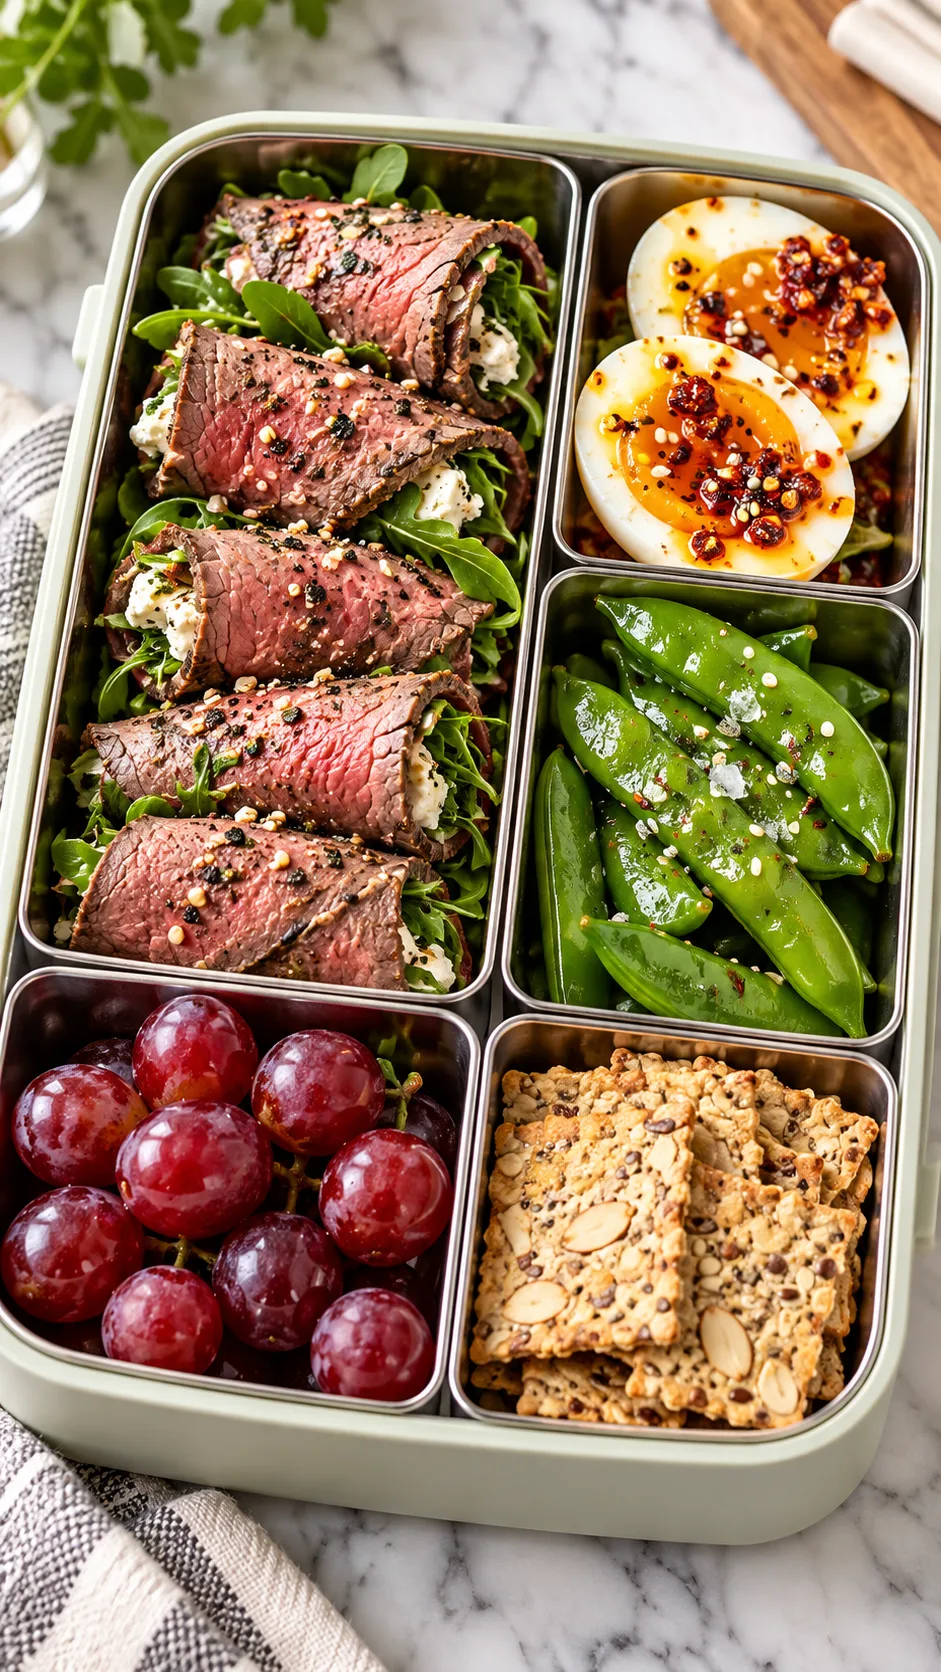
Cold lunches remove the reheating step and keep meats from overcooking. Bento-style boxes give you quick assembly and let you graze on a wide mix of clean foods.
The four-part bento blueprint
Build your box like a personalized snack platter by dividing your ingredients into four compartments:
- A solid protein base: Pack sliced roasted turkey breast, smoked salmon, hard-boiled eggs topped with chili crunch, or edamame.
- Crisp raw vegetables: Sugar snap peas, sweet baby peppers, cucumber sticks, and radishes hold water inside their skins and stay crisp in cold storage.
- A hearty carbohydrate: Add whole-grain seed crackers, mini whole wheat pita pockets, or roasted chickpeas.
- A flavorful dip: Include garlic hummus, tzatziki, chimichurri, or guacamole.
This arrangement keeps your palate interested because you can mix and match components with every bite. Rolling turkey slices around sharp cheddar cheese sticks takes three minutes on Sunday night and saves you substantial time during the workweek.
Video guide: fast batch cooking for the week
Watch the process in action if you prefer a visual demonstration. This video walks through the steps to assemble multiple work lunches in less than an hour:
Meal prep safety: how to keep food fresh through Friday
Cooked meat does not last forever in a standard refrigerator. Many people gamble with leftovers because they forget the basic timelines for food safety.
The USDA Food Safety and Inspection Service recommends finishing cooked meat, poultry, and seafood within 3 to 4 days when stored at 40°F (4°C) or lower. If you cook everything on Sunday afternoon, your Thursday and Friday containers push that limit.
Protect your food quality using two simple habits:
- Use a split-week strategy: Keep your Monday through Wednesday meals in the fridge. Place the portions for Thursday and Friday directly into the freezer. On Wednesday night, move those frozen meals back to the refrigerator to thaw overnight. Your Friday lunch will taste fresh rather than tired.
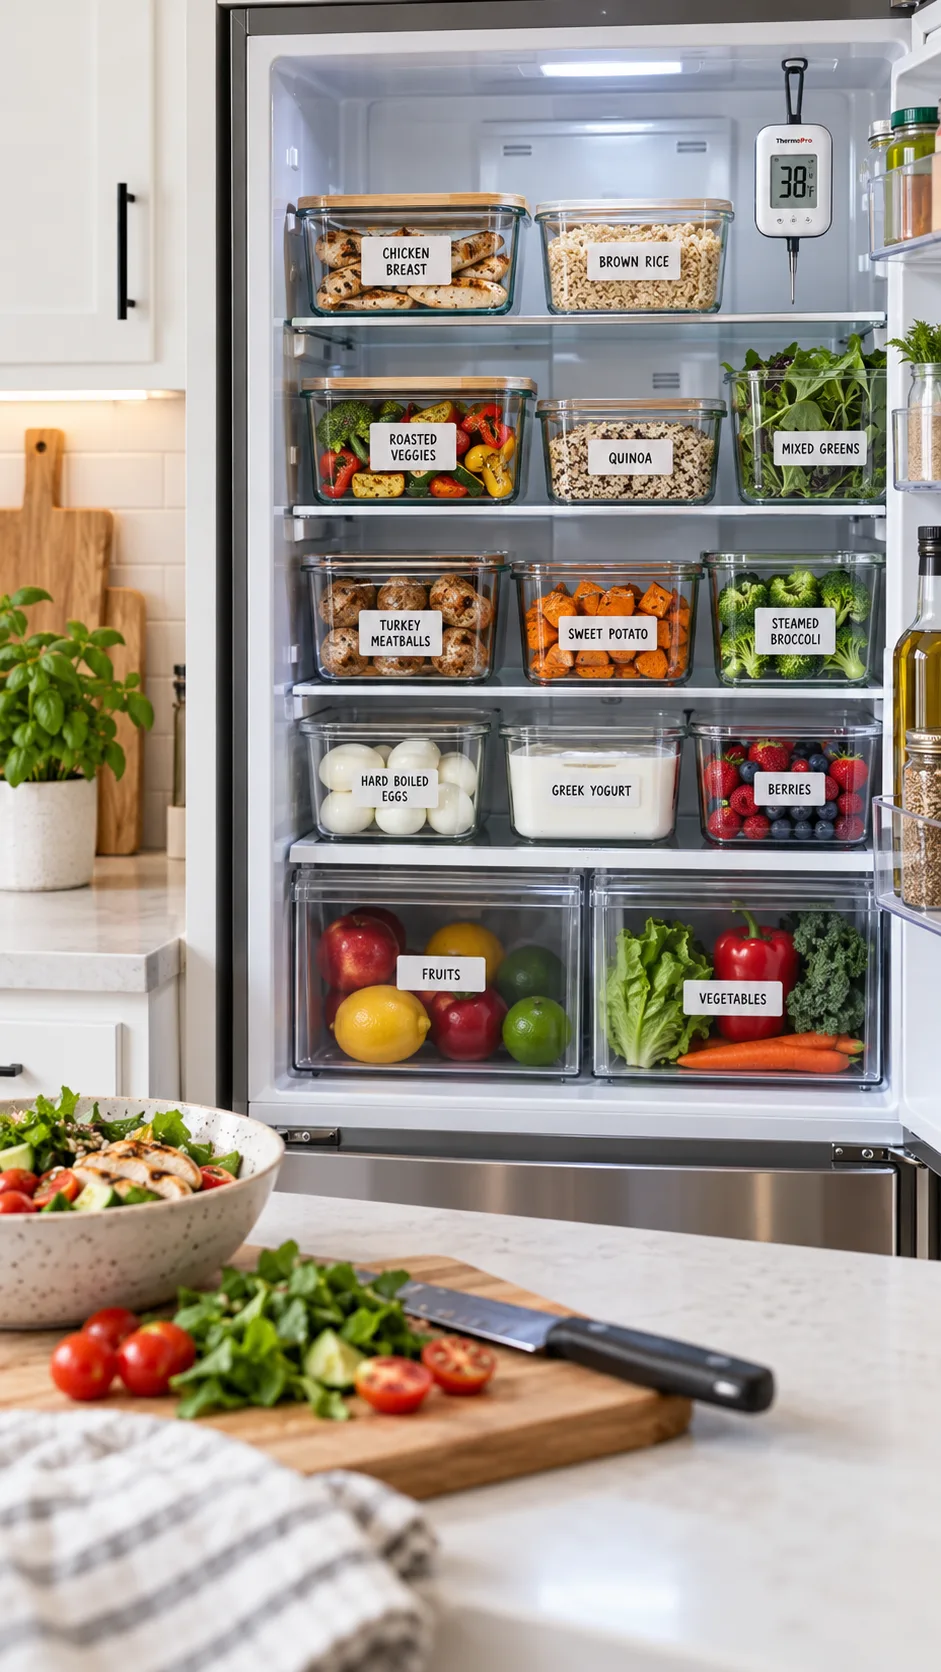
- Check your refrigerator temperature: Many home fridges run between 43°F and 45°F without obvious warning signs. Buy an inexpensive hanging thermometer and set your fridge between 35°F and 38°F. That slight temperature drop slows bacterial growth and keeps raw vegetables crisp.
To build balanced meals that keep your head clear, use the proportion model from the Harvard Healthy Eating Plate: fill half your container with vegetables and fruits, one quarter with whole grains, and one quarter with lean protein.
The 60-minute Sunday execution plan: step-by-step
You do not need to spend your entire weekend standing over the stove. You can assemble four or five complete lunches in sixty minutes by cooking components simultaneously instead of one by one.
Follow this exact timeline:
Minutes 0 to 15: prep and start the oven
Preheat your oven to 425°F. Place a medium pot of salted water on the stove and bring it to a rolling boil. While the water heats up, chop sweet potatoes, broccoli, and red onions into uniform pieces. Toss them in oil and salt, spread them across a sheet pan, and slide them into the oven for twenty-five minutes.
Minutes 15 to 30: grains and chicken
Add one and a half cups of rinsed quinoa or farro to your boiling water, lower the heat, cover the pot, and simmer for fifteen minutes. Season your chicken thighs with salt, pepper, and spices, place them on a second baking sheet, and set them in the oven alongside the vegetables.
Minutes 30 to 45: sauces and cold sides
While the oven and stove run, whisk together a quick lemon-tahini dressing and a simple herb vinaigrette. Pour them into individual dressing cups. Slice crisp snacking vegetables, rinse a can of chickpeas, and line up your glass meal containers on the counter.
Minutes 45 to 60: cool-down and packing
Take the grains off the heat and pull the trays out of the oven. Spread the grains and roasted vegetables over a flat tray for five minutes to let steam escape. Pack your containers in proper order, lock the lids in place, and store the meals in the fridge.
Wash your cutting board, load the dishwasher, and take back the rest of your Sunday.
Fixing common lunch prep mistakes
Even experienced cooks hit texture or flavor snags. Use these quick adjustments when a meal prep does not turn out right:
- Reheated chicken turns dry and tough. Switch to boneless chicken thighs instead of breasts. Thighs contain more natural fat and stay juicy under microwave heat. If you prefer white meat, slice the breast across the grain and splash a teaspoon of water over the meat before you reheat it.
- Grains taste bland and chalky by day four. Cook your grains in seasoned chicken stock or vegetable broth instead of tap water. Drop a crushed garlic clove into the pot, and stir a teaspoon of olive oil or butter into the warm grains right after cooking to seal in moisture.
- Wraps turn soggy after twenty-four hours. Cool all fillings completely before you assemble the wrap. Trapped steam dissolves tortillas fast. Place a broad, dry leaf of romaine lettuce directly on the tortilla first to shield the bread from wet ingredients like meat and salsa.
Take back your lunch break
Eating well during a busy workweek does not require pricey delivery orders or endless kitchen labor on your day off. You only need resilient ingredients, basic moisture control, and the correct packing order.
Pick up a set of sturdy glass containers, carve out an hour this Sunday, and test one of these routines. You will pocket extra cash, skip the afternoon slump, and look forward to opening your lunch every single day.