You open your container at your desk at 12:30 PM, ready for lunch, only to find a pool of melted, brown greens. The dressing turned your fresh spinach into mush, your cucumbers leaked water, and the whole meal smells like compost. You toss the container into the trash, walk down the block, and spend sixteen dollars on takeout out of pure frustration.
Many people give up on prepping raw vegetables because they think salads spoil after two days. That habit wastes money, derails healthy eating plans, and throws good groceries into the garbage. Plant leaves do not break down by chance; clear rules of physics cause the decay. When you manage moisture, vegetable density, and proper layering, your Sunday salads stay crunchy through Friday afternoon.
This guide explains the exact food mechanics behind lasting prep salads, five reliable recipes, and the daily kitchen practices that keep greens crisp all week long.
The food science: why prepped salads turn to slime
Restaurant salads stay fresh because commercial kitchens control internal leaf pressure, or turgor pressure. Fluid inside plant cells keeps leaves stiff and crisp. When cell walls lose moisture to the surrounding air, leaves collapse. When leaves sit directly in pools of standing water, native bacteria and enzymes destroy the plant tissue.
Three main factors ruin your weekday lunches:
- Surface moisture: Packing wet leaves causes rapid decay. Moisture trapped inside a sealed container suffocates the greens and speeds up bacterial growth.
- Salt and acid osmosis: Salt and vinegar pull water out of plant cells through osmosis. When vinaigrette sits against raw leaves for twenty-four hours, the acid turns them to liquid.
- Ethylene gas: Fruits like tomatoes and apples emit ethylene gas as they sit. This gas triggers rapid aging in nearby leafy greens.
You can counter these natural processes by building moisture barriers, choosing dense ingredients, and drying your greens completely. If you want a weekend cooking routine that stops food waste across your whole menu, read our guide to meal prep for the week for beginners.
The two master layouts: mason jars vs. divided bento boxes
A standard plastic tub will ruin your salad before Wednesday. The container shape directly determines whether your food survives the week. Two specific packing setups deliver lasting crunch:
Option 1: The vertical mason jar
The 32-ounce wide-mouth glass mason jar remains the best container for prepped greens. Thick glass seals out air, retains cold refrigerator temperatures better than plastic, and lets gravity protect your food. By placing wet vinaigrette at the bottom and dry greens at the top, you keep the two elements apart until you dump the meal into a bowl.
Option 2: The horizontal bento box
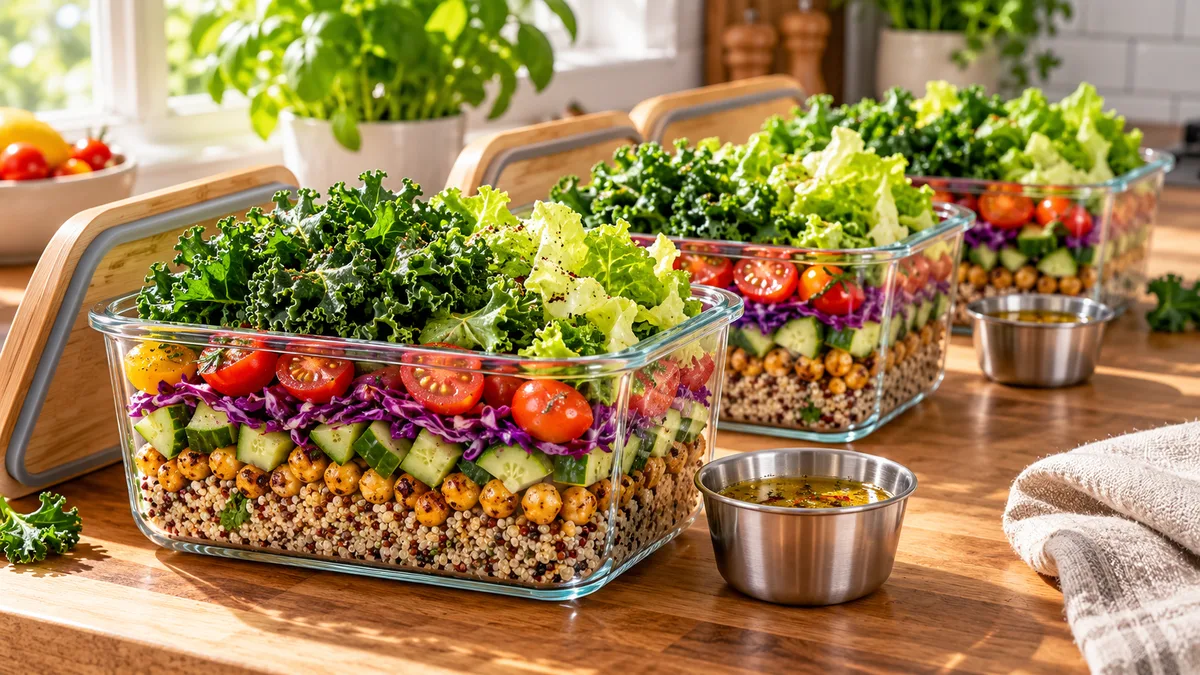
Divided glass or stainless steel containers work well if you dislike deep jars. Keep your dry greens in the main section, and place wet ingredients (dressing, sliced fruit, pickled vegetables) in small silicone cups inside the box. You toss the ingredients together right before you eat.
The five-layer formula for mason jar salads
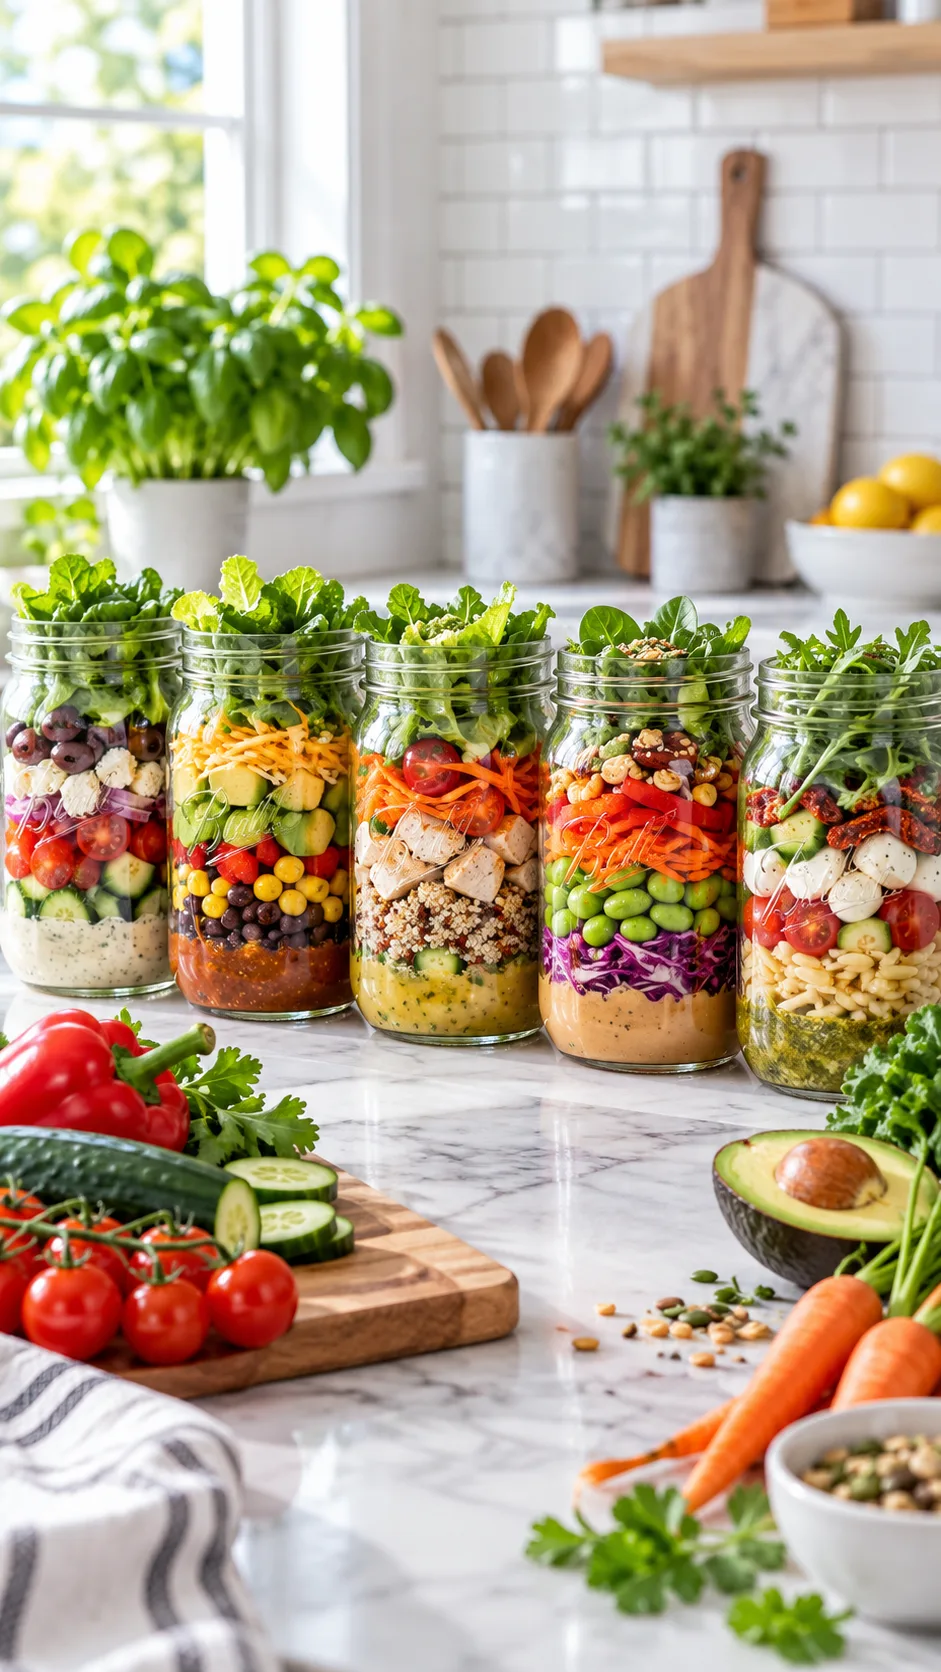
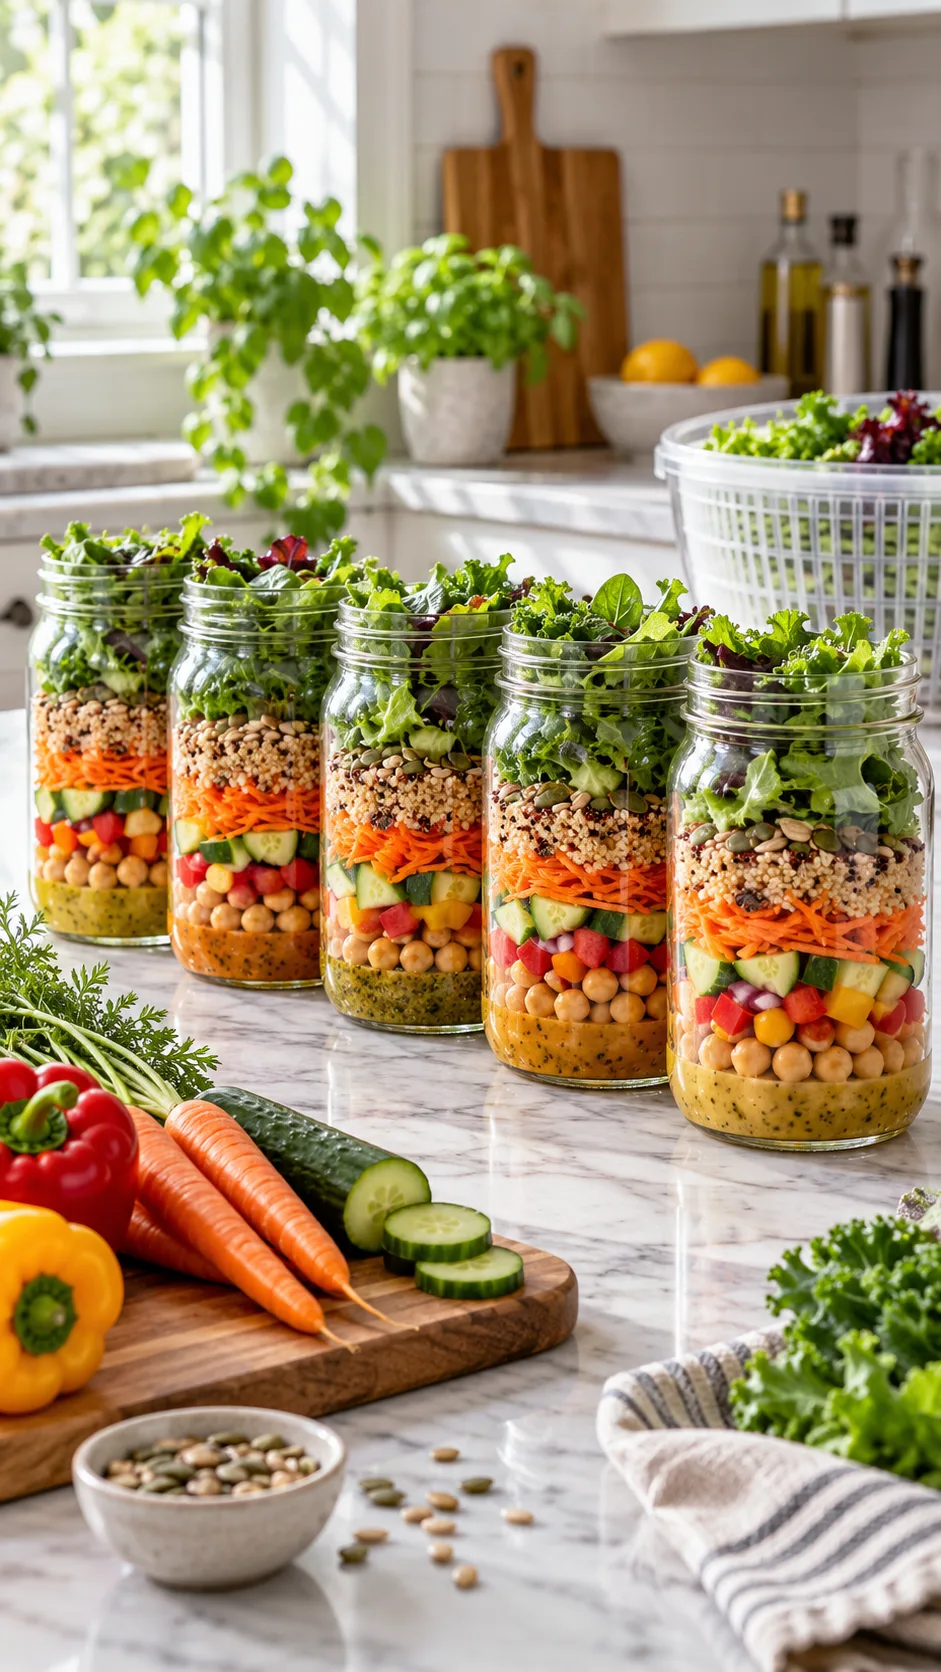
To pack a mason jar that lasts five days, follow a strict vertical order. Treat the jar like a building where heavy, waterproof elements form the base and delicate leaves sit on top.
- Layer 1 (The base): Dressing and vinaigrette (1 to 3 tablespoons). Pour the oil and vinegar straight onto the bottom of the jar. Keep the liquid away from delicate greens during storage.
- Layer 2 (The shield): Hard, dense vegetables. Add tough root vegetables and legumes directly over the dressing. Diced carrots, Persian cucumbers, radishes, celery, chickpeas, and edamame work best. These firm foods hold up well in marinade without softening.
- Layer 3 (The center): Grains, tubers, and proteins. Add cold quinoa, farro, wild rice, roasted chicken breast, cubed tofu, or hard-boiled eggs. These ingredients stay dry while absorbing flavors from the layer below.
- Layer 4 (The buffer): Soft toppings and cheeses. Add feta cheese, cheddar, bell peppers, dried fruit, or pumpkin seeds. This layer blocks moisture from rising into the greens above.
- Layer 5 (The top): Bone-dry salad greens. Fill the remaining space with dry, torn leaves. Because you keep them far above the dressing and wet vegetables, they stay crisp until Friday.
Which greens hold up all week? (The hierarchy of crispness)
Salad leaves have different life spans. If you pack baby arugula or butter lettuce for a five-day stretch, the leaves will spoil quickly. Select your greens based on your weekly schedule:
The durable choices (5 to 7 days)
- Shredded cabbage: Red and green cabbage hold their structure against moisture, stay crunchy, and provide rich fiber.
- Lacinato (dino) kale: Thick, waxy kale leaves resist moisture breakdown better than most greens. Rub them with a drop of olive oil before packing, or leave them raw for a firmer bite.
- Shredded Brussels sprouts: Shaved sprouts resist wilting and absorb dressing flavors without softening.
The mid-week choices (3 to 4 days)
- Romaine hearts: The thick center ribs of romaine offer solid crunch. Remove the soft outer leaves and prep only the pale center stalks.
- Endive and radicchio: These sturdy chicories resist moisture loss in chilled glass containers.
The delicate greens (1 to 2 days)
- Baby spinach: Thin spinach leaves break down and turn wet when compressed in a container.
- Baby arugula and mixed spring greens: Eat these tender leaves on the day you pack them. They wilt quickly under trapped condensation.
5 meal prep salad recipes that stay crisp all week
These five kitchen-tested recipes survive the Monday-to-Friday workweek without turning soggy.
1. Crunchy Thai peanut chopped salad
This recipe pairs shredded cabbage and edamame with a rich peanut dressing. Cabbage sheds water naturally, which keeps the salad firm. The vegetables taste even better on Thursday because they take on the ginger and lime flavors over time.
- Layer 1 (Base): 3 tbsp spicy peanut-lime dressing (peanut butter, soy sauce, lime juice, honey, sesame oil, warm water).
- Layer 2: 1/2 cup shelled edamame, 1/3 cup matchstick carrots, 1/3 cup diced red bell pepper.
- Layer 3: 1/2 cup cooked brown rice or chilled diced chicken breast.
- Layer 4: 2 tbsp chopped roasted peanuts, 2 tbsp chopped fresh cilantro, 1 tbsp sliced green onions.
- Layer 5 (Top): 2 cups tightly packed shredded red and green cabbage.
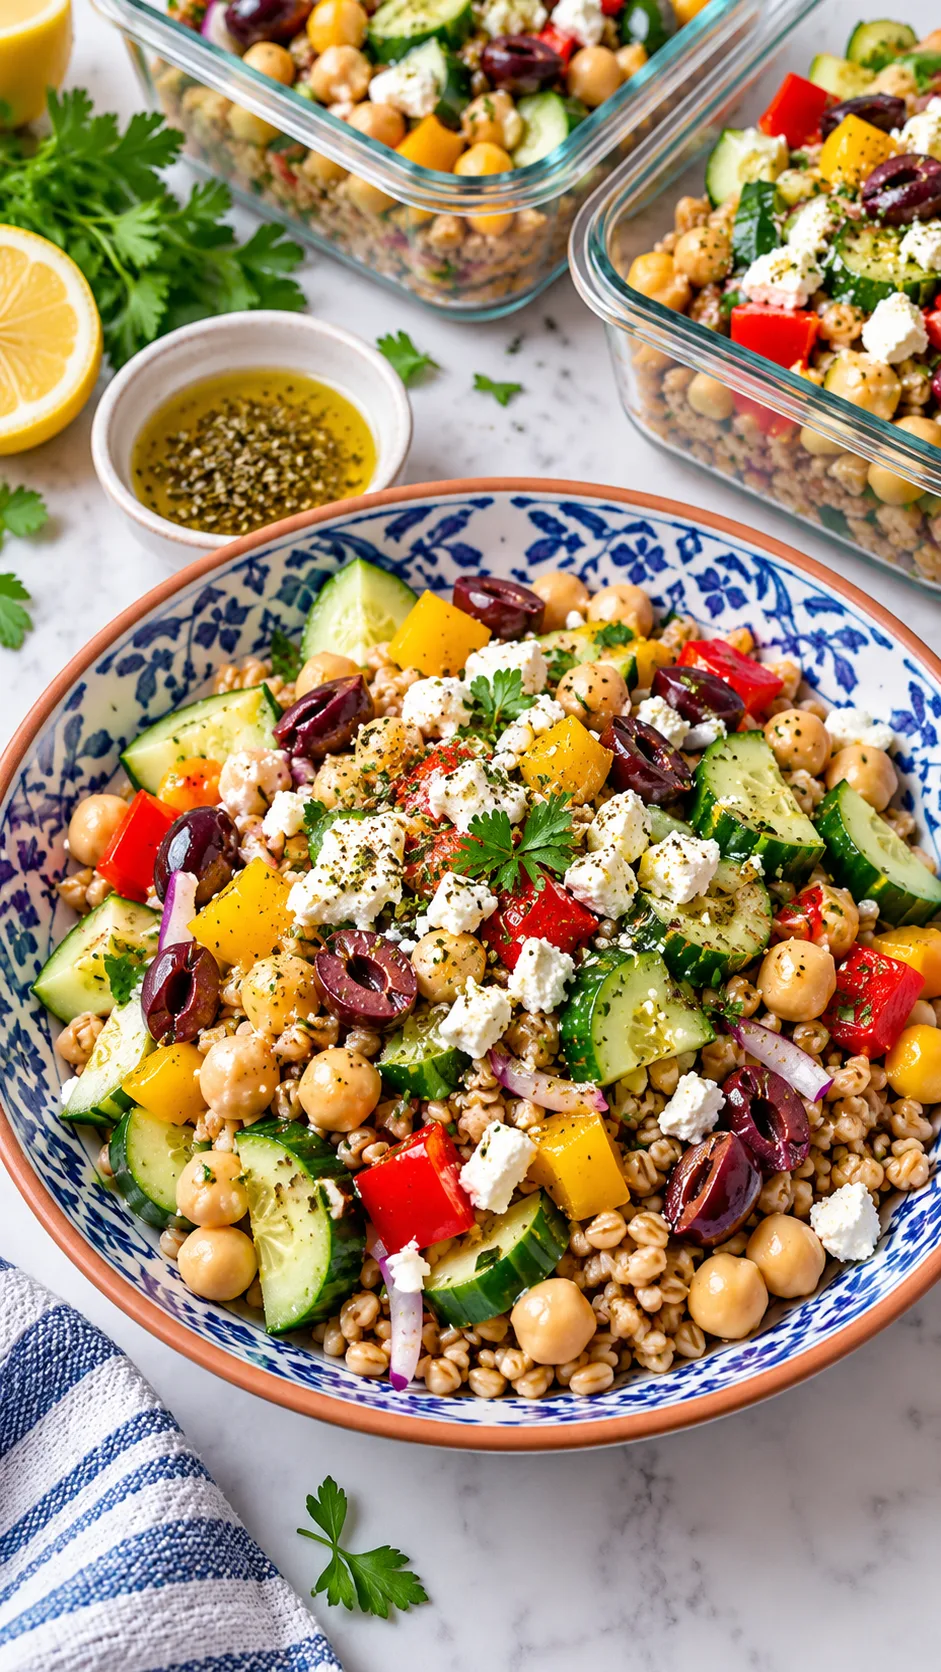
2. Greek farro and chickpea jar
Dense whole grains and Mediterranean ingredients make a hearty midday meal. For more midday meal plans, browse our collection of meal prep lunch ideas.
- Layer 1 (Base): 3 tbsp Greek vinaigrette (olive oil, red wine vinegar, dried oregano, minced garlic, sea salt).
- Layer 2: 1/3 cup rinsed chickpeas, 1/3 cup diced Persian cucumbers, 1/4 cup halved Kalamata olives.
- Layer 3: 1/2 cup cooked farro or pearl barley.
- Layer 4: 1/4 cup crumbled sheep’s milk feta cheese.
- Layer 5 (Top): 1.5 cups chopped romaine hearts.
3. Southwestern chipotle quinoa bowl
Black beans, whole grains, and sweet peppers make this salad hold up well in both bento boxes and vertical jars.
- Layer 1 (Base): 3 tbsp chipotle-lime vinaigrette (olive oil, lime juice, 1 chipotle pepper in adobo, cumin, honey).
- Layer 2: 1/3 cup rinsed black beans, 1/3 cup sweet corn kernels, 1/3 cup diced orange bell pepper.
- Layer 3: 1/2 cup cooked, cooled quinoa.
- Layer 4: 2 tbsp roasted pumpkin seeds and 2 tbsp crumbled cotija cheese.
- Layer 5 (Top): 2 cups finely chopped Lacinato kale.
4. High-protein bistro Cobb salad
Standard Cobb salads spoil when cut tomatoes leak into delicate lettuce. Keep the cherry tomatoes whole to protect your greens and chicken. If you track daily macronutrients, check out our guide to high-protein lunch meal prep for more ideas.
- Layer 1 (Base): 3 tbsp red wine shallot vinaigrette.
- Layer 2: 5 whole cherry tomatoes, 1/3 cup chopped celery, 1/4 cup diced red onion.
- Layer 3: 1 diced hard-boiled egg and 4 oz diced grilled chicken breast.
- Layer 4: 2 tbsp cooked bacon bits and 2 tbsp blue cheese crumbles.
- Layer 5 (Top): 2 cups shredded romaine and chopped radicchio.
5. Sesame ginger chicken and broccoli slaw
Shredded broccoli stems provide a sturdy base that stays crunchy in cold storage. Add rotisserie chicken and sesame oil to complete this lunch bowl.
- Layer 1 (Base): 3 tbsp sesame-ginger dressing (rice vinegar, grated ginger, tamari, toasted sesame oil, maple syrup).
- Layer 2: 1/2 cup raw broccoli slaw, 1/3 cup sliced snap peas, 1/4 cup sliced radishes.
- Layer 3: 4 oz shredded chicken breast.
- Layer 4: 1 tbsp toasted sesame seeds and 2 tbsp crispy wonton strips (store wontons in a small baggie until lunchtime).
- Layer 5 (Top): 1.5 cups chopped green cabbage or tatsoi.
Kitchen habits: how to prep greens like a chef
Throwing damp greens into plastic tubs ruins good produce. Restaurant kitchens rely on specific handling routines to keep vegetables fresh for days, and you can use the same methods at home.
1. Use a large salad spinner
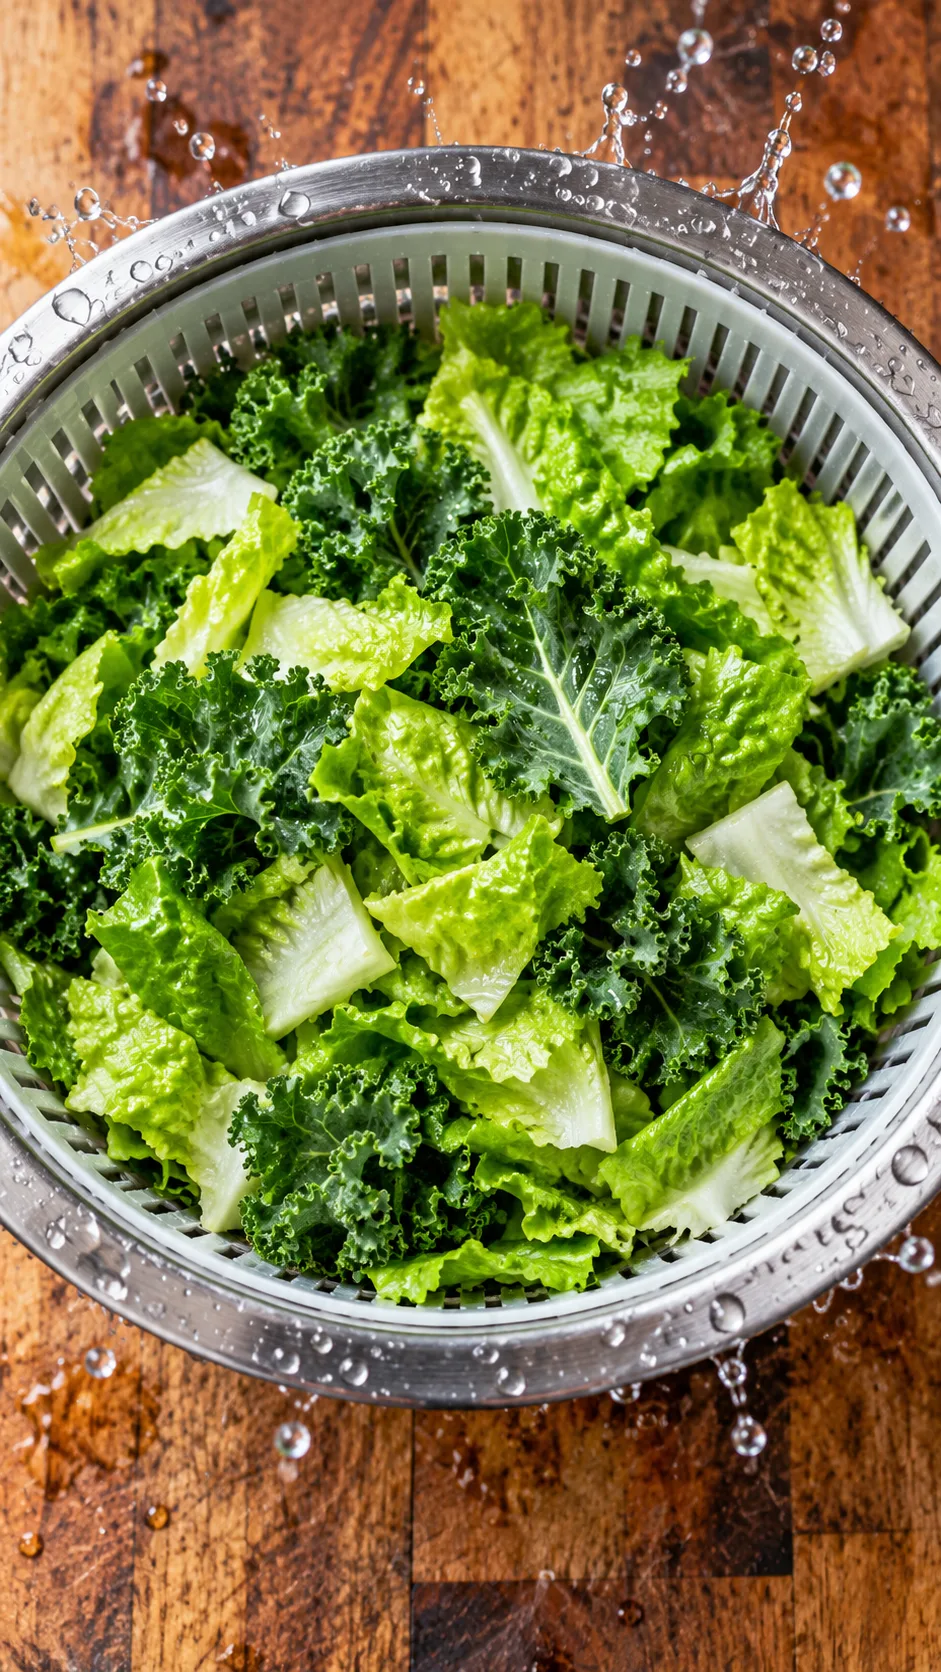
Buy a dependable salad spinner. A colander leaves water droplets on the leaves, which causes rapid rot in sealed containers. Spin your greens twice, dumping the water from the outer bowl between runs. Your greens must feel completely dry before you pack them.
2. Add a dry paper towel
Cooks line produce drawers with paper towels for good reason. When you pack a mason jar, fold a clean square of paper towel and place it directly on top of your greens just below the lid. The paper catches rising condensation before the droplets fall back onto the leaves.
3. Leave delicate items whole
Slicing a vegetable tears cell walls and releases liquid. Storage guidelines from the USDA Food Safety and Inspection Service state that keeping sliced produce below 40°F limits bacterial growth. Keep these rules in mind when cutting ingredients:
- Cherry tomatoes: Leave them whole. A knife cut causes the seeds and acidic juice to soak into surrounding ingredients.
- Avocados: Keep avocados whole in your work bag and slice them at your desk right before eating.
- Cucumbers: Scrape the wet seeds out with a spoon before you dice the flesh. This step eliminates excess water.
You can learn more produce preservation methods through Serious Eats’ storage experiments and nutritional details from the Harvard T.H. Chan School of Public Health.
Comparison: shelf life of common salad ingredients
Organize your weekly meal schedule around the natural lifespan of each ingredient:
| Ingredient | Lifespan in Layered Prep | Crispness Factor | Pro Prep Tip |
|---|---|---|---|
| Shredded Cabbage | 6 to 7 Days | Exceptional | Slice thin; salt lightly 10 minutes before packing. |
| Lacinato Kale | 5 to 6 Days | Very High | Strip the thick woody stems before chopping. |
| Romaine Hearts | 4 to 5 Days | High | Use core leaves only; spin dry twice. |
| Persian Cucumbers | 4 Days | Medium-High | Deseed before cutting to remove liquid. |
| Baby Spinach | 2 Days Max | Low | Pack loosely without pressing the leaves down. |
| Nuts and Seeds | 5 Days (Layered) | High | Keep above the moisture buffer layer. |
Refrigerator storage: temperature zones matter
Placing prepped jars on the top shelf near the cooling vent can freeze delicate leaves. Ice crystals tear cell walls, turning crisp romaine into soggy mush once it thaws.
Set your salad jars on the middle shelf or in the crisper drawer on low humidity. Maintain your refrigerator between 35°F and 38°F (1.6°C to 3.3°C). This temperature range slows bacteria without freezing raw leaves. Use an inexpensive fridge thermometer to confirm the actual temperature of your shelves.
How to serve prepped salads for the best crunch
Eating directly from a packed mason jar with a standard fork leaves you eating plain dry greens first, followed by a puddle of dressing at the bottom.
Use this serving method instead:
- Keep a wide salad bowl and fork at your work desk.
- Pull your jar from the refrigerator ten minutes before eating so chilled olive oil loosens up.
- Unscrew the lid and remove the paper towel square.
- Turn the jar upside down over your bowl.
- Tap the base of the jar. The dry greens fall into the bowl first, followed by the proteins, vegetables, and dressing.
- Mix the ingredients with your fork. You get a crisp, evenly dressed lunch in seconds.
Mastering your weekly salads
Making crisp workday salads requires basic food physics rather than complicated cooking skills. Spin your greens completely dry, choose sturdy leaves like cabbage and kale, isolate wet dressings from tender leaves, and keep your refrigerator at the proper temperature.
Pick up five wide-mouth mason jars, dry your greens thoroughly, and assemble your lunches this Sunday. You will save money and enjoy fresh, crunchy lunches all week long.